Bathroom Mold Removal: A Practical Homeowner Guide
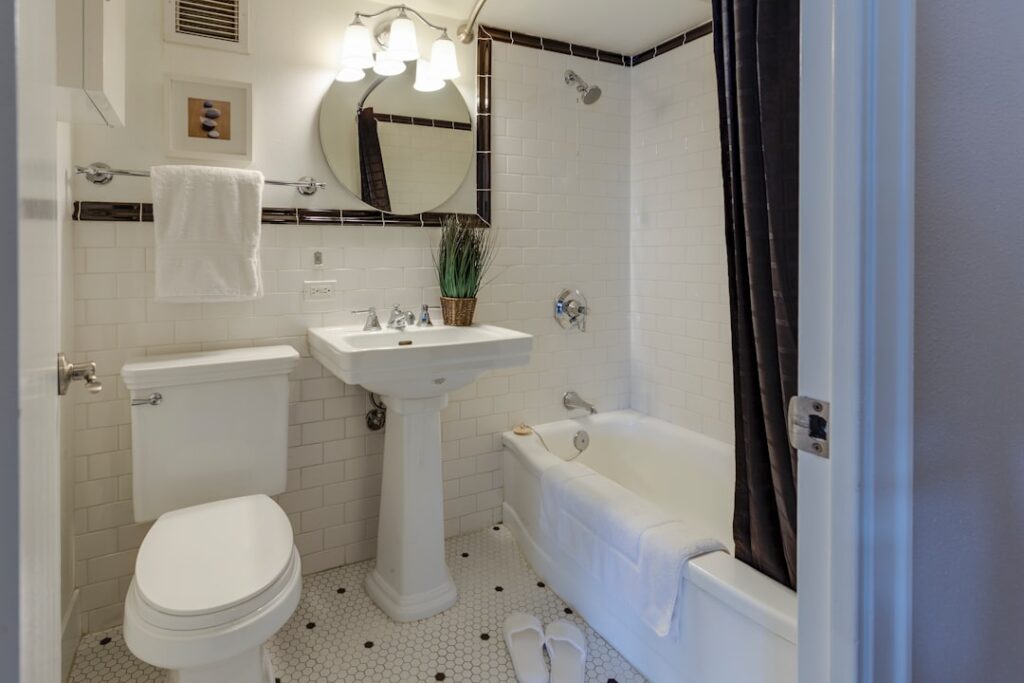
Few household chores recur as reliably as bathroom mold removal. Showers pump moisture into a small, often poorly ventilated room, and any surface that stays damp invites growth within days. Done right, removal is a manageable task that ends with controlling the humidity that caused the problem. This guide summarizes EPA and CDC guidance current as of 2026 and offers general information, not medical advice; people with respiratory conditions should consult a physician before disturbing mold.
Part of our Mold Removal & Remediation guide — start there for the full picture →
Is this mold, asbestos, or water damage? Get a free instant screen
Upload a clear photo of the suspect area. You'll get an instant AI screening opinion and what to do next. This is screening guidance, not a professional determination.
Screening guidance only. AI can be wrong. Confirm asbestos, mold type, or lead with lab testing or a licensed professional before acting.
Bathroom Mold Removal: The Core Method
The EPA’s standard approach for mold on hard surfaces is detergent and water, followed by complete drying. That covers most bathroom situations — tile, glass, painted walls, and tubs. You do not need to identify the species first, and chlorine bleach is optional rather than necessary. The reliable sequence is: ventilate, protect yourself, dampen and scrub, wipe and rinse, then dry thoroughly. The drying step is where most removal jobs succeed or fail, because mold cannot survive without moisture.
Before any of that, look for the moisture source. A bathroom that grows mold repeatedly usually has a ventilation gap or a slow leak. Cleaning without addressing the water is a temporary fix. Our mold inspection and testing hub explains how a professional assessment finds hidden moisture when the cause is not obvious.
Tools and PPE You Need
Bathroom mold removal does not require specialized gear for small jobs. Assemble:
- N95 or better disposable respirator — a cloth or surgical mask is not adequate
- Nitrile or rubber gloves extending past the wrist
- Non-vented goggles to keep spores out of the eyes
- Detergent or general-purpose cleaner, a stiff grout brush, and microfiber cloths
- A grout sealer for after cleaning, and mold-resistant silicone if caulk needs replacing
- A box fan or dehumidifier for drying, and a squeegee for ongoing prevention
The CDC recommends this PPE baseline because disturbing mold releases spores, and an enclosed bathroom concentrates them. Ventilate throughout the job.
Removing Mold Surface by Surface
Different bathroom materials call for different handling.
Grout and Tile
Glazed tile wipes clean; porous grout needs scrubbing. Work detergent into the grout with a stiff brush, rinse, dry, and seal the grout once dry to slow future growth. Dark lines that remain are typically stain, not living mold.
Caulk and Sealant
Silicone caulk that has blackened internally rarely cleans out because mold is embedded in it. Cut out the old caulk, dry the joint, and re-caulk with a mold-resistant product. This single step resolves many recurring tub-and-shower mold complaints.
Painted Walls and Ceilings
Surface mold on sound, painted drywall can be cleaned and dried. Mold on the ceiling usually points to inadequate ventilation. If the drywall is soft or the paper backing is moldy, cut out and replace that section — cleaning the face leaves embedded growth behind. Our guide on cleaning mold off a wall covers the salvage-versus-replace decision.
Shower Tracks, Seals, and Fixtures
Some of the most stubborn bathroom mold hides in places routine cleaning misses. The bottom track of a sliding shower door holds standing water and grows mold that wiping the glass never touches — flush and dry it after showers. Rubber gaskets and door sweeps trap moisture against the seal. Mineral buildup around faucets and showerheads creates damp pockets. Each of these small reservoirs can reseed a freshly cleaned bathroom, so include them in the job rather than treating only the visible wall surfaces.
Health and Safety During Bathroom Mold Removal
An enclosed bathroom concentrates spores when you disturb mold, so the health side deserves attention. The CDC links damp, moldy environments to throat irritation, coughing, nasal congestion, and aggravated asthma in sensitive people. Wear an N95 respirator, gloves, and goggles, keep the door open and a window cracked, and avoid dry scrubbing, which sends a heavy cloud of spores into the air. People with asthma, allergies, or weakened immune systems should consider having someone else handle the work and should consult a physician about persistent symptoms. There is no reason to fear a single “toxic” species, since the removal steps are identical for any mold, but limiting exposure during the job is simply good practice.
Should You Use Bleach?
The EPA does not recommend bleach as a routine mold cleaner, since detergent and water work on hard surfaces. Bleach can whiten stains on tile but does not penetrate grout, caulk, or drywall to kill embedded growth, and its fumes are harsh in a small room. If used, ventilate, wear protection, and never combine it with ammonia or other cleaners. For most homeowners, a detergent solution plus a working exhaust fan delivers better lasting results than bleach.
How Big a Job Is Safe, and What It Costs
The EPA’s practical guideline is that a contaminated area under roughly 10 square feet is generally manageable for a homeowner. Most bathroom mold falls under that, so the only cost is supplies — typically under $50 for cleaner, brushes, a respirator, and caulk.
Professional remediation comes into play when the area exceeds about 10 square feet, when mold recurs despite cleaning, when there is a musty smell with no visible source, or when mold followed flooding or a sewage backup. Professional bathroom remediation costs vary with the extent of demolition, but industry estimates often place small contained jobs in the few-hundred to roughly $1,500 range, rising if drywall, subfloor, or hidden growth is involved. For a fuller cost picture, see our overview of the cost of mold removal.
The cost difference between catching bathroom mold early and letting it spread is dramatic. A surface patch on grout addressed promptly is a sub-$50 weekend task. The same problem ignored until water has rotted the subfloor around a toilet or saturated the wall behind a tub can become a multi-thousand-dollar repair involving flooring, framing, and possibly the ceiling below. Bathrooms are also where slow leaks hide longest, because standing water and humidity mask the early signs. That is the practical argument for treating any recurring bathroom mold as a signal to investigate the cause now rather than re-cleaning the same spot every few weeks while the structure quietly deteriorates.
Is the Exhaust Fan the Real Culprit?
When bathroom mold keeps coming back, the exhaust fan is the first suspect. A fan that vents into the attic rather than outdoors just relocates the moisture and can cause mold in the attic while the bathroom stays humid. A fan undersized for the room cannot clear the steam a shower produces. Test it by holding a square of toilet tissue to the running fan; if the fan cannot hold the tissue to the grille, airflow is too weak. Repairing or upgrading the fan, confirming it ducts to the exterior, and adding a timer so it runs 20 to 30 minutes after each shower fixes more recurring bathroom mold than any cleaning product. It is the difference between treating the symptom and treating the cause.
Drying and Confirming the Job Is Done
After cleaning, dry every surface and run the exhaust fan for at least 20 to 30 minutes, longer for walls and ceilings; a dehumidifier helps in a closed room. Check the area over the following week. No new growth and no musty odor mean the moisture is under control. If mold reappears in the same spot, the underlying cause has not been corrected, and continued cleaning will not solve it — the ventilation or leak must be fixed.
If a moisture meter is available, confirm that any wall or ceiling material reads close to surrounding dry areas before considering the job complete. Verification matters most after a larger cleanup, where a clean-looking surface can still hide dampness in the material behind it. The EPA notes that confirming a cleanup succeeded is one of the few situations where mold testing is genuinely useful, so for a significant bathroom job an independent check can be worth the cost.
Preventing Bathroom Mold for Good
Prevention is humidity management. The EPA recommends keeping indoor relative humidity between 30 and 50 percent. In a bathroom that means:
- Running an exhaust fan that vents outside — not into the attic — during and 20 to 30 minutes after showers
- Squeegeeing shower walls and the door, and hanging towels and mats to dry fully
- Fixing leaks at faucets, the toilet, and under the sink within a day or two
- Resealing grout and replacing aging caulk before it discolors
- Leaving the shower curtain or door open between uses so surfaces dry
A properly ventilated bathroom that dries between uses simply does not support mold. The cleaning handles what already grew; the ventilation and humidity control keep it from returning. For households that mold reacts to, this prevention work also reduces exposure for sensitive members.
When Bathroom Mold Signals a Hidden Leak
Persistent bathroom mold is not always a humidity problem. A slow plumbing leak keeps materials wet around the clock and produces growth that returns no matter how well the room is ventilated. Telltale signs include mold on the ceiling of the room below the bathroom, soft or spongy flooring near the toilet or tub, a musty smell that lingers when the room is dry, and discoloration creeping under the vanity. Failed toilet wax rings, tub-drain leaks, and supply-line drips are frequent causes, and they hide because the water pools inside the floor or wall rather than on a visible surface.
A moisture meter can confirm dampness behind a clean-looking wall or under flooring. When a leak is the cause, removal means plumbing repair plus taking out the saturated materials, not surface scrubbing. Continuing to clean a leak-fed patch only delays the repair while the structure underneath quietly deteriorates, so tracing the moisture to its source is the step that actually ends the problem.
Building Out Mold Resistance
For homeowners remodeling a bathroom, material choices reduce future mold dramatically. Moisture-resistant or paperless drywall resists growth better than standard gypsum in wet zones, and cement backer board behind shower tile stands up to moisture. Mold-resistant paint and quality mold-resistant silicone caulk shrink the surfaces mold can colonize, and sealing grout after installation keeps it from absorbing water. Pair these with a correctly sized exhaust fan vented outdoors, and both the surfaces and the air are addressed at once.
None of this removes the need to dry the room between uses, but it raises the bar mold must clear to establish, and it makes ongoing maintenance far easier. A bathroom designed with moisture in mind spends much less time under a scrub brush and stays healthier for sensitive household members year-round.
Verifying and Preventing Recurrence
After a removal job, confirm it worked before considering the matter closed. Over the following week, check for any return of growth and for a lingering musty odor, which can signal mold you cannot see. If a moisture meter is available, confirm any wall or ceiling material reads close to surrounding dry areas. No new spotting, no smell, and a dry reading together indicate the moisture was genuinely controlled. If mold reappears in the same place, the underlying cause — weak ventilation, a slow leak, or chronic humidity — has not been fixed, and continued cleaning will not solve it.
Prevention then becomes a matter of routine. Squeegee the shower, hang towels and mats to dry, run the exhaust fan long enough to clear the humidity, and keep an eye on grout and caulk so you can reseal or replace before growth takes hold. Households where someone reacts to mold benefit doubly from this routine, since keeping the bathroom dry reduces both regrowth and the spore exposure that triggers symptoms. The cleaning addresses what already grew; the routine is what keeps the room from needing the brush again.
References
- Mold Cleanup in Your Home — U.S. Environmental Protection Agency
- About Mold and Your Health — Centers for Disease Control and Prevention
- A Brief Guide to Mold, Moisture and Your Home — U.S. Environmental Protection Agency
If your bathroom mold keeps returning and you want a clear read on the cause, you can reach a vetted Front Range inspector through our contact page.
Mold removal & cleanup picks
For a small, contained patch (under ~10 sq ft) these EPA-friendly removers handle surface mold. Larger or recurring growth warrants a professional assessment first.
| Product | Why | Buy |
|---|---|---|
 RMR-86 Instant Mold Stain Remover RMR-86 Instant Mold Stain Remover | Fast-acting on stains; ventilate and wear PPE. | Amazon — $29.99 |
 Concrobium Mold Control Concrobium Mold Control | No-bleach formula that also helps prevent regrowth. | Amazon — $34.27 |
 Mold Armor Mold & Mildew Remover Mold Armor Mold & Mildew Remover | Widely stocked bathroom/surface remover. | Amazon — $22.98 |