Over-the-Range Microwave Installation: Venting, Wiring, Mounting
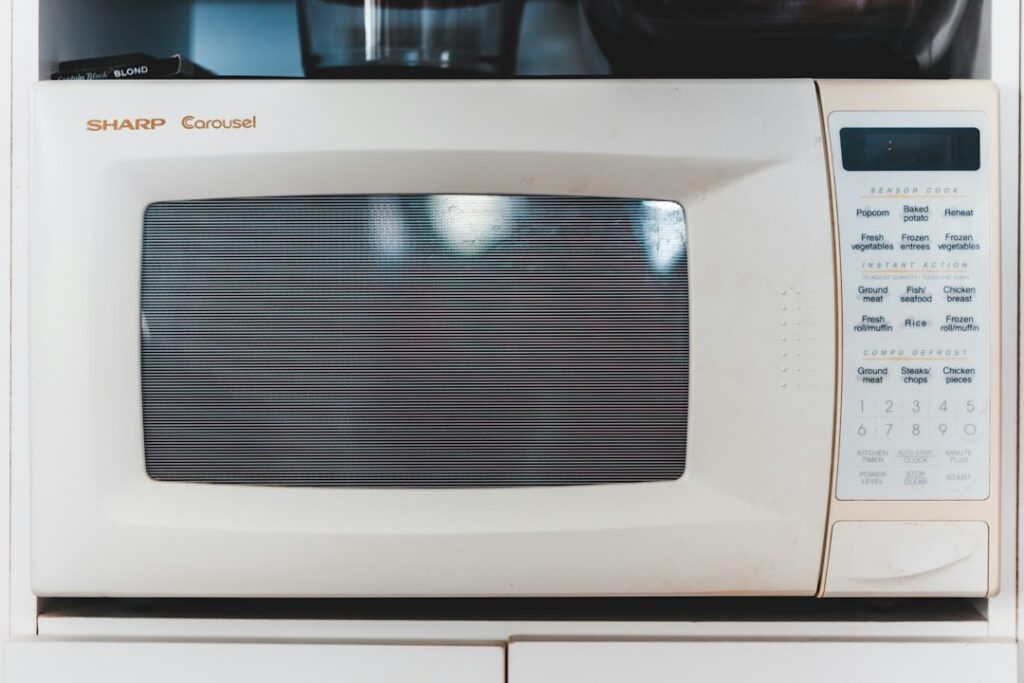
An over-the-range (OTR) microwave saves counter space by combining a microwave oven and a cooktop vent in one unit hung above the range. It is one of the most common kitchen upgrades in Front Range homes, from 1970s ranches in Lakewood to newer builds in Castle Rock. The installation looks simple in product photos, but it involves a heavy appliance hanging from a wall and a cabinet, a power supply that must handle a high-draw appliance, and a vent path that decides whether cooking smoke and combustion gases actually leave the house. This guide covers what a proper over the range microwave installation includes, how ducted and recirculating setups differ, why an OTR microwave vent is usually weaker than a dedicated range hood, the electrical questions to settle before buying, and what installation typically costs. Wiring changes and new circuits are best left to a licensed electrician.
Part of our Heating, Cooling & Ventilation guide — start there for the full picture →
What an Over-the-Range Microwave Installation Involves
A typical installation has four parts. First, a steel mounting plate is screwed to the wall behind the range, anchored into wall studs. Second, the microwave hooks onto the bottom lip of that plate and tilts up against the wall. Third, bolts pass down through the floor of the upper cabinet into the top of the microwave, pulling it tight. Fourth, the exhaust is configured either to blow through a duct to the outdoors or to recirculate through a charcoal filter back into the kitchen. The power cord runs up through a hole in the cabinet floor to a receptacle inside the upper cabinet.
Every model ships with a paper template for the wall and another for the cabinet bottom. Those templates locate the plate, the bolt holes, the cord hole and the duct opening, and following them precisely is what makes the unit hang level and line up with an existing duct. Most manufacturers recommend two people for the lift, because an OTR microwave commonly weighs in the range of 50 to 80 pounds and must be held in place while the top bolts are started.
Mounting: Wall Studs, the Plate and Cabinet Bolts
Finding the studs
The mounting plate carries much of the load, so manufacturers typically require that it be fastened into at least one wall stud, with toggle bolts used in the remaining holes when a second stud does not line up. A stud finder and a test nail confirm the framing. In older plaster-and-lath walls, toggles may not grip reliably, and some installers add blocking or use additional stud locations. Tile backsplash behind the range adds another step, since holes must be drilled carefully through tile with the correct bit to avoid cracking.
Top cabinet bolts
The cabinet above the range must be sturdy enough to carry part of the microwave’s weight. Through-bolts go through the cabinet bottom into threaded holes on the top of the unit. Thin particleboard cabinet bottoms, cabinets fastened to the wall with only a couple of small screws, or cabinets that have pulled loose over years of use can be a problem. Before hanging a heavy appliance, check that the upper cabinet is screwed securely into studs. If the cabinet has a recessed bottom or a decorative valance, filler blocks may be needed so the bolts tighten without crushing the cabinet floor.
Cabinet width and height
Most OTR models fit a standard 30-inch-wide opening, with some 36-inch versions available. The space between the bottom of the upper cabinet and the countertop must fall within the manufacturer’s stated range. When upgrading from an older range hood, the existing cabinet may be too high, leaving a gap, or too low, putting the microwave too close to the cooktop. Cabinets can sometimes be lowered or replaced, but that often grows into a larger kitchen project.
Clearance to the Cooktop
Manufacturers specify a minimum distance between the cooking surface and the bottom of the microwave, and many installation guides also call for a minimum distance from the countertop to the bottom of the upper cabinet. Those numbers exist to protect the microwave’s electronics and controls from heat and to reduce fire risk from tall flames on gas burners. Exact figures vary by model and sometimes by whether the range is gas or electric, so the installation manual is the authority. Some range manufacturers also publish a minimum clearance above their cooktops; when the two manuals disagree, the more conservative distance is the safer choice. Building inspectors typically check that appliances are installed according to the manufacturer’s instructions, so a microwave hung too low can fail an inspection.
Height also affects everyday use. A unit mounted near the minimum leaves room for tall stockpots on the back burners, but places the microwave cavity high for shorter cooks and children. Lifting hot liquids out of a microwave above head height carries a scald risk. Households with young children or wheelchair users sometimes choose a drawer microwave or a countertop model plus a full range hood instead.
Venting: Ducted to the Exterior vs Recirculating
OTR microwaves ship with a fan that can be set up in one of several ways:
- Vertical discharge (ducted): exhaust exits the top of the unit into a duct that runs up through the cabinet and out through the roof or an exterior wall.
- Horizontal discharge (ducted): exhaust exits the back of the unit directly through the exterior wall behind the range, which works when the range sits on an outside wall.
- Recirculating: air passes through grease filters and a charcoal filter, then blows back into the kitchen through a grille at the top front of the unit.
Changing between modes usually means rotating the blower inside the unit, a step that should be done before mounting and is spelled out in the manual. Ducted setups require a damper so cold Colorado air does not pour back through the duct in winter, and the duct should be smooth metal of the size the manufacturer specifies, with as few elbows as possible. Exhaust should never terminate in an attic, soffit cavity or between floors, where moisture and grease can cause problems.
Recirculating mode is common in condos, interior-wall kitchens and older homes where a duct path is impractical. It traps some grease and odor but does not remove moisture, heat or combustion gases from the house. The charcoal filter needs periodic replacement to keep trapping odors.
Why OTR Microwave Vents Are Weaker Than Range Hoods
An OTR microwave is a compromise. Its fan is compact, its intake sits on the underside of a box only about 15 to 18 inches deep, and it usually does not cover the front burners, where much of the cooking happens. A dedicated hood can be wider, deeper and positioned to capture rising smoke and steam more effectively, and hoods are available with larger fans. Rated airflow numbers on OTR units can also look better on paper than they perform once real duct runs and elbows are attached.
Homeowners who cook frequently with high heat, wok or sear meat, or who have a high-output gas range, often find that a real hood is worth the cabinet space. The range hood installation guide covers sizing, duct design and makeup air considerations for higher-capacity fans.
Gas Ranges, Combustion Gases and Indoor Air
Ventilation is not only about smoke. Gas burners produce combustion byproducts. EPA lists unvented combustion appliances such as gas stoves among the primary indoor sources of nitrogen dioxide (NO2), and notes that in homes with gas stoves indoor NO2 levels often exceed outdoor levels. EPA describes NO2 as an irritant of the eyes, nose, throat and respiratory tract, and says low-level exposure may increase bronchial reactivity in some people with asthma and raise the risk of respiratory infections, especially in young children. Among its recommended steps, EPA advises installing and using an exhaust fan vented to outdoors over gas stoves and keeping gas appliances properly adjusted.
Carbon monoxide is the other concern. EPA lists gas stoves among CO sources and notes that levels near properly adjusted gas stoves are often 5 to 15 ppm, while those near poorly adjusted stoves may be 30 ppm or higher. For a gas kitchen, that makes a ducted OTR setup, or a ducted hood, a much better choice than recirculating mode, and it is a good reason to run the fan whenever burners are on. A working CO alarm on each level is also worthwhile. Homeowners planning a gas range swap can read more in the gas stove installation guide.
Electrical Requirements
OTR microwaves draw significant current while cooking, and many manufacturers call for a dedicated, grounded 120-volt circuit, commonly 15 or 20 amps depending on the model. Local codes and the installation manual determine the actual requirement, so confirm both before buying. Older homes often have the receptacle above the range sharing a circuit with countertop outlets or lighting, which can lead to tripped breakers when the microwave and a toaster run together.
The receptacle normally sits inside the upper cabinet so the cord stays hidden. Adding or relocating that receptacle, or running a new circuit from the panel, is work for a licensed electrician in most jurisdictions, and it should be done before the microwave goes up. Splices must be made in an accessible, covered box; see the junction box guide for the basics. The U.S. Fire Administration advises plugging major appliances directly into a wall outlet and never using an extension cord with a major appliance, because the cord can overheat. The same logic applies to a microwave: no extension cords or plug-in power strips inside the cabinet. Always turn the circuit off at the breaker before working near wiring, and verify it is dead with a tester.
The Installation Sequence, Step by Step
Exact steps vary by brand, but most professional installers follow a similar order:
- Measure and confirm fit. Check the opening width, the cabinet height above the counter and the distance to the cooktop against the manual before the old unit comes down.
- Shut off power. Turn off the breaker for the cabinet receptacle and confirm it is dead with a non-contact tester or plug-in tester.
- Remove the old hood or microwave. Disconnect any hardwired hood at its junction box and cap the conductors properly if the box will stay.
- Tape up the templates. Mark stud locations, plate holes, the cord hole and the duct cutout on the wall and cabinet bottom.
- Configure the blower. Rotate the fan for vertical, horizontal or recirculating discharge and install the damper or the charcoal filter as needed.
- Mount the plate. Fasten into at least one stud, level it, and use the supplied toggles in the other holes.
- Lift and hang. Feed the cord through the cabinet hole, hook the unit onto the plate, tilt it up and start the top bolts while a helper holds it.
- Connect the duct. Seal the duct joints with foil tape, not cloth duct tape, and make sure the damper swings freely.
- Test. Restore power, run the microwave, fan speeds and light, and check that air exits outside at the wall or roof cap.
Upgrading From a Range Hood or Remodeling
Swapping a range hood for an OTR microwave, or the reverse, is common during kitchen updates. Moving from a hood to an OTR unit usually means removing the hood, checking whether the existing duct lines up with the microwave’s discharge, patching the old wall or cabinet openings, and adding a receptacle in the cabinet if the hood was hardwired. Moving from an OTR microwave to a hood may need a different duct size and a new place for the microwave elsewhere in the kitchen.
When a larger remodel is underway, the decision becomes part of overall layout and budget planning. The kitchen remodel cost guide covers how ventilation, cabinets and appliance choices affect the total. Under-cabinet lights near the range are another common add-on; see under-cabinet lighting for options.
Common Problems After Installation
A few issues show up repeatedly once an OTR microwave is in service:
- Breaker trips: The microwave shares a circuit with countertop appliances. A dedicated circuit is the usual fix.
- Rattling or whistling fan: A damper that binds, a loose duct connection or a blower that was not fully seated after rotation.
- Weak exhaust: Long duct runs, crushed flex duct, too many elbows or a roof cap clogged with grease and debris. Grease filters that have not been cleaned also restrict airflow.
- Cold drafts in winter: A missing or stuck backdraft damper lets outdoor air into the kitchen.
- Unit tilting forward: The plate was fastened only into drywall, or the cabinet bolts have loosened.
- Grease drips or stains around the cap: The duct is not pitched or sealed, or it ends inside the soffit rather than at a proper termination.
Cleaning the metal grease filters every month or two, replacing charcoal filters on schedule and checking the exterior cap once a year keep most venting problems away.
Typical Costs
Costs depend on the unit, existing conditions and who does the work. Installation of a new OTR microwave into an opening that already has a properly located receptacle and a working duct is often priced as a modest flat fee by retailers and handyman services, commonly a few hundred dollars or less. Add-ons raise the total: a new dedicated circuit, relocating a receptacle, cutting a new duct through an exterior wall or roof, modifying or replacing the upper cabinet, and haul-away of the old unit. A new circuit and a new exterior duct together can cost more than the microwave itself. These are hedged estimates; written quotes based on a look at the actual kitchen are the reliable number.
What a Home Inspector Looks At
The ASHI Standard of Practice has inspectors inspect installed ovens, ranges, surface cooking appliances and microwave ovens by using normal operating controls to activate the primary function, and inspect kitchen exhaust systems. In practice that means an inspector will typically run the microwave briefly and test the fan and light. Common findings include units hung below the manufacturer’s clearance, missing or loose top bolts, recirculating vents with missing charcoal filters, ducts that end in the attic or cabinet, and extension cords feeding the unit. For more on what inspections cover and how to choose an inspector, see the home inspector hiring guide and the related heating, cooling and ventilation hiring hub.
References
- Nitrogen Dioxide’s Impact on Indoor Air Quality — U.S. Environmental Protection Agency
- Carbon Monoxide’s Impact on Indoor Air Quality — U.S. Environmental Protection Agency
- Appliance and Electrical Fire Safety — U.S. Fire Administration
- ASHI Standard of Practice for Home Inspections — American Society of Home Inspectors
Frequently asked questions
Does an over-the-range microwave need a dedicated circuit?
Many manufacturers call for a dedicated, grounded 120-volt circuit, often 15 or 20 amps depending on the model. Local code and the installation manual set the actual requirement. A licensed electrician can add a circuit if the existing outlet is shared with countertop receptacles.
Can an over-the-range microwave vent to the outside?
Yes. Most models can be set up to discharge vertically through the cabinet to a roof or wall cap, or horizontally through an exterior wall behind the range. The blower must be rotated for the chosen direction before mounting, and the duct needs a damper.
Is a recirculating microwave vent OK with a gas stove?
It filters grease and some odor but does not remove moisture or combustion gases. EPA recommends an exhaust fan vented to the outdoors over gas stoves to reduce nitrogen dioxide, so a ducted setup is the better choice for gas ranges.
How high should an over-the-range microwave be above the stove?
Follow the microwave's installation manual, which lists a minimum distance from the cooking surface and often a required cabinet height. Check the range manual too and use the more conservative figure when they differ.
Can one person install an over-the-range microwave?
Manufacturers generally recommend two people because the unit is heavy and must be held level while the top bolts are started. Mounting the plate into a stud and confirming the upper cabinet is secure are essential steps.
Want a second set of eyes on a kitchen before you buy, including the range ventilation and appliance wiring? Reach out through our contact page to connect with a Front Range inspector.