How to Get Rid of Black Mold on Wood: A Clear Guide
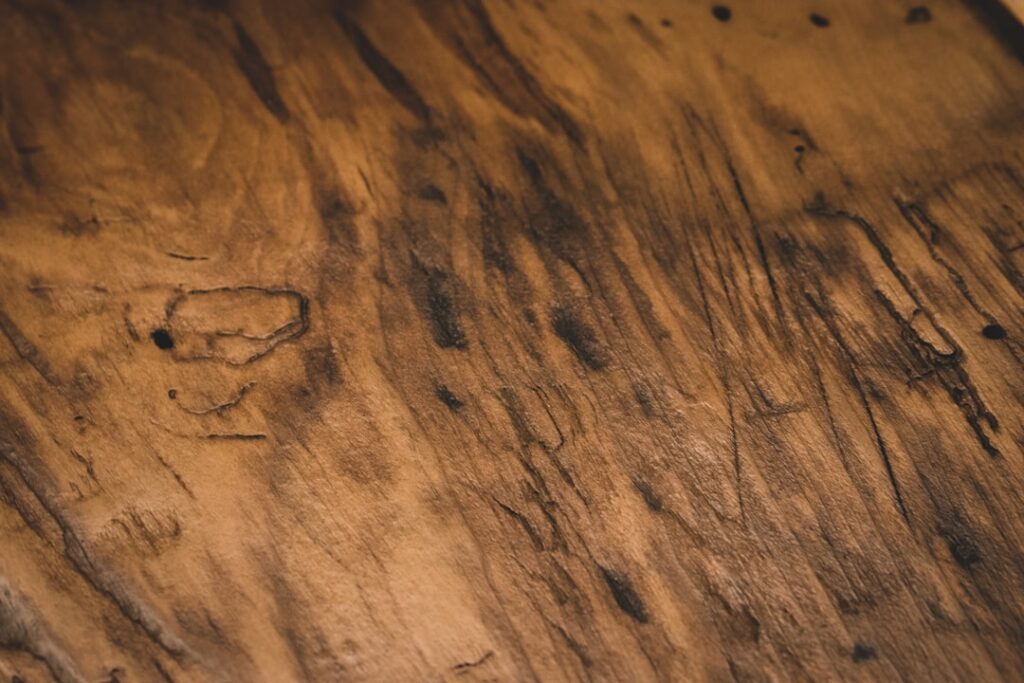
Finding fuzzy black or greenish patches on wood framing, a deck post, or a piece of furniture sends most homeowners straight to the internet to learn how to get rid of black mold on wood. Wood is porous and holds moisture, so it harbors mold more stubbornly than glass or metal, and the cleanup approach differs depending on whether the wood is sealed or bare. Small patches are usually a do-it-yourself task, while widespread growth calls for help. This guide summarizes EPA and CDC guidance current as of 2026; it is not medical advice, and anyone experiencing symptoms should see a physician while a certified professional handles larger jobs.
Part of our Black Mold & Your Health guide — start there for the full picture →
Is this mold, asbestos, or water damage? Get a free instant screen
Upload a clear photo of the suspect area. You'll get an instant AI screening opinion and what to do next. This is screening guidance, not a professional determination.
Screening guidance only. AI can be wrong. Confirm asbestos, mold type, or lead with lab testing or a licensed professional before acting.
How to Get Rid of Black Mold on Wood
The EPA sets a practical dividing line: areas smaller than about 10 square feet can generally be cleaned by a homeowner, while larger or recurring growth warrants a professional. Before touching the mold, fix whatever is keeping the wood wet, because a clean surface will recolonize within days if moisture remains. Open windows, set up a fan venting outdoors, and wear an N95 respirator, gloves, and goggles.
The cleanup itself is methodical. Mist the moldy wood with a little water so dry spores do not float into the air when disturbed. Scrub with a stiff-bristled brush and a cleaning solution, following the wood grain. Wipe the loosened material with disposable rags and bag them. Treat any residual surface stain if appearance matters, then dry the wood thoroughly. Confirming the underlying cause is critical, and the broader guide to mold inspection and testing explains how to read the warning signs of a hidden moisture problem.
Before reaching for any product, determine whether the wood is sealed or bare, because that single fact changes everything. Painted, stained, or varnished wood carries a protective film, so growth usually sits on top and wipes away with light effort. Raw framing, unfinished subfloor, and weathered exterior wood drink in both water and mold, so they demand a product that penetrates and a longer contact time. Treating sealed wood like bare wood risks gouging the finish, while treating bare wood like sealed wood leaves live colony behind. Work small areas of about two feet square so the cleaner stays wet long enough to work, change rags frequently so you are not smearing spores, and bag debris as you go.
Which Products Actually Work on Wood
Not every household cleaner suits porous wood. Choosing the right product saves repeat work.
Dish Soap and Warm Water
The EPA’s baseline recommendation for hard surfaces is detergent and water, and it works on most light wood growth. A squirt of dish soap in a bucket of warm water, scrubbed in with a brush, removes the living colony without saturating the wood. It will not erase deep gray staining, but it eliminates the active mold.
White Vinegar
Plain white vinegar, used undiluted, kills a broad range of common mold species and penetrates wood fibers. Spray it, wait roughly an hour, scrub, then wipe. It suits finished furniture and cabinetry because it generally does not damage sealants, and the odor fades as the wood dries.
Borax Solution
Borax dissolved in warm water (about one cup per gallon) is another option that inhibits regrowth and does not give off harsh fumes. Brush it on, scrub, and leave the residue rather than rinsing it fully, so it continues to discourage mold. Our comparison of black mold killer sprays covers commercial products if you prefer a ready-made formula.
Commercial Fungicidal Wood Cleaners
When household products leave growth behind, a purpose-made fungicidal wood cleaner from a paint or hardware store steps up the strength. These are formulated to penetrate wood and kill the colony at the root, and many double as a brightener that lightens staining. Follow the label for dwell time and protective gear, ventilate well, and never mix them with other cleaners. They cost more than vinegar or borax, but for set-in growth on bare lumber they often save a second round of scrubbing.
Why Bleach Is the Wrong Choice for Bare Wood
Chlorine bleach is the default many people reach for, but it underperforms on raw wood. Its active chlorine sits in a water carrier that struggles to penetrate porous fibers, so it tends to bleach the visible stain while leaving the colony’s roots alive beneath the surface. The water content can also feed regrowth. Bleach is reasonable on sealed or non-porous surfaces, but for bare framing and unfinished wood, detergent, vinegar, or borax produce more durable results. Bleach also gives off harsh fumes in an enclosed space and can corrode metal fasteners and connectors in framing over time, two more reasons to keep it off bare structural wood. If a non-porous surface genuinely calls for bleach, use it alone, never combined with vinegar or ammonia, and ventilate well.
Removing Lingering Stains and Assessing Damage
After the colony is dead, wood can still show dark discoloration in the grain. If the wood is visible and appearance matters, sand lightly with 120- to 220-grit paper to lift the stained surface layer, wearing a respirator and wiping dust afterward. On hidden structural wood, cosmetic staining is harmless once the wood is dry and the mold is killed.
Assess the wood’s condition before deciding to clean or replace. Press a screwdriver into suspect areas; wood that gives easily, feels soft, or flakes apart has rot and lost strength, and cleaning will not restore it. That material should be cut out and replaced, ideally as part of a repair that also corrects the moisture intrusion. Sound, firm wood that is merely stained can be cleaned and left in place. When the suspect wood is a load-bearing member, a joist, a beam, a stud carrying weight, do not gamble on a judgment call; have it evaluated before deciding to clean or replace, because the safety stakes are higher than the cost of an inspection.
Drying and Keeping Mold From Returning
Drying is the difference between a permanent fix and a recurring nuisance. Run a dehumidifier and fans on the cleaned area for 24 to 48 hours, and verify with a moisture meter that the wood has returned to a normal level before sealing or painting. The EPA recommends keeping indoor relative humidity between 30 and 50 percent to discourage mold.
Long-term prevention means controlling water. Seal bare wood in damp areas with primer and paint or a moisture-resistant sealer. Improve grading and gutters so rainwater drains away from the foundation. Insulate sweating pipes, vent bathrooms and kitchens outdoors, and add a vapor barrier and dehumidifier in crawl spaces. Along the Front Range, dry indoor air means recurring mold usually traces to a specific leak rather than ambient humidity, so finding that source is the lasting fix.
Build a habit of checking the wood most likely to get wet. Window and door framing, the wood behind and beneath appliances, the sill plate where the frame sits on the foundation, and any joists over a damp crawl space are the spots that fail first. A seasonal flashlight inspection, paired with a moisture-meter spot check if you own one, catches dampness while it is still invisible. In Colorado, sudden water events, an ice dam in winter, snowmelt in spring, a monsoon downpour in midsummer, can soak framing that is normally dry, so timing those checks to the weather pays off.
Pay attention to how the wood smells and feels, not just how it looks. A musty odor from a closet, cabinet, or crawl space often precedes visible growth, and wood that feels cool and damp to the touch is already at risk. Treating those early signals as prompts to investigate, rather than waiting for a stain to appear, is what keeps a five-minute wipe-down from becoming a weekend tear-out. The cheapest mold to deal with is the mold you stop before it establishes.
Safety Gear and Keeping Spores Contained
Disturbing mold sends spores into the air, so protect yourself before you start. The CDC and EPA recommend at least an N95 respirator rather than a flimsy paper dust mask, wrist-length nitrile or rubber gloves, and sealed goggles without vent holes. Wear washable or disposable clothing, and tie back loose sleeves that could brush the moldy surface and carry spores elsewhere.
Containment matters as much as personal protection. When the moldy wood is near living areas, seal off the space with plastic sheeting, shut down the HVAC so the system does not distribute spores through the ducts, and set a box fan in a window blowing outward to draw air, and any disturbed spores, out of the house. Cover the floor with plastic to catch debris. As you finish, dampen and wipe your tools, bag all rags and disposables in heavy contractor bags, seal them, and remove them directly outdoors. Skipping containment is how a contained spot on one stud turns into scattered growth across a room weeks later.
Sealing and Refinishing After the Mold Is Gone
Once the wood is clean, dry, and confirmed mold-free, the finishing approach depends on where the wood lives. Hidden framing that is sound but lightly stained can be coated with a mold-resistant encapsulant, a paint-like product that locks down any residual surface material and leaves a clean, easy-to-monitor surface. This is a finishing step, not a shortcut; encapsulating over active or damp mold simply hides a problem that will keep growing underneath.
Visible wood, furniture, trim, and flooring, usually calls for sanding out any remaining stain and then refinishing with a quality sealer or paint. In damp locations such as basement framing or crawl space joists, sealing bare wood is also a prevention measure, since a sealed surface absorbs far less moisture than raw lumber. Choose a primer and topcoat rated for moisture-prone areas, and let each coat cure fully. Refinishing is the point at which a successful cleanup becomes a durable one, because a sealed surface resists the next round of dampness.
Outdoor and Structural Wood: Decks, Fences, and Framing
Mold and the closely related mildew that gray exterior wood call for a slightly different playbook than indoor trim. Decks, fences, and exterior framing are exposed to rain, snow, and shade, so growth recurs unless the wood is cleaned and then protected. A deck wash or a solution of detergent or oxygen bleach (sodium percarbonate, gentler on wood and plants than chlorine bleach) scrubbed in with a stiff brush lifts most exterior growth. A pressure washer speeds large areas, but use a wide fan tip and keep it moving, because too much pressure gouges and fuzzes the wood grain.
After cleaning and a few dry days, seal or stain exterior wood, since a water-repellent finish is what keeps mold and rot from returning to surfaces that stay damp and shaded. On the Front Range, snowmelt against the bottom of fence posts and the shaded north side of decks are the usual recurring trouble spots, so pay extra attention there and refresh the finish on schedule. For structural framing exposed by a renovation or in an unfinished basement, the same principles apply: clean sound wood, replace rotted wood, dry thoroughly, then seal the bare lumber so it resists the next round of moisture rather than soaking it up.
When to Bring in a Professional
Call a remediation contractor when the moldy area is larger than roughly 10 square feet, when growth returns despite repeated cleaning, when it follows sewage or floodwater, or when the home includes people with asthma, mold allergies, or weakened immune systems. Mold hidden inside walls, beneath large stretches of subfloor, or running through framing also needs professional evaluation, because the visible patch usually understates the real extent.
A qualified inspector can map moisture, define the contaminated zone, and recommend a remediation protocol before any wood comes out. That keeps you from leaving live mold behind or tearing out more sound material than necessary, and it ties cleanup to the repairs that stop the problem from recurring.
References
- Mold Cleanup in Your Home — U.S. Environmental Protection Agency
- About Mold and Health — Centers for Disease Control and Prevention
- Mold and Indoor Air Quality — American Lung Association
Frequently asked questions
What is the best way to get rid of black mold on wood?
Fix the moisture source, then scrub the wood with detergent and water, white vinegar, or a borax solution while wearing a respirator and gloves. Wipe up the residue, dry the wood fully with fans and a dehumidifier, and verify it is dry before sealing or painting.
Does borax kill mold on wood?
Yes. Borax dissolved in warm water inhibits mold and does not produce harsh fumes. Brush it on, scrub, and leave the residue rather than rinsing it off so it continues to discourage regrowth.
Should I sand the wood after killing the mold?
Only if appearance matters. Killing the colony stops the active mold, but staining can remain in the grain. Light sanding lifts the stained surface on visible wood; on hidden framing, dry and stain-free is unnecessary as long as the wood is sound.
When is wood too far gone to clean?
If the wood is soft, spongy, or crumbles when pressed, it has rotted and lost strength. Cleaning will not restore it, so that material should be cut out and replaced, ideally while correcting the moisture problem that caused it.
Front Range homeowners dealing with persistent mold on framing or finished wood can get in touch through our contact page to connect with a qualified inspector who can pinpoint the moisture source.
Mold removal & cleanup picks
For a small, contained patch (under ~10 sq ft) these EPA-friendly removers handle surface mold. Larger or recurring growth warrants a professional assessment first.
| Product | Why | Buy |
|---|---|---|
 RMR-86 Instant Mold Stain Remover RMR-86 Instant Mold Stain Remover | Fast-acting on stains; ventilate and wear PPE. | Amazon — $29.99 |
 Concrobium Mold Control Concrobium Mold Control | No-bleach formula that also helps prevent regrowth. | Amazon — $11.26 |
 Mold Armor Mold & Mildew Remover Mold Armor Mold & Mildew Remover | Widely stocked bathroom/surface remover. | Amazon — $22.98 |