How Do You Test for Radon: Step-by-Step Procedure for Homeowners
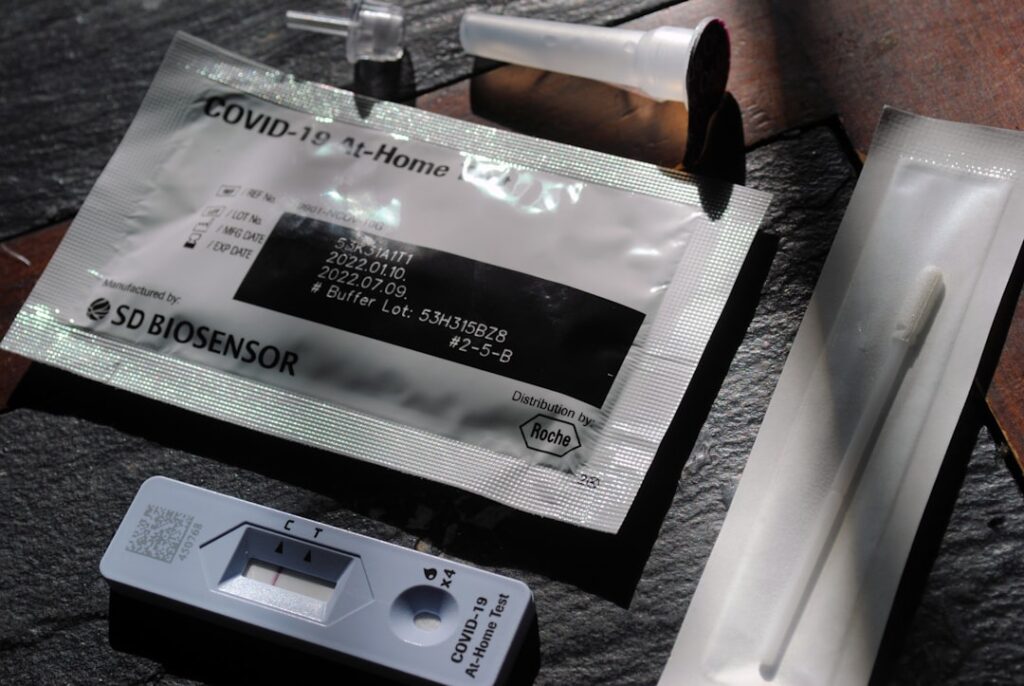
Testing for radon is a well-defined procedure with five distinct steps — preparation, deployment, exposure, analysis, and interpretation. The protocol exists because radon concentration changes with ventilation, weather, and time of day, so the testing methodology has to standardize conditions for the result to be meaningful. The question how do you test for radon has a straightforward operational answer once a homeowner knows the sequence. This guide walks through the step-by-step procedure for both DIY passive tests and professional continuous-monitor tests, with the closed-house conditioning and result-interpretation framework Colorado homeowners need. The information here reflects EPA, NRPP, and CDPHE guidance current as of 2026 and is informational only.
Part of our Radon Levels guide — start there for the full picture →
Step One: Choose Your Test Method
Before deploying anything, decide which test method fits your situation:
DIY short-term passive test (charcoal canister or short-term alpha-track). Best for an initial screening, especially for owner-occupied homes where the result will inform a personal decision rather than a transaction. Cost is $15-$35 including lab analysis. Get the test from CDPHE’s free or discounted program if you qualify, from the American Lung Association, or from a NVLAP-accredited lab like AccuStar, AirChek, or Pro-Lab.
DIY long-term passive test (alpha-track). Best for understanding annual average exposure. Cost is $25-$50. Deploy for 90 days to 12 months in the lowest livable level of the home.
DIY continuous radon monitor. Best for ongoing awareness and verification of mitigation system performance. Consumer-grade CRMs (Airthings Wave, RadonEye, EcoQube) cost $150-$300. Place once and read continuously for years.
Professional NRPP-certified test. Required for real-estate transactions in most Front Range jurisdictions. Cost is typically $150-$300 for a 48-96 hour test with a calibrated continuous monitor. Use the NRPP or NRSB online directory to find certified measurement professionals in Denver, Boulder, Colorado Springs, and other Front Range cities.
For a comparison of which approach fits which scenario, the DIY versus professional radon testing guide walks through the decision logic.
Step Two: Prepare the Home With Closed-House Conditions
For any test of 96 hours or less, closed-house conditions must be established 12 hours before deployment and maintained throughout the test period.
Close all exterior windows and doors. Normal in-and-out traffic through doors is permitted; sustained open windows are not.
Turn off exterior-vented fans. Whole-house fans, attic fans, and continuous bathroom or kitchen exhaust fans should be off. Brief use of bathroom or kitchen exhaust during cooking or showering is acceptable.
Don’t run HVAC fans on “always-on” mode during the test. The HVAC system can run as normal in auto mode, cycling on and off with the thermostat. Continuous fan operation in “on” mode is not recommended.
Keep weather variables stable. Avoid scheduling tests during major weather events — storms, sustained high winds, or rapid temperature swings — that significantly affect indoor radon by altering the indoor-outdoor pressure differential.
For long-term tests of 90 days or more, closed-house conditions are not required because the time-averaging across normal occupancy patterns produces a representative result.
Step Three: Place the Test Device
The placement of the test device is prescriptive and affects the result:
Lowest livable level. Place the device in the lowest level of the home that is regularly occupied. For most Front Range homes with finished basements, this is the basement. For slab-on-grade homes, this is the main floor. Crawlspaces themselves are not tested; the floor directly above the crawlspace is tested.
2 to 7 feet above the floor. Counter height to head height. Not on the floor (where dust accumulates) and not against the ceiling (where airflow patterns differ).
3 feet from exterior walls, windows, and doors. Outdoor air leakage near openings can dilute the local concentration.
4 inches from interior walls. Air doesn’t circulate well in the corner pocket against a wall.
Away from drafts, vents, and direct sunlight. Forced-air vents and registers, HVAC supply ducts, kitchen exhaust hoods, and direct sun on the device all skew the result.
Away from sources of moisture and heat. Not near a humidifier, dehumidifier, washing machine, dryer, or fireplace.
The device should not be moved during the test. If it gets bumped, knocked over, or relocated, the test is invalidated and a new one is needed.
Step Four: The Exposure Period
Once deployed, the device records or accumulates radon concentration data over the exposure period.
For short-term passive devices, the typical exposure window is 48-96 hours. Charcoal canisters are time-sensitive: longer than 7 days produces unreliable results because the charcoal becomes saturated and decay products begin to escape. Short-term alpha-track and electret-ion-chamber devices have longer valid windows of 2-30 days.
For long-term alpha-track devices, the exposure window is 90 days to 12 months. The longer the exposure, the more tracks accumulate and the better the statistical confidence in the final result.
For continuous radon monitors, no closing event is needed — the device logs hourly readings indefinitely. For an initial test, leave the CRM in place for 48-96 hours under closed-house conditions to produce a comparable result to a passive test.
During the exposure period, the homeowner should:
Maintain closed-house conditions for the entire test (short-term only).
Avoid disturbing the device. Don’t move it, don’t cover it, don’t touch it.
Track unusual events. If a window is left open accidentally or a major weather event occurs, note it for context when interpreting the result.
Step Five: Ship to Lab or Read Monitor
For passive tests, after the exposure period ends:
Close the device per instructions. Charcoal canisters get sealed in their original metal lid. Alpha-track devices are sealed in their return mailer.
Note the end date and time on the chain-of-custody form. This is required for the lab to calculate the exposure period accurately.
Ship promptly. Charcoal canisters in particular must reach the lab within a few days because the radon decay products on the charcoal have a finite half-life. The longer the canister sits in transit, the less accurate the back-calculation.
Wait for the lab report. Standard turnaround is 5-10 business days after the lab receives the device. Rush service is available from most labs for an additional fee.
For continuous radon monitors, the device displays the current reading and stores historical data. Consumer CRMs sync to a smartphone app that shows hourly, daily, weekly, and rolling-average concentration. Professional CRMs produce a PDF report with the full exposure profile.
Step Six: Interpret the Result
The result is reported in pCi/L (US) or Bq/m³ (international).
Below 2.0 pCi/L: EPA recommends no action. Retest every 5-10 years.
2.0 to 3.9 pCi/L: Consider mitigation. Many Colorado homeowners choose to mitigate in this range.
4.0 pCi/L or higher: EPA action level. Mitigate. Consider a confirmation test (second short-term or one long-term) before contracting for a system, but don’t delay action if the result is well above 4.
EPA recommends a confirmation test for any short-term result at or above 4.0 pCi/L because individual tests have measurement uncertainty and short-term tests are sensitive to test-period conditions. The confirmation can be a second short-term test (faster) or a long-term test (more accurate). The decision to mitigate is based on the higher result.
For multi-story homes, EPA suggests testing on every regularly occupied floor if the lowest level tested elevated. Most Front Range homeowners limit testing to the lowest livable level because that represents the maximum exposure.
The how to check for radon step-by-step guide walks through the same protocol with slightly different emphasis on the deployment specifics.
Step Seven: Act on the Result
If the result is below 4.0 pCi/L, no action is required, though Colorado homeowners may still choose to mitigate proactively given the state-level elevated risk.
If the result is 4.0 pCi/L or higher, the next step is contacting an NRPP-certified mitigation contractor. The contractor performs a site assessment, designs an SSD system specific to the home’s foundation, files any required local permit, installs the system (typically 1 day), and conducts a post-mitigation test 24-48 hours after the system is operating.
Post-mitigation testing verifies the system reduced radon below 4 pCi/L. Most properly designed Front Range SSD systems achieve 1-2 pCi/L post-mitigation. The radon system inspection guide covers post-mitigation verification in detail.
References
- EPA how to test your home for radon — U.S. Environmental Protection Agency
- CDC radon testing guidance — Centers for Disease Control and Prevention
- CDPHE Colorado radon test kit program — Colorado Department of Public Health and Environment
Frequently asked questions
What is closed-house condition for radon testing?
Closed-house conditions mean windows and exterior doors closed for 12 hours before testing starts and throughout the test period. Exterior-vented fans (whole-house, attic, continuous bath fans) are off. Normal door traffic and brief exhaust fan use during cooking or showering are permitted.
Where should I place a radon test device?
Place the device in the lowest livable level of the home, 2-7 feet above the floor, 3 feet from exterior walls and openings, 4 inches from interior walls. Avoid drafts, vents, direct sunlight, and sources of moisture or heat. Do not move the device during the test.
How long should a short-term radon test run?
Standard short-term passive tests run 48-96 hours under closed-house conditions. Charcoal canisters cannot exceed 7 days due to charcoal saturation. Continuous radon monitors used in real-estate transactions typically run 48 hours minimum.
Do I need to confirm a high radon reading with a second test?
EPA recommends confirming any short-term result at or above 4.0 pCi/L with either a second short-term test or a long-term test. The decision to mitigate is based on the higher of the two results. Don't delay action if the initial result is well above 4.
Front Range homeowners who want a NRPP-certified professional test rather than a DIY kit can reach our team through the contact page for a referral to a Colorado measurement specialist.
Test your home for radon
Radon is invisible and odorless, so a test is the only way to know your level. A short-term kit gives a first reading in days; a digital monitor tracks it over time.
| Product | Why | Buy |
|---|---|---|
 AirChek Charcoal Radon Test Kit AirChek Charcoal Radon Test Kit | Lab fee usually included; EPA short-term protocol. | Amazon — $21.95 |
 First Alert RD1 Radon Test Kit First Alert RD1 Radon Test Kit | Widely stocked; 48-hour charcoal test. | Amazon — $16.98 |
 Airthings Corentium Home Airthings Corentium Home | Digital monitor with a long-term average. | Amazon — $143.65 |