Thermography Home Inspection: What Homeowners Need to Know
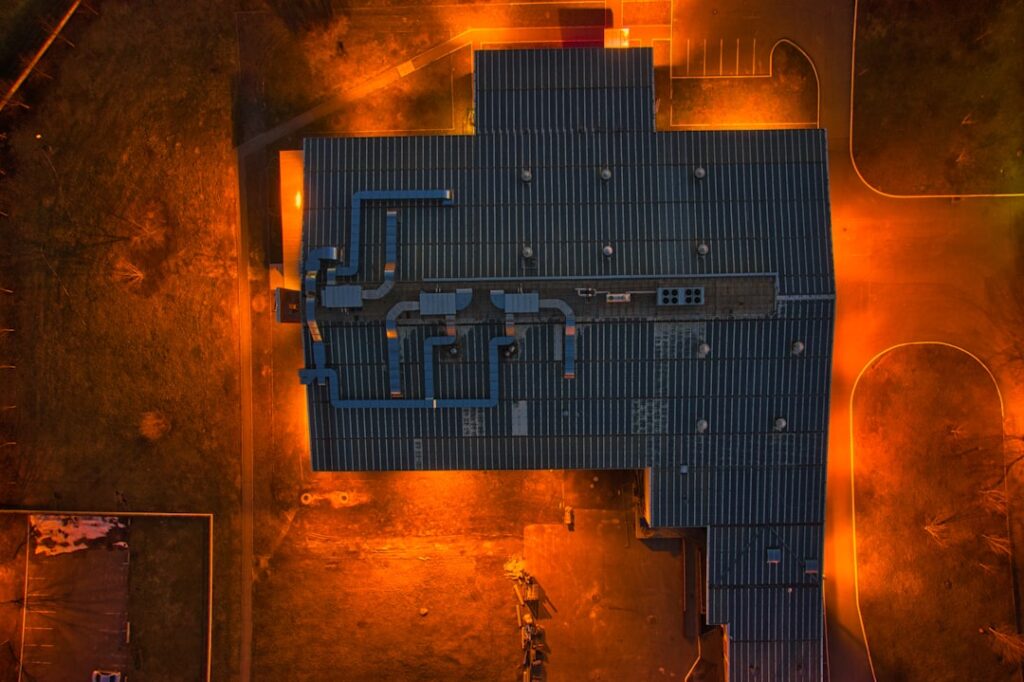
Thermography in home inspection means using a long-wave infrared (LWIR) thermal camera to capture surface temperature differences across walls, ceilings, windows, and electrical panels. The technique is widely used by trained home inspectors to spot missing insulation, hidden moisture, air-leakage paths, electrical hot-spots, and HVAC inefficiencies — none of which are visible to the naked eye. A thermography home inspection is not a separate inspection type in most cases; it is an add-on diagnostic layer that supplements the standard visual inspection. This guide explains what the technology actually shows, what training inspectors need to use it well, and how to evaluate a thermal imaging report.
Part of our Thermal Imaging for Homes guide — start there for the full picture →
What a thermal camera shows during a home inspection
A thermal camera detects emitted long-wave infrared radiation in the 8-14 micron range and translates the data into a false-color image where each color represents a temperature. Hot zones appear in white, yellow, and red; cold zones in dark blue and black. The camera does not see through walls — it sees temperature differences on the surface, which often indicate what is happening behind the surface.
Common patterns inspectors look for: cold spots on exterior walls suggesting missing insulation; warm rectangular outlines around windows suggesting air leakage; cool patches on ceilings beneath roofs suggesting active water intrusion; hot spots on electrical panels suggesting loose connections or overloaded circuits; cool rings beneath flooring suggesting plumbing leaks; and temperature stratification suggesting HVAC duct issues.
The InterNACHI Infrared Certified credential
Not every home inspector with a thermal camera is trained to use it. The relevant credential for home-inspection thermography is the InterNACHI Infrared Certified (IAC2) designation, which requires coursework and an exam covering thermal physics, image interpretation, and the limits of the technology in residential applications. Homeowners hiring a thermography home inspection should verify the inspector holds this credential or an equivalent from ITC (Infrared Training Center) or similar organizations.
An inspector without infrared-specific training can still produce a thermal image, but interpretation matters more than capture. The technology has dozens of failure modes — wet surfaces look “cold,” reflective surfaces give misleading readings, and ambient temperature differential between indoor and outdoor air affects what shows up. Untrained operators draw the wrong conclusions from technically valid images.
What thermography catches that visual inspection misses
The high-value finds during a thermography home inspection cluster in four categories.
Moisture detection
Wet materials evaporate water from the surface, cooling that surface relative to dry materials nearby. A thermal scan of a basement wall, ceiling beneath a bathroom, or under-window sill often reveals moisture intrusion before staining or visible mold appears. The pattern shows up as a cool zone with a roughly recognizable shape — a drip path, a fan from a leak source, or a horizontal line at the top of a wet wall.
Missing or compressed insulation
An exterior wall with intact insulation shows uniform surface temperature. Missing batts, settled insulation, or thermal bypasses around studs and electrical boxes show as cool rectangles or stripes on the interior wall surface during winter (or warm rectangles in summer). The pattern reveals the insulation distribution behind the drywall.
Electrical hot-spots
A thermal scan of an electrical panel reveals breakers, lugs, and busbar connections running hotter than their neighbors. Loose connections, overloaded circuits, and corroded contacts all produce localized heating that the camera catches before failure becomes visible.
HVAC and plumbing performance
Duct losses show up as cool stripes following the duct path in ceilings. Plumbing leaks under floors appear as cool circles or paths. Radiant floor heating systems can be checked for even distribution. Bath-fan or dryer-vent leaks into wall cavities show up as warm trails.
Conditions that make thermography effective
Thermal cameras need a temperature differential to find problems. A common rule of thumb is at least 10°F (5.5°C) between indoor and outdoor air, with the system running long enough to establish steady-state conditions. Front Range winter conditions — cold outdoor temperatures, heated indoor air — are ideal for finding insulation and air-leakage problems. Summer monsoon conditions work for moisture detection in basement walls.
A thermography inspection scheduled for the wrong season may miss findings that another season would catch easily. Ask the inspector whether the conditions on the visit day will support the diagnostic goals.
What a thermal imaging session looks like during a home inspection
A standard add-on thermography pass during a home inspection takes 30-60 minutes for a 2,000-square-foot home, on top of the regular inspection time. The inspector walks the perimeter scanning exterior walls from the inside, checks all bathroom and kitchen walls for moisture, scans ceilings beneath any roof penetrations, opens the electrical panel cover and scans the breakers, and walks the basement and crawlspace looking for cold-floor patterns.
Findings are captured as photographs paired with thermal images. A complete thermography report includes the false-color thermal image alongside a visible-light photograph of the same area, an interpretation of what the pattern indicates, and a recommendation for follow-up if warranted. For inspector credentials and broader hiring questions, see our certified inspector buyer guide.
Indoor air conditions that improve thermal images
Beyond the indoor-outdoor temperature differential, several other conditions affect thermography quality. Air-handler operation matters — the inspector usually wants the HVAC running to drive air through hidden cavities and amplify thermal contrasts. Sunlight on exterior walls within an hour of the inspection can heat surfaces unevenly and produce misleading patterns indoors; experienced inspectors schedule around it.
Humidity also matters. High indoor humidity dampens thermal contrasts because moisture in the air absorbs some infrared. Front Range homes typically have low indoor humidity in winter, which works in the inspector’s favor. Wind on the day of the inspection affects exterior scans more than interior scans — a windy day pushes air leakage through cracks faster, producing sharper thermal signatures around windows and doors.
Pricing for thermography add-on
Most Front Range home inspectors offer thermography as an add-on rather than a separate service. Typical 2026 pricing:
Thermography add-on to standard home inspection. $100-$250. Performed during the same visit as the regular inspection.
Stand-alone thermography inspection. $300-$500. Focused diagnostic session, typically commissioned after a regular inspection raised concerns.
Energy audit with thermography. $400-$700. Includes blower-door pressurization to drive air leakage and produce more dramatic thermal contrast.
The thermography premium pays for itself when it catches a single hidden problem — a moisture intrusion behind drywall, a failing breaker, or missing wall insulation in a renovation that should have addressed it.
What thermography cannot do
Thermal imaging has structural limits homeowners should understand before paying for it.
It does not see through walls. It detects surface temperature differences. If a problem behind the wall has not yet produced a temperature gradient, the camera will not show it.
It does not directly measure moisture. Cool patches suggest moisture but do not confirm it. A pin-style moisture meter at the cool zone is the confirmation step. Our moisture meter primer covers the confirmation methodology.
It does not work without temperature differential. A spring or fall inspection with indoor and outdoor temperatures within a few degrees of each other will produce flat thermal images that reveal little.
It can be fooled by reflective surfaces. Glass, polished metal, and glossy paint reflect ambient infrared and give misleading readings. Trained operators know to compensate.
Common findings in Front Range homes
Thermography on Front Range houses produces predictable patterns by housing era. Pre-1970 ranch homes often show poor exterior-wall insulation — large cool zones across whole wall sections during winter scans. Energy retrofits from the 1980s and 1990s sometimes show settled batt insulation at the top of stud cavities, with cool stripes visible at the wall top. Newer construction (post-2010) tends to show clean wall insulation but can reveal thermal bypasses around recessed lights, attic hatches, and rim joists.
Bathroom and kitchen scans on any era of housing often reveal active or recent moisture in under-sink cabinets, behind tubs, and at refrigerator water-supply hookups. Basement scans frequently catch rim-joist air leakage and seasonal moisture migration through concrete walls.
Cameras inspectors use
Most home inspectors use mid-tier LWIR cameras with resolution between 160×120 and 320×240 pixels and thermal sensitivity (NETD) under 60 mK. Common models in the home-inspection trade include the Seek Thermal Reveal Pro, the Hikmicro PocketE series, and various FLIR and Fluke handhelds. Phone-attached cameras like the FLIR ONE Pro produce usable images for visible-pattern findings but lack the resolution and sensitivity for nuanced detection.
Camera quality affects what the inspector can find. A 160×120 camera reveals large temperature patterns; a 320×240 camera catches finer-grained details. Higher-resolution cameras matter most for small electrical hot-spots and subtle wall-insulation patterns.
How thermography fits into a full home inspection
Thermography is one diagnostic tool among several. A complete home inspection layers visual examination, moisture meters, thermal imaging, electrical testing, and sometimes borescope camera inspection of hidden cavities. Each tool catches what the others miss. The inspector’s role is to integrate the findings into a coherent picture of the property’s condition.
For homeowners weighing what a full home inspection includes, the hiring-a-home-inspector hub walks through the buyer’s-side decision tree.
Questions to ask before booking a thermography inspection
Five vetting questions separate trained operators from box-checkers.
1. Are you InterNACHI Infrared Certified or ITC trained? Get the credential number and verify it.
2. What camera model and resolution do you use? 160×120 is the practical minimum for home inspection; 320×240 or higher is preferred.
3. What temperature differential do you require for an effective scan? The correct answer involves a 10°F minimum and an explanation of why.
4. How do you confirm thermal anomalies? The right answer is “moisture meter for moisture-pattern anomalies, electrical follow-up for hot-spots, visual confirmation for missing insulation.”
5. What is included in the deliverable? Complete reports pair thermal and visible-light images, narrative interpretation, and recommendations. Standalone thermal images without interpretation are not a report.
Reading a thermography report
A complete report pairs each thermal image with a visible-light photograph, a written interpretation, and a recommendation. Look for: clear annotation of each thermal anomaly; differentiation between thermal patterns that warrant follow-up and those that are normal variations; a methodology note describing the indoor-outdoor temperature differential and ambient conditions; and explicit limits — what the inspector could not assess due to conditions or access.
Thermal images alone, without interpretation, are not a report. A homeowner who receives a stack of pretty rainbow pictures with no narrative has paid for capture but not analysis.
When to commission a separate thermography inspection
Hire a stand-alone thermography pass — separate from a regular home inspection — when: a recent water event leaves moisture concerns; visible signs suggest insulation problems before a major energy project; an electrical panel needs a heat-of-operation check; or post-remediation verification needs to confirm a previously identified problem has dried out. Stand-alone visits at $300-$500 are reasonable spend for a focused diagnostic question.
References
- Infrared Thermography Inspection Standards — InterNACHI
- ASHI Standards of Practice — American Society of Home Inspectors
- ENERGY STAR: Seal and Insulate — U.S. Environmental Protection Agency (ENERGY STAR)
- Moisture Diagnostics in Mold Investigation — U.S. Environmental Protection Agency
Frequently asked questions
What is a thermography home inspection?
A diagnostic layer added to a standard home inspection that uses a long-wave infrared thermal camera to capture surface temperature differences. The technique reveals hidden moisture, missing insulation, electrical hot-spots, plumbing leaks, and HVAC duct issues that visual inspection alone cannot detect.
Do all home inspectors offer thermography?
No. Thermography requires both equipment (mid-tier LWIR camera, typically $1,500-$5,000) and training (InterNACHI Infrared Certified credential or equivalent). Many inspectors offer it as an add-on; some specialize in thermography as a stand-alone service. Always verify the credential.
How much does a thermography home inspection cost?
Front Range 2026 pricing: $100-$250 as an add-on to a standard home inspection; $300-$500 for a stand-alone thermography inspection; $400-$700 for an energy audit with thermography and blower-door pressurization.
Can a thermal camera see mold through walls?
No. Thermal cameras detect surface temperature differences. A wet wall cavity often shows as a cool patch on the surface, which is suggestive of moisture but not proof of mold. Confirmation requires a moisture meter, sometimes a borescope inspection of the cavity, and sometimes a spore-trap air sample.