Lead Test Swabs: 2026 Homeowner Guide and Limits
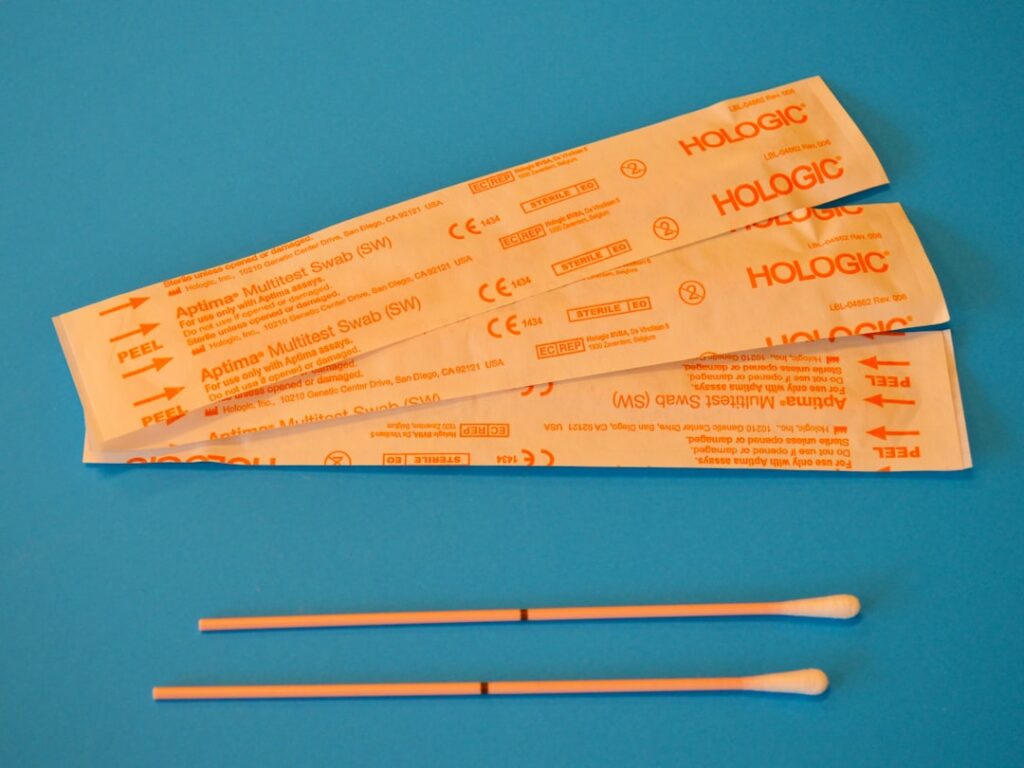
Lead test swabs are the entry-level option for homeowners who want a fast, inexpensive read on whether painted surfaces in a pre-1978 home contain lead-based paint. They are useful, but they are also widely misunderstood. The two best-known products — 3M LeadCheck and D-Lead — are EPA-recognized for specific applications under the Renovation, Repair, and Painting (RRP) Rule, with documented limitations that homeowners should understand before relying on the result. This guide summarizes EPA and HUD guidance current as of 2026 and is not a substitute for an EPA-certified Lead Inspector or Lead Risk Assessor when defensible results are required. The honest summary is that swabs are good at certain things, bad at others, and homeowners who treat them as a definitive answer in every situation will sometimes make the wrong decision.
Part of our Lead Paint & Lead Testing guide — start there for the full picture →
Asbestos or biohazard concern? Speak with a certified contractor.
📞 Call (877) 742-8496What lead test swabs are and how they work
Lead test swabs are small, sealed applicators that, when activated and rubbed on an exposed paint surface, produce a visible color change in the presence of lead. The chemistry varies by product: 3M LeadCheck uses sodium rhodizonate, which turns pink to red on contact with leachable lead; D-Lead uses a different chemical system that also produces a color change but with different sensitivity profiles. Both products are designed for in-place use without lab analysis. Results are read within a manufacturer-specified time window — typically 30 seconds to 2 minutes for LeadCheck — after which color development is no longer reliable.
Cost in 2026 runs roughly $15 to $30 per package containing 2 to 8 individually packaged swabs, which works out to $3 to $10 per surface tested. The kits are sold at major hardware retailers and online. No mailing, no lab fee, no waiting period for results.
EPA recognition and the RRP context
EPA has formally recognized 3M LeadCheck and D-Lead under the Renovation, Repair, and Painting (RRP) Rule as test kits that can be used by certified renovators to determine whether lead-based paint is present on surfaces affected by RRP-covered renovation work. The recognition is narrow:
A negative result from a recognized swab kit, used per the kit’s instructions on the surface to be disturbed, is sufficient to demonstrate that the surface does not contain regulated lead-based paint for RRP purposes. The negative result, in other words, has regulatory weight.
A positive result is exactly what it sounds like — confirmation of lead presence above the kit’s detection threshold. The positive result also has regulatory weight.
The recognition does not extend to all surfaces, all substrates, or all paint conditions. The kits have well-characterized failure modes that EPA’s recognition documentation explicitly describes.
The RRP context matters because RRP triggers — paid renovation work disturbing more than 6 square feet of interior or 20 square feet of exterior painted surface in pre-1978 housing or child-occupied facilities — drive a lot of homeowner interest in swab testing. For RRP-covered work, EPA-recognized swabs are a legitimate decision tool. For other purposes, the cost-benefit shifts.
When swabs are reliable
Swabs work best on:
Clean, unweathered, single-layer paint on a hard substrate. The chemistry needs direct contact with paint film that hasn’t been chemically altered by sun, water, or repeated coats.
Surfaces where the homeowner has scratched through all paint layers to expose the substrate before applying the swab. This step matters and is frequently skipped. Failing to expose lower layers is the single most common cause of false negatives.
Decision-making about whether a specific renovation surface needs RRP-rule precautions. EPA’s recognition specifically supports this use case.
Quick preliminary screening in many rooms when budget does not allow XRF or lab paint-chip analysis on every component.
Used in those conditions and with the scratching step properly performed, swabs produce useful information.
When swabs are unreliable
Swabs are less reliable on:
Weathered exterior paint where surface chemistry has been altered by UV, rain, and freeze-thaw cycles. Chalking and oxidation interfere with the color reaction.
Multi-layer pre-1978 paint where the lead layer is buried under newer non-lead paint. Without proper scratching to expose all layers, the swab tests only the top non-lead layer and produces a misleading negative.
Dark-pigmented substrates where the visible color change is hard to read against the background.
Surfaces with high iron content where chemical interference can produce false positives or ambiguous results.
Substrates with applied finishes like varnishes, sealers, or shellacs that block direct chemical contact between swab and paint.
Real-estate transactions, regulatory clearance, or any defensible-documentation use case. For these purposes, XRF inspection or lab paint-chip analysis is the appropriate tool.
The pattern across reliability is consistent: swabs are good for fast preliminary decisions on accessible, clean paint. They are not good for archival, regulatory, or high-stakes purposes where a false negative could have lasting consequences.
How to use lead test swabs correctly
Manufacturer instructions vary slightly, but the general protocol is:
1. Identify the specific paint layers to test. If the surface has been repainted multiple times since the home was built, every layer matters because lead-based paint may be buried under newer paint.
2. With a sharp utility knife or screwdriver, scratch through all paint layers down to the substrate, creating a small exposed cross-section that shows every layer.
3. Activate the swab per the manufacturer’s instructions (typically crushing an internal ampule and shaking).
4. Rub the activated swab firmly against the freshly exposed scratch for 30 seconds, ensuring the swab tip contacts all visible paint layers in the cross-section.
5. Observe the swab and the surface for the manufacturer-specified color change during the read window (typically 30 seconds to 2 minutes).
6. Record the result, the surface tested, the location, and the date.
7. Use a confirmation card or test card per manufacturer instructions to verify swab function on each lot.
Skipping the scratching step is the single biggest user error. A homeowner who just rubs the swab on the top paint layer of a wall with five paint generations underneath will get a misleading negative every time the top layer is post-1978.
When to upgrade to XRF or lab paint-chip analysis
Several situations justify the cost step up from swabs ($15 to $30 per kit) to XRF inspection ($300 to $700) or lab paint-chip analysis ($25 to $75 per sample):
Real-estate transactions where a defensible report supports disclosure or negotiation.
Young children in the home, especially if blood lead levels are elevated.
Whole-house presence-or-absence questions covering 50 to 300 components — XRF is faster and cheaper per component than dozens of swabs plus lab confirmations.
Surfaces where swab reliability is known to be weak (weathered exterior, multi-layer assemblies, varnished or sealed surfaces).
Post-abatement clearance verification, which requires dust-wipe sampling and lab analysis under NLLAP protocols.
For broader background on lead testing options and pre-1978 housing risk, homeowners can review our asbestos and lead pillar overview, and those weighing professional inspection alongside DIY testing should also see our hiring process pillar for credential-verification habits.
Swabs versus lab paint-chip side by side
A useful frame: swabs answer “is there enough lead here to react with this chemistry, right now, given my scratching technique?” Lab paint-chip analysis answers “exactly how much lead is in this chip, by weight or per area, with a documented chain of custody and a defensible number?” The two methods serve different needs. Swabs are screening; lab is documentation.
For homeowners with limited budget and a pre-1978 home, a reasonable hybrid strategy is to swab obviously suspect surfaces (windows, doors, kitchen cabinets, painted woodwork) and follow up with lab paint-chip analysis on any positive result and on any high-stakes surface where the swab result conflicts with intuition. Total cost: $30 to $200 depending on how many lab confirmations are needed. That hybrid is sufficient for many household-decision purposes, though not for real-estate transactions or regulatory clearance.
Health context for swab results
A positive swab result confirms lead presence; it does not confirm exposure risk to the occupants. The risk depends on paint condition (deteriorating, intact, or covered), surface friction (windows and doors are higher friction), accessibility to children (chewable surfaces, low surfaces), dust loading on the floor, and soil contamination near the foundation. Families with positive swab results should consult their pediatrician about blood lead screening for young children, particularly at ages 1 and 2. CDC’s current blood lead reference value is 3.5 µg/dL. For accessible homeowner-oriented background on lead exposure, leadinfo.com is a useful starting point.
Storage and shelf-life considerations
Lead test swabs have a shelf life. Both 3M LeadCheck and D-Lead specify expiration dates on each package, typically 12 to 24 months from manufacture. Expired swabs may produce unreliable results because the activator chemistry degrades over time. Homeowners storing swabs for occasional use should check the date before each application. Confirmation cards or test cards included with the kit are designed to verify that a given swab is functioning correctly; using a confirmation card before testing a real surface adds a few seconds and a few dollars of cost but eliminates the question of whether the swab itself is the source of an unexpected result.
Storage temperature also matters. Swabs should be kept at room temperature in a dry environment. Storage in a hot garage, an unconditioned attic, or a freezing basement can degrade the chemistry. Manufacturers typically specify a storage temperature range; following the specification preserves shelf life.
Differences between 3M LeadCheck and D-Lead in practice
Both EPA-recognized swab products produce a color change on contact with lead, but they differ in chemistry, color, sensitivity profile, and ease of use:
3M LeadCheck: sodium rhodizonate chemistry. Activated by crushing two internal ampules and shaking. The activator solution turns pink to red on contact with lead. EPA recognition extends to most surface types, with documented limitations on certain alloys and red-pigmented surfaces. The most widely available product at major hardware retailers.
D-Lead: different chemistry that produces a different color change. EPA recognition is also documented. Often preferred for testing surfaces where rhodizonate can give ambiguous results.
For homeowners who plan to test extensively, having both products on hand provides cross-confirmation. A surface that tests positive on both is a strong positive. A surface that tests positive on one but negative on the other is ambiguous and deserves lab paint-chip follow-up. The cost of carrying both is modest given the price of each kit.
Why “scratching through all layers” matters so much
The single biggest cause of misleading negative swab results is failure to expose all paint layers before applying the swab. Pre-1978 lead-based paint was usually applied as the primer or first coat directly on the substrate. Decades of subsequent painting often added 5 to 10 layers of newer non-lead paint on top. A swab applied to the surface of the top layer only contacts the most recent non-lead paint. The swab returns negative. The homeowner concludes there is no lead in the wall. The lead is still there, buried under the newer paint, where the swab never reached it.
The fix is mechanical: use a sharp utility knife or screwdriver to scratch a small notch through all paint layers down to the underlying wood, plaster, or drywall substrate. The notch should look like a paint geology cross-section, with every paint generation visible. When the activated swab contacts that cross-section, it interacts with every paint layer simultaneously, including any buried lead layer.
The scratching technique takes 30 seconds per test and is the single most important step in producing useful swab results. Skipping it is the most common cause of false-negative results in homeowner testing.
When swabs are not the right tool at all
Several scenarios deserve professional lab or XRF testing from the start rather than starting with swabs:
Pre-purchase inspection in a pre-1978 home where you want a defensible component-by-component report.
Pre-renovation planning where the contractor needs documented test results to determine RRP compliance scope.
Households with documented elevated childhood blood-lead levels where environmental investigation is being directed by a public-health agency.
Post-abatement clearance, which requires NLLAP-accredited dust-wipe sampling under standardized protocols rather than swab testing.
Components where swab reliability is known to be weak: weathered exterior paint, multi-layer assemblies with varnish or sealer applied between layers, and dark-pigmented surfaces where the color change is hard to read.
References
- EPA-recognized lead test kits under RRP — U.S. Environmental Protection Agency
- HUD Lead-Based Paint disclosure rules — U.S. Department of Housing and Urban Development
- CDC Childhood Lead Poisoning Prevention — Centers for Disease Control and Prevention
- Lead exposure homeowner background — Lead Information resource
Frequently asked questions
Are lead test swabs accurate?
They are qualitative and EPA-recognized for specific applications under the RRP Rule, but they have well-documented failure modes — particularly false negatives on multi-layer paint when the user does not scratch through all layers before applying the swab. Treat results as preliminary screening, not definitive.
How much do lead test swabs cost in 2026?
Packages run $15 to $30 with 2 to 8 swabs included, working out to $3 to $10 per surface tested. EPA-recognized brands include 3M LeadCheck and D-Lead.
What is the difference between swabs and XRF inspection?
Swabs are qualitative chemical reactions that confirm or deny lead presence on a specific surface. XRF is a quantitative instrumental method used by certified inspectors that produces a milligram-per-square-centimeter reading through all paint layers without destructive sampling.
Should I trust a negative swab result on pre-1978 paint?
Trust a negative result only if you scratched through all paint layers and exposed the full cross-section before applying the swab. Otherwise the swab may have tested only the newest paint layer. When in doubt, follow up with lab paint-chip analysis or XRF.
This guide summarizes EPA and CDC guidance current as of 2026 and is not a substitute for an EPA-certified Lead Inspector when defensible results are needed. Front Range homeowners can connect with a vetted certified inspector through our contact page.