How to Kill Mold on Drywall: A Clear Guide
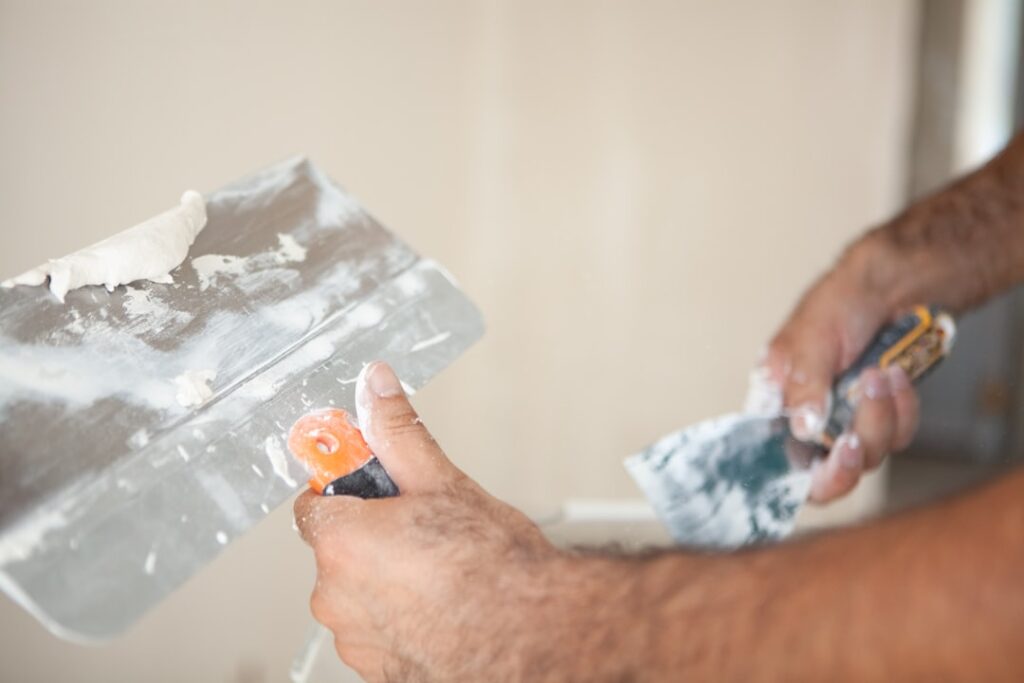
Drywall is one of the trickiest surfaces for mold, because its paper facing and gypsum core are porous and readily absorb both moisture and mold roots. Knowing how to kill mold on drywall starts with an honest assessment of whether the growth is surface-level on sealed paint or rooted into the board itself, since that single distinction decides whether you clean or cut. This guide walks through both paths safely. It summarizes EPA and CDC guidance current as of 2026; consult a certified professional for testing and your physician for any health symptoms.
Is this mold, asbestos, or water damage? Get a free instant screen
Upload a clear photo of the suspect area. You'll get an instant AI screening opinion and what to do next. This is screening guidance, not a professional determination.
Screening guidance only. AI can be wrong. Confirm asbestos, mold type, or lead with lab testing or a licensed professional before acting.
How do you kill mold on drywall?
The approach depends on how deep the mold has gone. On painted or sealed drywall where the paint forms an intact barrier, surface mold may clean off with an EPA-registered cleaner, hydrogen peroxide, or vinegar given time to dwell. On unpainted or saturated drywall where mold has penetrated the paper and core, cleaning the surface leaves living roots behind, and the affected section usually needs removal.
This is the central truth about drywall: the paper facing is organic and feeds mold, so once growth roots in, no spray reliably kills the colony inside. Recognizing the difference between treatable surface mold and rooted growth is the whole game. Our guide on choosing a mold cleaner for walls covers product selection for the cleanable cases.
Painted versus unpainted drywall
Painted drywall behaves differently from raw board. A solid coat of paint can act as a partial barrier, keeping mold on the surface where cleaning can reach it. Light surface mold on intact, sealed paint in a dry room is often within a careful homeowner’s reach.
Unpainted drywall, or painted board where moisture has soaked through, is a different story. The exposed paper absorbs water and mold readily, and growth quickly penetrates the gypsum behind it. At that point the board is contaminated through its depth, and surface treatment is cosmetic. The distinction between these two cases determines your entire approach.
How to test which you have
Press the drywall gently. Firm, intact board with mold only on the painted face may be cleanable. Soft, spongy, or crumbling drywall has absorbed moisture and is contaminated throughout, signaling removal. Staining that bleeds back through after cleaning also indicates rooted growth rather than surface mold.
Cleaning surface mold on drywall
For light surface mold on sealed drywall under roughly 10 square feet, careful cleaning is reasonable. Ventilate the room, wear gloves, eye protection, and an N95 respirator, and choose a single cleaner rather than mixing products. Never combine bleach with ammonia or acidic cleaners.
Apply the cleaner, let it dwell for its labeled time, then wipe gently rather than scrubbing hard, which can damage the paper and release spores. Dry the surface thoroughly afterward, since residual moisture invites regrowth. Bleach is a poor choice here for the reasons covered in our look at using bleach on mold: it bleaches the color while its water feeds the gypsum.
When drywall must be cut out
Saturated or deeply moldy drywall is removed rather than cleaned. The standard approach is to cut out the affected section plus a margin of apparently clean board, since mold often extends past the visible edge. This exposes the wall cavity so the framing, insulation, and back of adjacent board can be inspected and dried.
Cutting drywall releases spores, so containment and protection matter. Seal the area with plastic, wear a respirator, and bag the debris before carrying it through the house. Moldy insulation behind the board usually comes out too. Heavily affected walls are professional territory, especially when the mold extends into framing, as our guide on killing black mold on wood explains.
Inspecting behind the drywall
The reason removal beats cleaning on saturated drywall is what hides behind it. The visible patch on the painted face may sit above far more extensive growth in the cavity, where insulation and the back of the board stay damp. Opening the wall reveals the true extent and lets the cavity dry.
This is also where the moisture source often becomes clear. A leaking pipe, condensation on a cold exterior wall, or water tracking down from above shows itself once the board is open. Moisture meters help map dampness before cutting, and the mold inspection and testing hub explains how professionals decide how much to remove.
Fixing the moisture and rebuilding
No drywall repair lasts without solving the moisture. Whether the cause is a leak, condensation, or high humidity, it must be corrected before new board goes up, or the mold simply returns in the fresh drywall. Keeping indoor humidity below about 60 percent and fixing leaks are the durable fixes.
Once the cavity is dry and the source corrected, the wall can be rebuilt with new drywall, ideally a mold-resistant board in moisture-prone areas like bathrooms and basements. Drying to a verified moisture content before closing the wall prevents trapping dampness behind the new board.
When to call a professional
Hand off drywall mold when the affected area exceeds roughly 10 square feet, when the board is saturated or the mold extends into framing, when growth follows flooding, or when a hidden leak is involved. Anyone in the home with asthma or a weakened immune system should also rely on professional removal beyond a small patch.
Professionals bring containment and negative-air equipment that prevent the spore spread cutting drywall causes, plus the judgment to decide how much board and insulation must come out. For drywall specifically, that judgment is what keeps a small repair from becoming a recurring problem.
Why drywall is especially mold-prone
Drywall combines two features that make it a favorite host for mold. Its paper facing is organic, providing food, and its gypsum core readily absorbs and holds water, providing moisture. Together they create ideal conditions, which is why drywall develops mold faster and more deeply than inert surfaces like tile or metal.
The paper layer is the key vulnerability. Once mold reaches the paper, it has both a nutrient source and a porous surface to colonize, and cleaning the painted face cannot reach the growth behind it. Understanding this explains why so much drywall ends up removed rather than cleaned and why mold-resistant board, which uses non-paper facings, performs better in wet areas.
The cut-out margin and why it matters
When drywall is removed, professionals cut beyond the visible mold by a margin of seemingly clean board, often a foot or so past the edge. This accounts for the fact that mold frequently extends past what the eye detects, growing on the hidden back of the board and into adjacent areas before showing on the painted face.
Cutting to a clean margin prevents leaving active growth in the wall. The exposed opening also allows inspection of the cavity, the framing, the insulation, and the back of neighboring board, so any hidden growth or moisture is found. Skimping on this margin to save a small drywall repair often means the mold reappears at the seam within months.
Handling insulation behind the drywall
Insulation in the wall cavity is frequently a casualty of drywall mold. Fiberglass and other porous insulation absorb moisture and harbor spores, so insulation that is wet or moldy is typically removed and replaced rather than dried in place. Leaving contaminated insulation behind undermines the entire repair.
Replacing insulation also restores function. Wet insulation loses much of its insulating value, so removing it addresses both the mold and an energy-efficiency problem. New insulation goes in only after the cavity is confirmed dry and the moisture source corrected, ensuring the fresh material is not immediately exposed to the dampness that ruined the original.
Drying the cavity before rebuilding
Once moldy drywall and insulation are out, drying the open cavity is essential before closing it. Sealing new board over a damp cavity traps moisture and invites mold straight back into the fresh drywall. Professionals use moisture meters to confirm the framing and surrounding materials have reached a safe, verified dryness.
Drying may take several days and is often accelerated with fans and dehumidifiers. Rushing this step to finish faster is a common error that defeats the whole repair. Only when the cavity is genuinely dry, and the leak or humidity source that caused the problem is corrected, should the wall be rebuilt with new board.
Choosing mold-resistant drywall for repairs
When rebuilding, the choice of board matters in moisture-prone areas. Mold-resistant drywall uses fiberglass facings or treated cores instead of standard paper, removing the organic food source that ordinary drywall offers mold. In bathrooms, basements, and other damp spaces, it is a sensible upgrade over standard board.
Mold-resistant board is not a license to ignore moisture. It resists growth better but can still be overwhelmed by sustained dampness, so it supplements rather than replaces the moisture fix. Pairing the right board with a corrected source and good ventilation gives the rebuilt wall the best chance of staying mold-free for the long term.
Preventing drywall mold from returning
Keeping drywall mold-free depends on the same moisture control that prevents mold everywhere. Maintaining indoor humidity below about 60 percent, fixing leaks promptly, and ventilating damp rooms protect both repaired and existing drywall. In wet areas, sealing and painting drywall with mold-resistant products adds a further layer of defense.
Early attention prevents large repairs. Watching for the warning signs, faint staining, bubbling paint, soft spots, or musty odor, lets you catch problems while they are still surface-level and cheap to address. Drywall kept dry simply does not grow mold, so the durable strategy is always moisture management rather than repeated cutting and patching.
Tools and supplies for drywall mold work
Tackling drywall mold, even a small surface patch, goes more smoothly with the right supplies on hand. Basic protection includes an N95 or better respirator, gloves, and eye protection, plus plastic sheeting and tape for containment. For cleaning surface mold, a chosen cleaner, a soft brush, and clean cloths complete the kit.
For removal jobs, a utility or drywall saw, a HEPA vacuum to capture dust, and heavy plastic bags for debris are essential. A moisture meter, while an added expense, helps confirm whether the board and cavity are dry. Having these ready before starting prevents the mid-job scramble that tempts homeowners to cut corners on protection or containment.
Knowing your limits with drywall mold
Drywall mold rewards an honest read of your own limits. A small patch of surface mold on sound, sealed drywall in a dry room is a reasonable do-it-yourself task. Saturated board, mold extending into framing, growth after flooding, large areas, or any hidden leak push the job beyond safe home handling.
Overreaching carries real cost. Cutting extensive moldy drywall without proper containment spreads spores through the house, and misjudging the extent leaves growth hidden in the cavity to resurface later. Recognizing when to stop and bring in a professional, who has containment, negative-air equipment, and the judgment to scope the removal correctly, is itself a skill that protects both your health and your home.
References
- Mold Cleanup in Your Home — U.S. Environmental Protection Agency
- A Brief Guide to Mold, Moisture and Your Home — U.S. Environmental Protection Agency
- About Mold and Health — Centers for Disease Control and Prevention
- Mold Inspection Standards — International Association of Certified Home Inspectors
If you are on the Front Range and unsure whether your drywall can be cleaned or needs to come out, reach out through our contact page for a connection to a qualified local inspector.
Mold removal & cleanup picks
For a small, contained patch (under ~10 sq ft) these EPA-friendly removers handle surface mold. Larger or recurring growth warrants a professional assessment first.
| Product | Why | Buy |
|---|---|---|
 RMR-86 Instant Mold Stain Remover RMR-86 Instant Mold Stain Remover | Fast-acting on stains; ventilate and wear PPE. | Amazon — $18.38 |
 Concrobium Mold Control Concrobium Mold Control | No-bleach formula that also helps prevent regrowth. | Amazon — $13.47 |
 Mold Armor Mold & Mildew Remover Mold Armor Mold & Mildew Remover | Widely stocked bathroom/surface remover. | Amazon — $22.98 |