In Home Mold Inspection: What to Expect and Cost
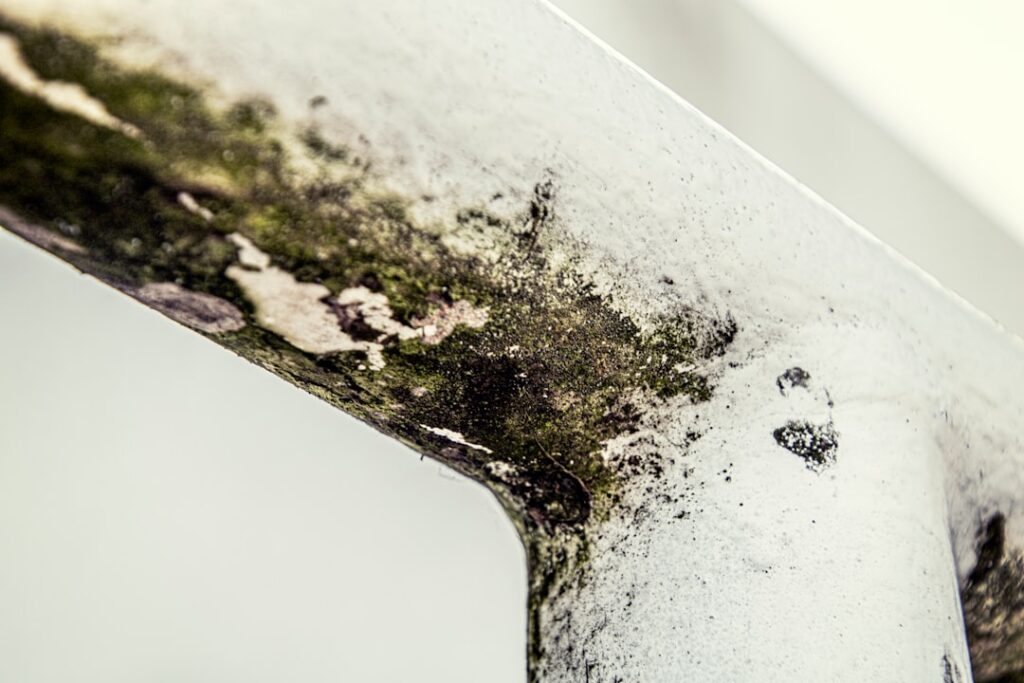
An in home mold inspection is the step homeowners take when DIY kits cannot answer the question and the stakes are too high to guess. The service exists in a specific gap between casual concern and emergency remediation: a certified inspector visits, examines visible conditions, takes moisture and humidity readings, collects samples for laboratory analysis, and produces a written report. This guide summarizes EPA and CDC guidance current as of 2026 and explains what professional inspectors actually do, how to choose one, what the report should include, and where the typical Front Range price ranges sit. For health symptoms specifically, consult a board-certified allergist or pulmonologist alongside any home assessment.
Is this mold, asbestos, or water damage? Get a free instant screen
Upload a clear photo of the suspect area. You'll get an instant AI screening opinion and what to do next. This is screening guidance, not a professional determination.
Screening guidance only. AI can be wrong. Confirm asbestos, mold type, or lead with lab testing or a licensed professional before acting.
What an In Home Mold Inspection Includes
A professional inspection has four parts. Visual examination of accessible areas including basements, crawl spaces, bathrooms, kitchens, attics, and any rooms with reported issues. Moisture mapping using calibrated meters to identify wet building materials behind visible surfaces. Air or surface sampling for laboratory analysis, with paired outdoor controls. Written report documenting findings, sample results, recommended actions, and any limitations of the assessment. The IICRC S520 standard and ANSI-aligned ASTM E2418 provide the framework most reputable inspectors follow.
What an inspection is not: it is not remediation. A reputable inspector does not also bid on the cleanup work they identify because that creates a conflict of interest. Hire one company to assess and a different company to remediate. Some states regulate this separation more strictly than Colorado does.
Why Choose Professional Over DIY
The honest answer is that a $200 to $400 DIY survey can be enough for many situations. Professional inspection becomes the right choice when stakes increase. Insurance claims require third-party assessment that an insurer will accept; carriers routinely reject homeowner-collected samples. Real-estate transactions need documentation that withstands the buyer’s or seller’s attorney review. Health-driven investigations benefit from an inspector’s pattern recognition (identifying moisture pathways from physical evidence rather than sample results alone). Clearance testing after remediation needs an independent party with calibrated equipment.
For Front Range homes specifically, basement-heavy construction means moisture pathways often involve foundation perimeter drains, sump systems, and ground-water seasonal patterns that a generalist DIY kit cannot diagnose. A local inspector familiar with Denver-area soil and building patterns catches issues that out-of-state kit protocols miss. The mold inspection hub covers regional considerations in more detail.
How an Inspection Day Actually Unfolds
Most residential inspections take two to four hours on site for a typical single-family home of 1,500 to 3,000 square feet. The inspector arrives with moisture meter, thermal imaging camera, hygrometer, particle counter or air sampling pump, and surface sampling materials. They walk the property with the homeowner first to capture context (when did the issue start, where do symptoms occur, has there been water damage). Then they work room by room, recording observations and photographs.
Sample collection happens after visual assessment because what gets sampled depends on what was seen. Typical sample plans include one outdoor control, one sample in the most-suspect area, one indoor control in a room with no reported issues, and zero to two additional samples in HVAC or other-floor areas. Three to five samples is the standard scope for a residential job. Each sample costs the inspector roughly $35 to $75 in lab fees, which is built into the total quote.
How to Choose a Mold Inspector
Look for one of three credentials: IICRC-certified Mold Inspector or AMRT-trained technician, ACAC-certified Council-certified Microbial Investigator (CMI), or InterNACHI Certified Mold Inspector. Cross-reference with our hiring process guide for vetting questions. Avoid companies that quote remediation work in the same conversation as the inspection because the conflict of interest skews findings.
Ask for sample reports before booking. A reputable inspector emails redacted past reports on request. Look for clear photo documentation, calibrated equipment readings, paired indoor/outdoor sample comparisons, and specific recommendations tied to specific observations. Avoid templates that say things like elevated levels detected without quantification or comparison.
What Inspectors Cannot or Will Not Do
Most inspectors will not cut into walls, remove flooring, or perform destructive testing without a separate scope and signed authorization. Wall-cavity sampling (drilling a small hole and pulling air from inside the wall) is offered by some inspectors as an add-on, typically $50 to $100 per cavity sample. Most general inspectors will not provide medical interpretation of results because that is outside their scope; they may refer you to an allergist.
Inspectors also cannot guarantee zero mold. Some background mold is present in essentially every indoor environment, and the realistic outcome of a clean inspection is no amplification beyond outdoor levels rather than zero spores indoors. Manage expectations accordingly.
What the Inspection Report Should Include
A complete written report contains: scope of work and limitations, weather and HVAC conditions during sampling, room-by-room observations with photographs, calibrated moisture and humidity readings, lab results for each sample with outdoor comparison, identification of moisture sources where evident, specific recommendations for remediation or further investigation, and the inspector’s credentials and signature. Reports under five pages typically lack the documentation needed for insurance or real-estate use. Reports over 25 pages are usually padded with boilerplate.
The most actionable part of any report is the moisture source identification. Without it, remediation addresses the symptom but not the cause, and growth returns within months. A good report ties each sample finding back to a probable source the inspector can describe physically.
Cost Ranges in 2026
Front Range pricing for residential mold inspection in 2026: $300 to $500 for a basic single-area inspection with three samples. $500 to $800 for a comprehensive whole-home assessment with five or more samples. $800 to $1,500 for inspections involving wall-cavity sampling, multiple HVAC zone testing, or pre-purchase real-estate due diligence with full report. Wait times during summer humidity season can run two to four weeks for non-emergency bookings; January through March typically books within a week.
Compare this against DIY equivalent costs: a three-sample pump-cassette survey runs $200 to $400 in equipment rental and lab fees, without the inspector’s expertise, calibrated thermal imaging, or written report. The professional differential pays for itself when documentation matters.
When to Schedule an Inspection
Book an in home mold inspection when any of these apply: visible growth exceeds 10 square feet, occupants have diagnosed mold-related illness or persistent symptoms, you are in a real-estate transaction with mold concerns, water damage occurred and you need clearance testing, an insurance claim requires third-party documentation, or DIY testing returned ambiguous or contradictory results. For prevention monitoring without a specific concern, a humidity monitor and annual visual self-check usually deliver more value than annual professional inspections.
What to Ask Before Hiring an Inspector
The credential check is only the first step. Several practical questions separate inspectors who deliver value from those who deliver paperwork. Ask for redacted sample reports from past residential jobs. Photo quality, finding specificity, calibrated readings, and clear recommendations tied to specific observations are the marks of a useful report. Avoid templates that say things like elevated levels detected without quantification or comparison.
Ask which sampling equipment the inspector uses. Pump-powered air cassette sampling, calibrated moisture meters, infrared thermography, hygrometers, and surface sampling materials are standard. An inspector who relies only on visual examination without sampling tools is offering a much narrower service than what the price typically reflects.
Ask whether the inspector also bids on remediation work for the same property. Reputable inspectors keep assessment and remediation separate to avoid conflicts of interest. Some Colorado counties do not regulate this separation, but the conflict still distorts findings when one company can profit from identifying problems.
Ask about liability insurance and bonding. Professional liability (errors and omissions) insurance and general liability coverage are standard for established firms. Ask for proof if not volunteered. Sole-proprietor inspectors with no insurance present a higher risk if findings turn out to be incomplete after closing.
What Happens After the Inspection Report Arrives
The written report typically arrives 24 to 48 hours after the on-site visit, with lab-dependent sample results following separately five to ten business days later. Read the entire report rather than just the executive summary because finding severity and recommendation specifics matter for action planning.
If the report identifies an active moisture source, address it first because mold remediation without source control fails within months. Hire a remediation contractor working to IICRC S520 standard for areas over 10 square feet or for any porous-material involvement. Get two or three written quotes; remediation pricing for the same scope varies widely across Front Range contractors.
Post-remediation clearance testing matters for both insurance documentation and resale value. Schedule clearance sampling with the same inspector (or an independent third party) after remediation completes. Skip clearance only on small DIY-cleanup jobs with no claim or transaction involved.
Front Range Mold Inspection Patterns
Colorado homes have specific patterns that experienced local inspectors recognize quickly. Basement moisture in pre-1990 Denver-metro and Boulder county homes typically comes from perimeter drainage limitations rather than active plumbing leaks. Inspectors familiar with these patterns map foundation walls with moisture meters and thermal imaging during the visit rather than relying solely on samples to identify the source.
Bathroom mold in homes with rooftop HVAC and minimal exhaust ventilation is another regional pattern. Front Range humidity is generally low (20% to 40% indoor without humidifiers), but bathrooms generate localized humidity spikes that condense on cool exterior walls without adequate ventilation. Inspectors identify the pattern by checking exhaust fan operation and termination during the walkthrough.
Wildfire smoke season (July through September) is the one period when scheduling inspection becomes tricky because outdoor air sampling baselines are artificially elevated. Inspectors familiar with Colorado conditions either reschedule sampling for clear-air periods or document smoke conditions in their reports so the lab can interpret outdoor controls appropriately. Cross-reference with our broader how to test for mold in the air guide for environmental context.
How to Prepare Your Home for the Inspector
Pre-inspection preparation makes the visit more efficient and produces a more complete report. Twenty-four hours before the inspection, run normal household routines without extra cleaning or vacuuming because dust-stirring activities artificially elevate spore counts. Document recent water events, plumbing repairs, roof issues, and any rooms where occupants have reported symptoms.
Provide access. Clear pathways to attic hatches, electrical panels, crawl-space openings, and any utility rooms the inspector needs to enter. Secure pets in a separate room or yard during the inspection because frightened animals slow the work and create hazards in confined spaces. Confirm with the inspector whether all occupants need to be present or if a single point of contact suffices.
Have your concerns documented before the visit. A written list of specific concerns (musty smell in basement during summer, family member with persistent cough, water stain on second-floor ceiling from prior leak) helps the inspector focus sampling on the most diagnostic locations. The list also becomes part of the chain-of-custody documentation for the report.
References
- Mold Cleanup and Inspection Guidance — U.S. Environmental Protection Agency
- Mold: Basic Facts — Centers for Disease Control and Prevention
- Preventing Mold-Related Problems — Occupational Safety and Health Administration
- Mold Inspection Standards of Practice — InterNACHI
To schedule an in home mold inspection with a certified Front Range professional, use our contact page and we will match you with a vetted local inspector.