Mold Test Home: What Homeowners Need to Know
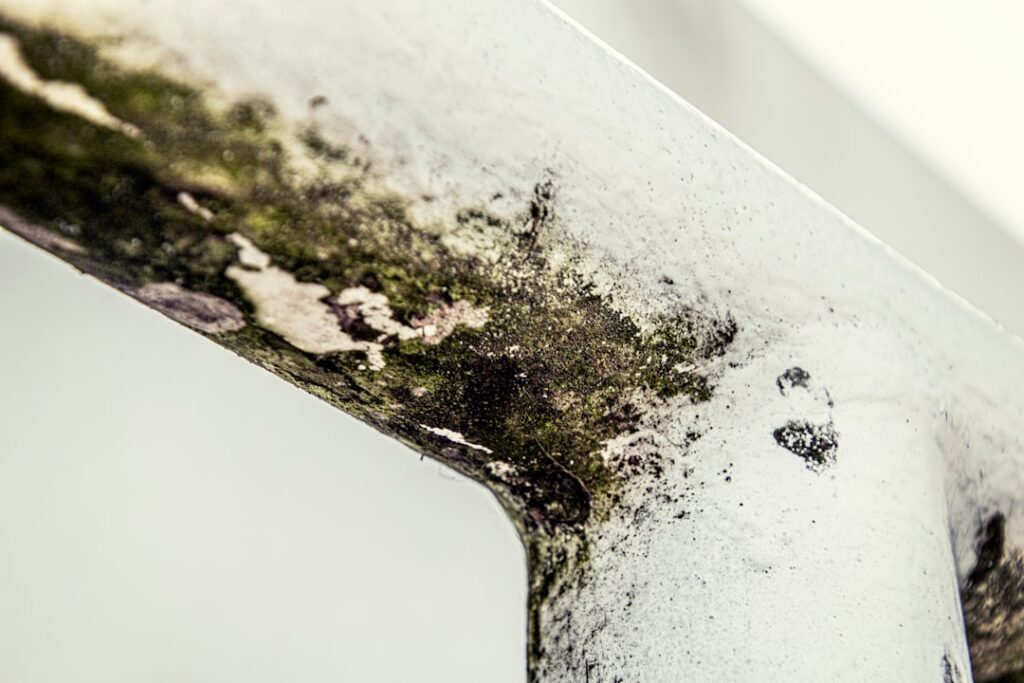
“Mold test home” reads as an action verb in homeowner search queries: how do I test my home for mold, starting today, with whatever resources are at hand? This guide answers that action-oriented question with a quick-reference workflow that progresses from initial observation through sample collection to result interpretation. The framing is deliberately practical rather than comprehensive. This guide summarizes EPA and CDC guidance current as of 2026 and treats home sampling as informational rather than diagnostic; homeowners with active symptoms or significant water damage should consult a physician and a certified indoor air professional before relying on a self-sampled result as a primary decision. The walkthrough below answers “what do I do right now?”
Is this mold, asbestos, or water damage? Get a free instant screen
Upload a clear photo of the suspect area. You'll get an instant AI screening opinion and what to do next. This is screening guidance, not a professional determination.
Screening guidance only. AI can be wrong. Confirm asbestos, mold type, or lead with lab testing or a licensed professional before acting.
Step 1: Look before you sample
Walk through every room with the lights on. Open closets. Look behind furniture you can move. Note any visible patches of growth, water staining, peeling paint, warped trim, or musty smells. Document each observation with a phone photo, the date, and a one-line description. The visual inventory dictates the sampling layout: if you see a patch, you sample the patch; if you smell musty air without a visible patch, you sample the air; if everything looks clean but a household member is reacting, you may need a whole-house dust panel or a professional inspector. Skipping the visual inventory leads to wasted samples in the wrong rooms.
Pay particular attention to bathrooms (ceilings above showers, grout lines, behind toilets), basements (drywall at the footing line, around floor drains, near sump pumps), kitchens (under sinks, behind refrigerators, dishwasher gaskets), laundry rooms (around the washing machine standpipe, behind the dryer), and any room that recently had a water event (roof leak, plumbing leak, appliance overflow). The visible-evidence checklist usually identifies the sampling target within ten minutes of walking through.
Step 2: Pick the kit format that matches what you saw
The format follows the observation. Visible patch on a smooth surface (drywall, painted trim, smooth grout): tape lift. Visible patch on a textured or rough surface (stucco, masonry, textured tile): swab. Musty smell with no visible patch: settle plate or ERMI dust. Whole-house concern before a real estate event or after a major water event: ERMI dust plus a professional inspector. Each format ships in a kit retail-priced between $10 (visual-only Petri dishes) and $350 (ERMI panels), with the most common $40 to $80 mid tier being the workhorse for owner-occupants. The where to buy a mold test kit guide covers purchase channels.
EPA’s mold cleanup guidance treats sampling as one input among several. The point is not to spend the most money on the fanciest kit; the point is to match the format to the question. A homeowner with a clear bathroom ceiling patch usually does not need a $300 ERMI panel; a homeowner with vague symptoms and no visible source usually does need more than a $15 Petri dish.
Step 3: Collect the sample correctly
Sample at a time when household activity is typical: showers done, breakfast cleaned up, HVAC settled into a normal cycle. Avoid sampling during thunderstorms, high-pollen days, or windy afternoons with windows open. Wear disposable gloves. Do not pre-clean the area being sampled.
For a tape lift, peel the backing, press the adhesive against the patch for five full seconds, peel slowly, and seal in the labeled envelope. For a swab, scribe a one-inch square pattern with even pressure, break the stick into the labeled vial, do not touch the tip with bare fingers. For a settle plate, place the open dish at counter height in the room center, leave open for the prescribed time (typically 60 minutes), close, seal in the labeled bag. For ERMI dust, vacuum the prescribed floor area through the collection sock, seal in the labeled bag, do not touch the inside of the sock.
Label everything: room, surface, height, date, time. Most lab reports tie genus profiles to micro-location, and missing metadata reduces the report’s value. Fill out the chain-of-custody slip even if the test is for personal use only; the slip becomes part of the documentation if the result later supports a remediation decision or a real estate disclosure.
Step 4: Ship same-day
Drop the prepaid mailer at a post office or carrier pickup point the same day you collected the sample. Retain the tracking number. Samples that incubate in the mailer for several days can grow to uncountable density or dry out and lose viable cells. Expected lab turnaround: 7 to 14 business days for tape lifts and swabs, 10 to 21 business days for ERMI panels. Rush service is available for $40 to $80 extra. Plan around the report timeline if the result feeds into a real estate closing or another deadline.
Step 5: Read the report and act on it
The PDF report names the dominant genera, gives a relative concentration on a four- or five-point scale, and flags any genus on the toxigenic list. Compare the indoor count against the outdoor reference where one was provided. Four typical outcomes follow. First, low concentration of common indoor genera: the room is within normal range, and any visible patch can be cleaned with detergent and a stiff brush following EPA protective-gear protocol. Second, elevated concentration or any Stachybotrys: the patch warrants a licensed remediation contractor, particularly if the patch exceeds ten square feet or sits behind finished walls. Third, no growth detected against visible evidence: re-sample with a different format or call a professional inspector. Fourth, elevated counts with no visible growth: ERMI follow-up or professional inspection to locate the hidden source.
The CDC mold FAQ reminds homeowners that the cleanup decision is largely independent of species identification. NIEHS notes in its mold topic overview that mold testing is not routinely recommended as a baseline indoor air quality measure precisely because the cleanup plan rarely changes based on what the lab calls the genus. Visible mold gets cleaned regardless.
Step 6: Address the moisture source
Cleaning the patch without fixing the moisture source guarantees the patch returns within months. Trace the moisture to its origin: a plumbing leak, condensation against cold surfaces, infiltration through the building envelope, humidifier overuse, undersized exhaust ventilation, snowmelt finding basement footings. Fix the source. Then verify with a follow-up sample 30 to 60 days after the moisture correction. The follow-up sample confirms that the colony has not regrown and the indoor air profile has returned to a clean baseline.
Front Range moisture sources concentrate predictably: snowmelt at basement footings, bathroom condensation against single-pane windows, swamp coolers in summer second-story rooms, rim joists at the basement ceiling. The complete mold inspection and testing hub covers moisture-source diagnostics for the regional climate. For owners specifically dealing with basement or bathroom moisture, the how to check for mold in home guide walks through the most common Front Range moisture pathways.
Step 7: Document everything
Save the lab report, the chain-of-custody slip, the photos of the visible patch before and after cleanup, the moisture-source correction receipt (plumber invoice, fan replacement, whatever applied), and the follow-up sample report if one was taken. The documentation has value beyond the immediate incident: it informs future moisture-related decisions, supports insurance claims, and serves as disclosure documentation if the home is later listed for sale. Each subsequent moisture event references the prior file rather than starting from scratch.
What to do between steps if you hit a problem
Problems show up at each step, and the response usually points at a single backup move. If step 1 (visual inspection) turns up something ambiguous (a stain that might be mold or might be water damage without mold), photograph it, return in 48 hours, and check whether the appearance has changed. Active growth often spreads or changes pigment over short windows; inactive water staining does not. If step 2 (kit selection) is unclear because the visible patch could be sampled by either tape lift or swab, pick the format that matches the surface texture (tape lift for smooth, swab for textured). If step 3 (sample collection) is interrupted by a household event (HVAC kicked on, pet entered the room, sample contaminated), stop and resample with a fresh device rather than trying to salvage the compromised sample.
If step 4 (shipment) is delayed past the same-day window, refrigerate the sample if the manufacturer permits it; refrigeration slows growth on settle plates and preserves DNA on swabs. Mail the next morning. If step 5 (report) returns inconclusive or surprising results, repeat with a different sampling format before assuming the first result was correct. If step 6 (moisture-source correction) is stalled by access (suspected leak inside a wall), call a plumber for camera inspection rather than opening drywall blindly. If step 7 (documentation) feels excessive for a simple cleanup, save at least the report and the photos; the rest can be added later if a future event references the same area.
How the quick-reference workflow differs from professional inspection
The quick-reference workflow gives a homeowner one round of sampling, one report, and one action plan. A professional inspector adds chain-of-custody documentation, multi-point sampling across the house, AIHA-accredited lab analysis, and a written report formatted for legal defensibility. For most owner-occupied situations involving a single visible patch, the homeowner workflow is sufficient. For real estate transactions, insurance claims, multi-room contamination, or vulnerable-occupant households, the professional inspection produces the documentation that downstream parties expect.
When this quick-reference workflow does not fit
The workflow above assumes a contained question with a workable answer. It does not fit situations where the contamination is widespread, where the patch is behind a finished wall, where an occupant has been diagnosed with a mold-related condition, or where the test result will be contested in a real estate transaction or insurance dispute. In those situations, the quick-reference workflow steps aside in favor of a professional inspector working under InterNACHI or IAC2 protocols, with samples collected under chain-of-custody and analyzed at an AIHA-accredited lab.
Signs that the workflow is exceeding its limits: visible patch larger than ten square feet, growth that returns within months of cleanup, persistent musty smell without an identifiable source, occupants reporting symptoms that improve when away from the home, or a real estate timeline pressing against the report turnaround window. Any of these warrants escalation past the consumer kit and into a chain-of-custody professional sampling protocol with documentation that downstream parties (lenders, insurers, buyers, attorneys) recognize as defensible evidence rather than homeowner-collected screening data.
References
- Mold cleanup in your home — U.S. Environmental Protection Agency
- Basic facts about mold and dampness — Centers for Disease Control and Prevention
- Mold topic overview — National Institute of Environmental Health Sciences
- Mold and moisture for Colorado homeowners — Colorado Department of Public Health and Environment
Front Range homeowners who want help executing this quick-reference workflow or a referral to a remediation contractor after the report arrives can reach out through our contact page for a vetted local connection.