How Do You Remove Mold From a House: Plain-Language Guide
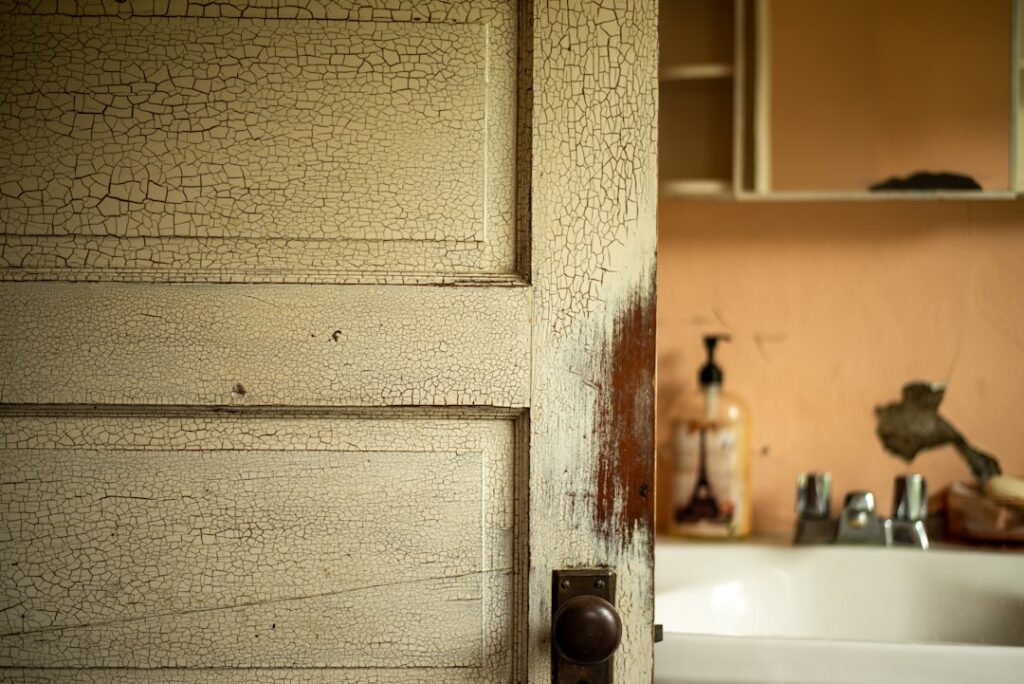
“How do you remove mold from a house” is one of the most common questions homeowners type into a search bar after spotting a stain. The honest answer is that removal is a process, not a product, and the right process depends on the size of the affected area, the type of material, and whether the underlying moisture source has been controlled. This guide walks through the generalist removal sequence using EPA and CDC guidance current as of 2026. For health concerns, consult a physician; for larger work, consult a certified remediator.
Is this mold, asbestos, or water damage? Get a free instant screen
Upload a clear photo of the suspect area. You'll get an instant AI screening opinion and what to do next. This is screening guidance, not a professional determination.
Screening guidance only. AI can be wrong. Confirm asbestos, mold type, or lead with lab testing or a licensed professional before acting.
The Removal Process at a Glance
The full sequence runs from initial inspection through scoping, containment, demolition, cleaning, drying, and verification. Homeowners can handle small areas themselves if they are physically able and properly protected. Anything beyond a ten square foot contiguous patch is generally a contractor job.
Step One: Find the Water
Mold cannot grow without moisture. Before touching the visible growth, trace it back to a water source — a leak, condensation point, ground water entry, or chronic humidity problem. Removal without source control guarantees regrowth in weeks or months.
Step Two: Scope the Affected Area
Measure the visible patch and probe surrounding materials for soft spots, staining behind paint, and elevated moisture content with a pin meter. Hidden growth behind drywall is common and often larger than the visible portion. The scope drives the PPE level and the decision between DIY and hiring out.
Step Three: Choose DIY or Contractor
The EPA threshold of ten square feet is the standard reference point. Below that, a healthy homeowner with proper PPE can clean it themselves. Above that, hire an IICRC S520 certified remediator who can establish containment and run negative air.
Step Four: Personal Protective Equipment
Minimum PPE for small cleanups is an N95 respirator, nitrile gloves, and unvented goggles. For larger work, step up to a half-face respirator with P100 cartridges and a disposable coverall. Anyone with asthma, immune compromise, or pregnancy concerns should hand the job off rather than push through.
Step Five: Containment for Larger Areas
Above the threshold, set up containment with 6-mil polyethylene sheeting, taped seams, and a zippered entry. Seal HVAC supply and return grilles in the work area to prevent spore migration. Run a HEPA air scrubber to maintain negative pressure relative to clean spaces.
Step Six: Remove and Bag Porous Materials
Drywall, carpet, ceiling tile, fiberglass insulation, and upholstered items with visible mold are usually cut out and double-bagged in 6-mil polyethylene before being walked through the house. Cut at least 12 inches into apparently clean material around the affected zone. Label bags as mold debris for the landfill.
Step Seven: Clean Semi-Porous and Nonporous Materials
Framing lumber that is structurally sound can be HEPA vacuumed, damp wiped with detergent, and dried. Metal, glass, and sealed tile follow the same clean-and-dry pattern. The EPA does not recommend bleach as a primary cleaner because it does not penetrate porous surfaces and the water it delivers can prolong drying.
Step Eight: Run a HEPA Air Scrubber During and After
HEPA filtration captures airborne spores down to 0.3 microns. Run the scrubber throughout the work and for at least 24 to 48 hours after final cleaning to bring the airborne particle load back to baseline. Change filters per manufacturer guidance.
Step Nine: Dry to Normal Moisture Content
Before any reconstruction, cleaned materials must dry to equilibrium. Framing lumber should generally read under 16 percent moisture content. Dehumidifiers and air movers running for three to seven days are common, with longer drying needed for thick assemblies or cold climates.
Step Ten: Clearance Verification
An independent industrial hygienist or mold assessor should verify the work before close-up. Visual clearance and air sampling confirm that spore counts inside the formerly affected area are no higher than outdoor controls. The same firm should not both remediate and clear — that is the IICRC convention.
Common Hidden-Mold Locations
Behind kitchen cabinets, under bathroom vanities, inside wall cavities near windows, above ceiling tiles below an attic, and inside HVAC ducts where condensation has occurred are the most common hidden spots. A thermal imaging camera and moisture meter help locate these before they become visible.
HVAC Contamination
If mold is found inside ductwork or on the evaporator coil, the system itself needs cleaning by an HVAC professional with mold-remediation experience. Spraying biocides into ducts without removing accumulated dust and debris is not adequate. The EPA cautions homeowners about HVAC duct cleaning that uses chemical sealants alone.
What Insurance Usually Covers
Sudden, accidental water events — burst pipes, appliance leaks, storm damage — are usually covered by homeowners insurance, including the mold cleanup that follows. Long-term seepage, deferred maintenance, and groundwater are typically excluded. Document everything with photos and invoices from day one.
Cost Bands by Scope
DIY supplies for a small bathroom patch run 50 to 200 dollars. A one-room professional remediation in the Front Range typically falls between 1,500 and 4,500 dollars. Whole-house jobs with HVAC remediation and structural drying often clear 10,000 to 20,000 dollars. Containment complexity drives more cost than chemistry does.
Reconstruction Considerations
Rebuild only after clearance verification. Use moisture-resistant drywall (often labeled green or purple board) in bathrooms and basements, and consider an HVAC supply duct cleaning before close-up. Re-pressurize the system after reconstruction to confirm airflow balance.
How to Prevent the Next Round
Indoor relative humidity below 50 percent, prompt response to leaks within 24 to 48 hours, working bath and kitchen exhaust fans, gutter and downspout maintenance, and grading away from the foundation are the non-glamorous preventives that actually work.
The Air-Sampling Question
Pre-removal air sampling is most useful when occupants report symptoms but visible growth has not been located. It is less useful when visible mold is already present, because the visual evidence is more actionable than spore counts. Post-removal sampling for clearance verification has stronger utility because it confirms the work returned the space to background ecology.
What Removing Wallpaper Reveals
Older homes with wallpaper sometimes hide growth on the wall behind. Wallpaper paste is a food source for mold, and the moisture barrier characteristics of vinyl wallpaper can trap condensation against the wall. Removing wallpaper during renovation often uncovers mold that was unknown to the homeowner.
Crawlspace and Basement Removal Specifics
Crawlspaces and basements present specific challenges because of low ceilings, limited ventilation, and chronic humidity exposure. Encapsulation with a sealed vapor barrier on the ground combined with a dedicated dehumidifier is the long-term fix. Cleanup of existing growth in these spaces follows the same general procedure but often benefits from sealing the space afterward.
What to Tell a Future Buyer
Colorado’s seller’s property disclosure form asks about mold history. Documenting the removal work, including the contractor’s clearance letter and source-repair invoices, turns the mold event into a closed chapter. Failing to disclose known mold history can create legal exposure after closing, and prospective buyers’ inspectors will often find evidence of past work regardless.
Common Removal Mistakes
The repeated errors include skipping source control, using bleach on porous materials, undersizing PPE, walking debris through the house without containment, closing up the wall before drying to spec, and reusing contaminated tools without HEPA cleaning. Each shortcut increases the chance of regrowth or cross-contamination.
Why Some Contractors Push Biocide Spraying
Antimicrobial spray treatments are cheaper to deliver than full physical removal. Contractors who lead with biocide proposals are usually selling a lower-margin service that delivers shorter-term results. The EPA’s framework emphasizes physical removal plus moisture control, with antimicrobial treatments as a possible supplement rather than a replacement.
What HEPA Vacuums Actually Capture
True HEPA vacuums filter particles down to 0.3 microns at 99.97 percent efficiency, which captures the size range mold spores occupy. Standard shop vacuums lack this filtration and effectively redistribute spores. Rentals are available from tool yards and inspection equipment specialty shops at modest daily rates.
Why Drying Matters More Than Chemistry
Restoration professionals consistently emphasize that the drying step determines whether remediation succeeds long-term. A perfectly cleaned wall cavity closed before moisture content reaches normal levels grows new mold within weeks. The unglamorous days of running dehumidifiers and air movers do more for the final result than any cleaner.
Worker PPE Sourcing
N95 respirators, nitrile gloves, and goggles are available at standard hardware stores. P100 cartridges and half-face respirators sit in the specialty section or at safety supply houses. Disposable coveralls labeled for mold or asbestos work cost a few dollars each. The total PPE budget for a small DIY job stays under fifty dollars.
Common HVAC Cross-Contamination Patterns
A mold event in one room can spread spores throughout the house if the HVAC system runs during the discovery window. Air handlers pull air from each return register and distribute it through supply ducts, mixing whatever spores are in the air across all zones. Sealing returns in the affected room and turning the system to “off” rather than “auto” during cleanup limits cross-contamination.
How to Vet Contractor References
Ask referenced clients about communication, timeline accuracy, scope changes mid-project, and whether the work held up over the following year. Visual references from completed work are easier to fabricate than detailed conversations with prior clients. Local InterNACHI chapters can sometimes provide independent referrals.
Tools and Supplies Checklist
For DIY scope plan to gather a HEPA vacuum (rentable), 6-mil polyethylene sheeting and tape, contractor-grade trash bags, utility knife with extra blades, a stiff scrub brush, microfiber cloths, a spray bottle for detergent solution, a pin moisture meter, an air mover or box fan, and a dehumidifier. Most of these are accessible at standard hardware stores at modest cost.
Why Reconstruction Should Wait
The temptation after cleanup is to close the wall and move on. The discipline that pays off is waiting until moisture meter readings on the framing fall below 16 percent across multiple measurements taken over several days. Closing a damp cavity is the most common path to repeat remediation.
The Independent Clearance Test
For contractor-scope projects, an independent industrial hygienist or mold assessor verifies the work before reconstruction. Their fee in the Front Range typically runs 300 to 800 dollars depending on scope and sampling. The cost is small compared to the value of an objective verification document that travels with the property.
Why Closing the Wall Too Soon Backfires
A wall closed before drying to spec retains pockets of moisture that support new growth. Spore counts inside a closed cavity grow undetected for weeks or months. By the time growth becomes visible again, the project requires re-opening the wall and redoing much of the work. Patience during drying saves money.
When to Call a Professional
Call a licensed remediator when the area exceeds ten square feet, when HVAC contamination is suspected, when sewage water was involved, or when an occupant has a sensitive medical condition. The mold inspection and testing hub covers the full landscape, and the residential mold remediation guide drills into single-family scope. For post-flood work specifically, see what kills mold after a flood.
References
- Mold Remediation Guidance — U.S. Environmental Protection Agency
- Cleanup and Remediation — Centers for Disease Control and Prevention
- Healthy Homes Program — U.S. Department of Housing and Urban Development
- Mold Inspection Standards — InterNACHI
- Mold and Dampness — American Lung Association
Homeowners on the Front Range trying to decide between DIY and a contractor can reach out via our contact page to talk with a vetted local inspector before committing.
Mold removal & cleanup picks
For a small, contained patch (under ~10 sq ft) these EPA-friendly removers handle surface mold. Larger or recurring growth warrants a professional assessment first.
| Product | Why | Buy |
|---|---|---|
 RMR-86 Instant Mold Stain Remover RMR-86 Instant Mold Stain Remover | Fast-acting on stains; ventilate and wear PPE. | Amazon — $25.99 |
 Concrobium Mold Control Concrobium Mold Control | No-bleach formula that also helps prevent regrowth. | Amazon — $13.48 |
 Mold Armor Mold & Mildew Remover Mold Armor Mold & Mildew Remover | Widely stocked bathroom/surface remover. | Amazon — $22.98 |