Black Mold on Walls: Causes, Cleanup, and Risks
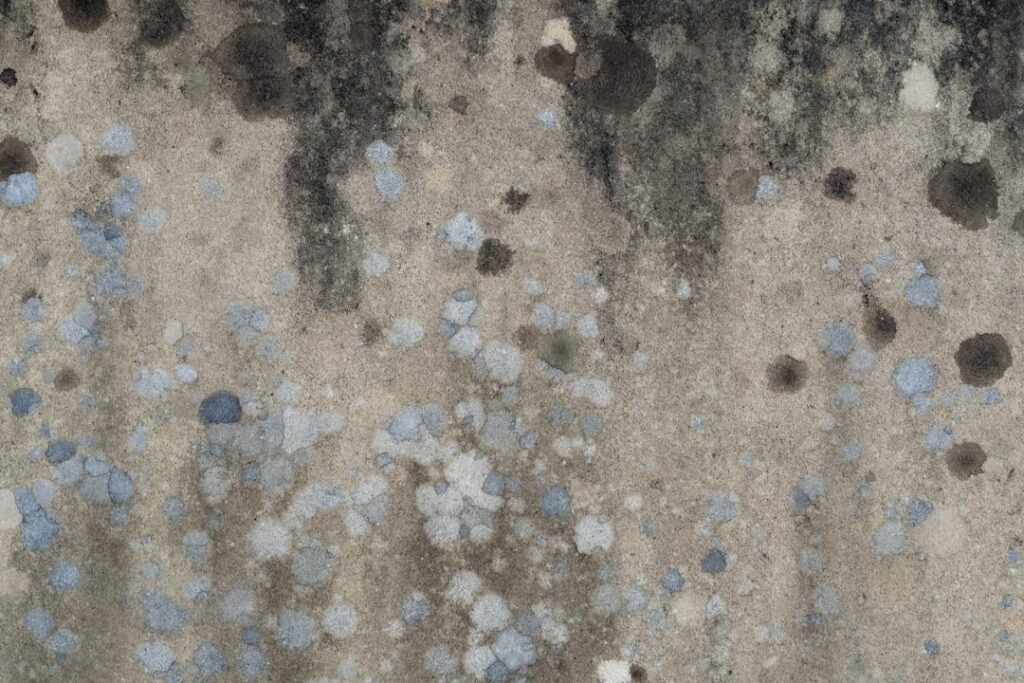
Dark patches creeping up a wall are alarming, and for good reason — black mold on walls almost always means water is reaching the surface from somewhere it should not. The growth you see is the symptom; the moisture behind it is the disease. Whether you can clean it yourself or need to open the wall depends entirely on how deep the colony has gone. This guide summarizes EPA and CDC guidance current as of 2026; consult a physician for symptoms and a certified professional for testing and large remediation decisions.
Is this mold, asbestos, or water damage? Get a free instant screen
Upload a clear photo of the suspect area. You'll get an instant AI screening opinion and what to do next. This is screening guidance, not a professional determination.
Screening guidance only. AI can be wrong. Confirm asbestos, mold type, or lead with lab testing or a licensed professional before acting.
What causes black mold on walls?
Black mold on walls grows where sustained moisture meets organic material — and drywall’s paper facing is exactly that. The water comes from a handful of recurring sources: plumbing leaks inside the wall cavity, roof or window leaks tracking down behind the surface, foundation seepage on below-grade basement walls, and condensation forming on cold exterior walls in winter. The CDC and EPA agree that without this moisture, mold cannot establish, which is why the lasting fix always targets the water rather than the stain.
The “black mold” people fear most is often Stachybotrys chartarum, which favors chronically wet cellulose materials like saturated drywall. But many dark molds look similar, and the CDC notes the response is the same regardless of species: remove it safely and correct the moisture. The color does not change the plan.
Surface growth versus growth inside the wall
The single most important question is whether the mold sits on the surface or has rooted into the material. The answer decides everything that follows.
Signs the growth is surface-level and possibly cleanable:
- The paint is intact and the wall feels firm.
- The growth wipes away and the area underneath looks sound.
- No musty smell lingers after cleaning.
Signs the colony has penetrated, meaning removal is likely needed:
- The drywall is soft, crumbling, or water-stained.
- The paper facing itself is colonized.
- The stain returns within days or weeks of cleaning.
- A persistent musty odor signals growth inside the cavity.
Our companion guide on black mold on drywall goes deeper on reading these signals before you decide to scrub or cut.
How to clean surface black mold on walls
If the growth is genuinely surface-level on intact paint or a non-porous wall, a careful homeowner can clean areas under about 10 square feet. Protect yourself with an N95 respirator, gloves, and goggles. Contain the room by closing the door and sealing vents. Mist the area with hydrogen peroxide, a registered antimicrobial, or detergent solution — never blast, which scatters spores — let it dwell, then wipe and scrub gently. Dry the wall completely afterward, since leftover moisture invites regrowth.
Bleach is a poor choice on drywall. It is mostly water that soaks into the porous gypsum while the chlorine evaporates off the surface, and the EPA does not recommend it for porous materials. Tile and sealed walls tolerate bleach, but painted drywall does not.
When the wall must be removed
Once mold has rooted into the gypsum or the cavity behind is wet, cleaning the surface only delays the inevitable. The EPA recommends removing porous materials with significant growth rather than disinfecting them in place. The procedure:
- Mist the area to suppress airborne spores before cutting.
- Cut out the drywall at least a foot beyond the visible growth.
- Bag the debris immediately and remove it without carrying it openly through the home.
- Inspect and clean the framing and cavity behind the wall.
- Find and repair the moisture source, then dry thoroughly before installing new board.
Drywall is inexpensive; repeated cleanups are not. When in doubt, cutting out the affected section and inspecting behind it is the more honest fix.
Step-by-step removal of a moldy wall section
When the drywall must come out, a controlled sequence limits the spread of spores:
- Set up containment. Seal the room with plastic over the doorway, cover vents, and run a HEPA air scrubber or a window fan exhausting outward.
- Suit up. N95 or half-face respirator, gloves, goggles, and disposable coveralls.
- Mist before cutting. Lightly wet the surface so cutting does not throw a cloud of spores into the air.
- Mark and cut. Score the drywall at least 12 inches beyond the visible growth, cutting cleanly to a stud line for easier patching.
- Bag immediately. Place removed pieces directly into heavy contractor bags, seal, and wipe the bag exterior.
- Inspect the cavity. Check the framing, insulation, and back of adjacent drywall; remove wet insulation and clean salvageable framing.
- Dry and verify. Run a dehumidifier until moisture readings normalize before installing new board.
Rushing the cut or skipping containment is how a contained wall problem becomes a whole-room one.
Are the health risks serious?
The CDC notes that mold exposure can cause symptoms such as nasal congestion, throat irritation, coughing, and eye irritation, and that people with allergies, asthma, or weakened immune systems may react more strongly. The popular belief that black mold uniquely causes severe illness is not well supported; the CDC advises treating all indoor mold as something to remove regardless of color. The practical takeaway is to address it promptly without panic, and to keep sensitive individuals away from the work. For symptoms, consult a physician.
How to clean surface growth safely
If the growth is genuinely on the surface of intact paint or a non-porous wall and under about 10 square feet, a careful homeowner can handle it. Work through a deliberate sequence:
- Protect and contain. Wear an N95, gloves, and goggles. Close the door, seal vents, and run a window fan exhausting outward.
- Pre-mist the area so disturbing the growth does not send spores airborne.
- Apply cleaner from the top down — hydrogen peroxide, vinegar, or a registered antimicrobial — and let it dwell several minutes.
- Scrub gently in small sections, wiping debris into a damp cloth and bagging it as you go.
- Inspect for staining that will not lift, which signals deeper roots.
- Dry thoroughly with a fan and dehumidifier, then recheck the wall in a few days.
Stop and plan for removal if the wall feels soft, the stain bleeds back, or a musty smell lingers after cleaning. These signal the colony has gone deeper than a surface wipe can reach.
Preventing black mold from returning
Cleanup is temporary unless the wall stays dry. Keep indoor humidity below 50%, run exhaust fans, repair leaks promptly, and ensure good drainage and grading around the foundation. On the Front Range, exterior-facing basement walls and bathrooms with weak fans are the repeat offenders. If you cannot find the moisture source, a professional inspection traces it with meters and thermal imaging — the mold inspection and testing hub explains how that investigation works.
Why exterior walls are especially prone
Exterior-facing walls develop black mold more often than interior partitions, and the reason is temperature. During Colorado’s cold months, the inside face of a poorly insulated exterior wall stays cold, and warm indoor air condenses moisture on it — the same effect that fogs a cold window. That condensation, repeated daily, keeps the drywall paper damp enough to grow mold in a pattern that often follows the stud bays, where insulation is thinnest. Basement walls below grade add a second mechanism: ground moisture wicking through the foundation and into framing and finished walls. Bedrooms with furniture pushed flat against an exterior wall are common hotspots, because the trapped air behind the furniture cannot circulate and condensation accumulates unseen.
Distinguishing mold from efflorescence
On basement and masonry walls, homeowners sometimes mistake one problem for another. Efflorescence is a white, crystalline mineral deposit left behind when water evaporates from concrete or brick — it is dry, powdery, odorless, and brushes off as a fine dust. Black mold is darker, often fuzzy or slimy, carries a musty smell, and smears rather than dusting away. The distinction matters because efflorescence signals water moving through the masonry (a moisture problem worth solving) but is not itself mold and does not require remediation. Treating one as the other wastes effort and misses the actual issue.
When to call a professional
Bring in a certified remediator when growth exceeds about 10 square feet, when the drywall is saturated from a cavity leak, when mold appears inside HVAC ducts, when it follows flooding or sewage, or when occupants have respiratory conditions. Professionals use containment and HEPA filtration to keep spores from spreading during removal. For a small patch on intact paint, careful DIY is reasonable; for a wet, crumbling wall, it is not.
What it costs to address black mold on walls
The price spans a wide range depending on how deep the problem goes. A small surface patch cleaned by the homeowner costs only supplies — under $75 for protection, cleaner, and containment basics. Cutting out and replacing a section of drywall as a DIY project adds the cost of new board, joint compound, primer, and paint, typically a modest materials bill plus a weekend of labor. Professional remediation of a wall fed by a hidden cavity leak runs higher, into the hundreds or low thousands, because it includes containment, moisture-source repair, and clearance. The variable that drives the number is whether the growth is surface-level or rooted in a wet cavity. Diagnosing that correctly up front — by checking firmness, paint condition, odor, and recurrence — is what determines whether you are buying a $12 spray or scheduling a remediation crew.
Rebuilding to resist future growth
When a wall section is replaced, the rebuild can be made more resistant. Paperless or fiberglass-faced gypsum removes the cellulose paper that ordinary drywall offers as mold food. Mold-resistant primer adds a surface defense, and in damp basements, moisture-tolerant insulation outperforms fiberglass batts that hold water. None of these is mold-proof against sustained moisture, but paired with a real moisture fix they keep the rebuilt wall clean far longer than a like-for-like replacement would.
Catching wall mold early
The cheapest black mold problem is the one caught before it spreads inside the wall. A few habits help. Watch exterior-facing and basement walls for the first signs — small dark spots, a faint musty smell, or paint that bubbles or discolors. Check behind furniture pushed against exterior walls periodically, since trapped condensation grows mold unseen there. After any leak or flooding, inspect and dry the affected walls within 48 hours, the window in which mold establishes. And address recurring condensation on cold walls with better insulation or a dehumidifier before it becomes a colony. Early detection turns a remediation into a wipe-down, which is the difference between a few dollars in supplies and a contractor’s bill. For homeowners tracking a suspected hidden problem, the mold inspection and testing resources outline how professionals confirm growth behind finished surfaces. Catching the problem at the spot stage rather than the saturated-cavity stage is the single biggest factor in keeping the cost and disruption low.
References
- About Mold and Your Health — Centers for Disease Control and Prevention
- Mold Cleanup in Your Home — U.S. Environmental Protection Agency
- A Brief Guide to Mold, Moisture and Your Home — U.S. Environmental Protection Agency
- Mold and Dampness — American Lung Association
If black mold keeps returning on a wall in your Denver-area home, a vetted inspector can locate the hidden moisture before you open the wall — get in touch through our contact page.