Finding Mold Inside Walls Before You Open Them Up
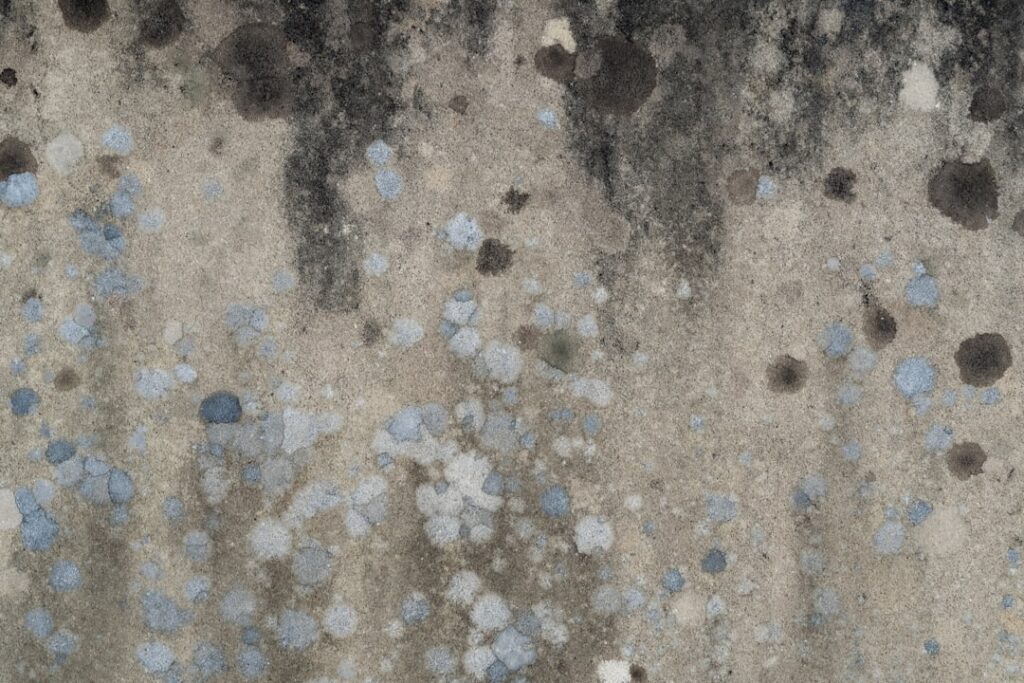
The colony you can see on a bathroom ceiling is rarely the real problem. Wall-cavity mold grows on the back of drywall, feeding on paper facing and gypsum for weeks before a stain, a bubble, or a smell reaches the painted side you actually look at. That lag is why “detecting mold in walls” is a different job from spotting it on a surface: you are reading indirect evidence, not the growth itself. This walks through the five signals that let you find hidden growth — and confirm it — without tearing the wall apart on a guess.
Is this mold, asbestos, or water damage? Get a free instant screen
Upload a clear photo of the suspect area. You'll get an instant AI screening opinion and what to do next. This is screening guidance, not a professional determination.
Screening guidance only. AI can be wrong. Confirm asbestos, mold type, or lead with lab testing or a licensed professional before acting.
Three clues that mean it is worth investigating
No single sign is proof. Paint bubbles from bad primer. Baseboards stain from spills that dried years ago. A whole house can smell musty from a dirty return duct or an unused floor drain. The pattern that matters is two or three independent clues on the same wall: a persistent musty odor localized to one spot, a moisture reading above roughly 16 percent on the drywall, and a visual cue — bubbling paint, brown tide marks near the baseboard, or rust on drywall screws.
The EPA’s homeowner guidance is blunt about the trigger: if you can smell mold or see water staining, you have a moisture problem worth chasing even when no colony is visible. Colorado’s dry climate does not exempt Front Range homes. A single ice-dam leak in Boulder County, a slow supply-line drip in a Douglas County basement, or a poorly flashed window on a Jefferson County two-story can feed a wall cavity through an entire winter. Smell and moisture lead; visible growth is the trailing indicator.
The five ways to detect it
Map the odor
What you smell is microbial volatile organic compounds (mVOCs) given off by active growth. Shut the HVAC off, keep windows closed for two hours, and walk the house tracking where the smell strengthens — often at a baseboard, an outlet, or a window jamb. A smell that fades when the furnace fan runs usually points to ductwork; one that strengthens with the fan off points to a wall cavity. Repeat the walk right after a hot shower, when rising humidity releases mVOCs that stay dormant in dry air.
Look, and touch
Bubbling paint, hairline cracks that follow the studs, brown tide lines, rust around screws, and warped baseboards are the classic tells. Pull furniture two feet off exterior walls — dust shadows and old water marks hide behind dressers. In north-facing closets on older Denver bungalows, press the back of your hand to the drywall: cool, faintly damp gypsum with no obvious leak is a textbook condensation pattern that breeds mold over months.
Take moisture readings
A pin meter reads electrical resistance between two probes pushed into drywall paper. Above about 16 percent moisture content the gypsum can support active growth; above 20 percent a colony is almost certainly established. Read every two feet along the suspect wall, and always take a “control” reading on a wall you know is dry so you have a baseline. Pinless meters scan roughly three-quarters of an inch deep without piercing paint — useful on finished or rental walls. Inspectors cross-check with both; see our guide to choosing a wall moisture meter for the models that hold up on Front Range jobs.
Scan for the moisture, not the mold
Wet drywall reads cooler than dry drywall because evaporation pulls heat off the surface. A thermal camera, used when there is at least a 10-degree difference between indoor air and the wall cavity, shows wet zones as dark patches. It never detects mold directly — only the moisture that sustains it — but it is the fastest way to map a wall before opening it. The shape tells the story: an isolated cold corner is usually an air leak, while a vertical streak following a pipe chase almost always means a leak inside the wall.
Sample the air as a tie-breaker
When odor is present but moisture and visuals are ambiguous, a spore-trap air sample analyzed by an accredited lab can show whether indoor spore counts exceed an outdoor control. Both the CDC and EPA note the limits: counts swing with weather and HVAC operation, so air sampling works as a tie-breaker, not a stand-alone diagnosis. A meaningful comparison needs at least two indoor samples plus one outdoor control, typically $30 to $50 per cassette.
Where wall mold actually concentrates
Four conditions drive it: bulk water (a leaking pipe or roof), capillary water (a slab with no vapor barrier), condensation (a cold cavity meeting humid air), and biological loading (paper-faced drywall, dust, kraft-faced insulation). The wall behind a tub-shower combo is the classic case — every condition lines up. Kitchen walls behind dishwashers and refrigerators come next, then the rim joist and first-floor walls of finished basements, where Colorado’s July–August monsoon humidity condenses on cool below-grade surfaces. In townhomes and condos, add party walls: one neighbor’s plumbing leak becomes both households’ problem, and remediation responsibility usually splits between owners and the HOA.
One order-of-operations rule matters before any saw touches an older wall. Homes built before the late 1980s can have asbestos in drywall, joint compound, or pipe insulation behind the exact wall you want to open — test the materials first, not after. Cutting drywall that contains asbestos releases respirable fibers; cutting drywall with active mold releases spores. Never combine the two, and control dust in both cases.
What you can do yourself — and what you can’t
A useful homeowner kit is three tools plus one option. A hygrometer confirms whether room humidity stays under the 60 percent EPA ceiling (aim for 30–50). A pin moisture meter localizes wet drywall. A flashlight finds the visual clues. Add a borescope — a flexible camera pushed through a quarter-inch hole near an outlet — and you can inspect the cavity itself for under $200; the hole patches with paintable caulk and disappears at the next repaint.
What a kit cannot do is separate active growth from old dry residue, or identify a species. Those need lab support and calibrated equipment. EPA guidance says to bring in a professional when visible growth exceeds 10 square feet, when a wall stays above 20 percent moisture, or when anyone in the home is asthmatic or immunocompromised. A Denver-metro assessment with thermal imaging, air samples, and a written scope typically runs $400–$800; see current mold inspection cost ranges before you book. For how a visual inspection differs from lab testing, our overview of mold inspection and testing covers when each step earns its fee.
Document before you cut
Before opening any wall, photograph every visual clue with a ruler in frame for scale, and write moisture readings onto a simple grid of the wall — every two feet across, three heights (baseboard, mid-wall, ceiling). Note the room’s temperature and humidity at the time; both change how the numbers read. If an insurance claim is possible, add a date-stamped video. Most Colorado homeowner policies cap mold coverage at $5,000–$10,000 without a named-peril rider, and adjusters routinely deny claims that lack contemporaneous documentation. Keep any lab chain-of-custody form — it is what makes a result defensible in a dispute with a seller, contractor, or insurer — and save copies in two places, since lab portals purge results after a year or two.
Common questions
This guide reflects EPA, CDC, and Colorado state health-department guidance; consult a certified indoor environmental professional for diagnosis and a physician about any suspected exposure symptoms. Front Range homeowners who want a second set of eyes on a suspect wall can reach a vetted local inspector through our contact page.
References
- A Brief Guide to Mold, Moisture and Your Home — U.S. Environmental Protection Agency
- Mold and Health — U.S. Environmental Protection Agency
- About Mold and Indoor Environments — Centers for Disease Control and Prevention
- Mold — Health Topic — National Institute of Environmental Health Sciences
- Indoor Air Quality Resources — Colorado Department of Public Health and Environment