Mold Removal: A Process Overview for Homeowners
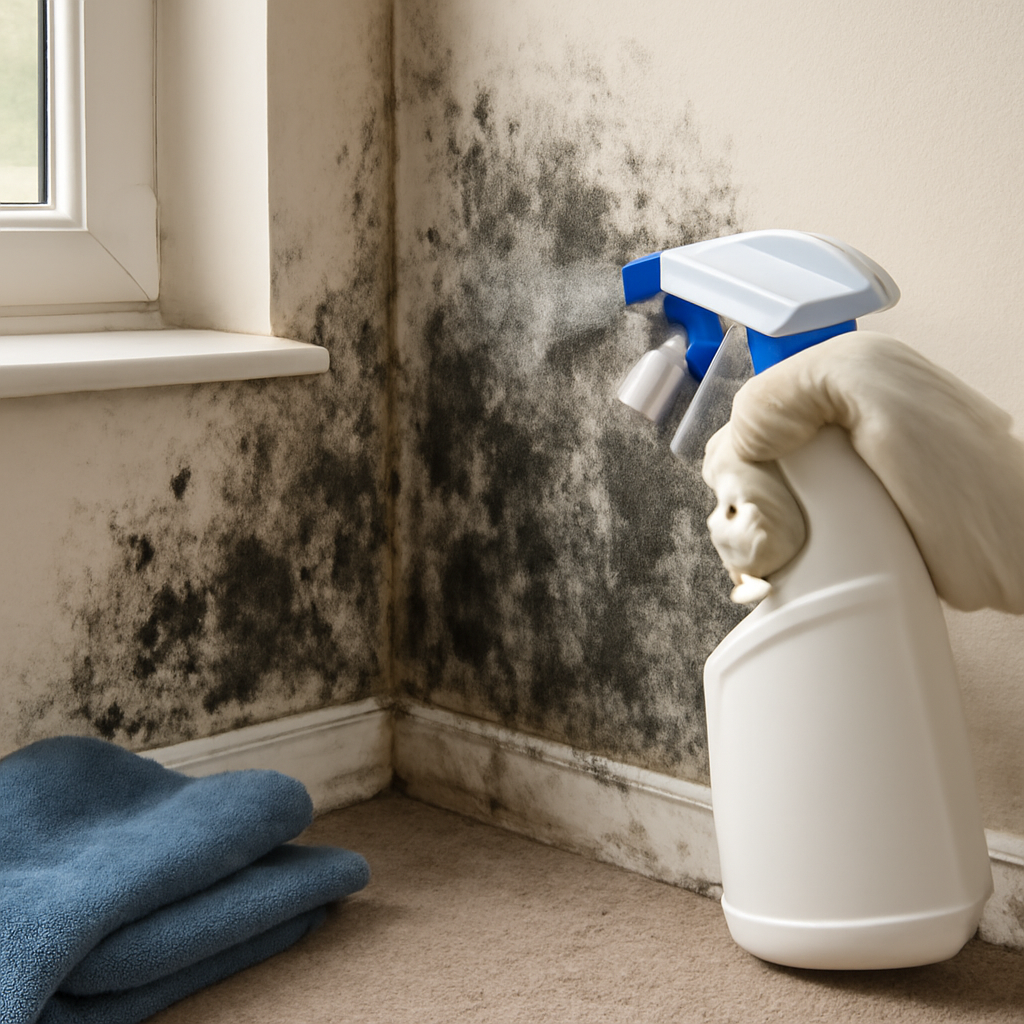
People often type mold temoval when they mean mold removal, usually mid-panic after finding a dark patch behind a baseboard or under a sink. Whatever the spelling, the question is the same: how do you actually get mold out of a home and keep it out? Removal is a process, not a single product, and it follows a predictable order from finding the moisture to verifying a clean, dry result. This overview summarizes EPA and CDC mold guidance current as of 2026 and is general information, not medical advice or a substitute for a certified remediation professional.
Is this mold, asbestos, or water damage? Get a free instant screen
Upload a clear photo of the suspect area. You'll get an instant AI screening opinion and what to do next. This is screening guidance, not a professional determination.
Screening guidance only. AI can be wrong. Confirm asbestos, mold type, or lead with lab testing or a licensed professional before acting.
The Mold Removal Process at a Glance
Effective mold removal moves through five stages: assess the moisture and extent, contain the work area, remove the growth and affected materials, dry and clean thoroughly, and verify the result. Skipping any stage tends to produce the frustrating cycle where mold returns within weeks. The EPA frames every stage around one principle: control moisture, because mold cannot grow without it. The cleaning chemistry most homeowners focus on is only one piece of the third stage.
The scale of the job decides who should do it. The EPA suggests that homeowners can often handle small jobs under roughly ten square feet, while larger areas, or anything involving sewage or flooding, call for a professional with containment and air-management equipment.
Step One: Assess the Moisture and Extent
Removal starts with finding why the mold is there. A patch on a ceiling points up toward a roof leak or a bathroom fan venting into the attic; a wall stain near the floor points to plumbing, a slab issue, or exterior grading. Until the water source is identified and stopped, any removal is temporary. Tools like a moisture meter help map how far dampness extends behind a visibly clean surface, which often reveals that the affected area is larger than the stain suggests.
Assessment also means checking for hidden growth. A persistent musty odor with no visible mold is a strong cue to look inside wall cavities, under flooring, or above ceiling tiles. Homeowners who want a structured way to hunt for it can follow our guide on how to find mold in your house before committing to a removal plan.
Step Two: Contain the Work Area
Disturbing mold releases spores into the air, so containment protects the rest of the home. For small jobs, closing doors and sealing vents in the work room limits spread. For larger jobs, professionals build plastic-sheeting barriers and run negative-air machines with HEPA filtration so spores cannot drift into clean spaces. The CDC and EPA both stress that disturbing growth without containment can spread the problem and raise exposure.
Personal protection belongs in this step. An N95 respirator, gloves, and eye protection are the baseline for any removal; larger jobs warrant a half-face respirator with appropriate cartridges and disposable coveralls. People with asthma, allergies, or weakened immune systems should not perform removal and should stay out of the home while it is underway.
Step Three: Remove the Growth and Affected Materials
This is where the spelling-driven search usually lands, but it is the middle of the process, not the start. How you remove mold depends entirely on the surface.
Non-Porous Surfaces
Glass, glazed tile, metal, and sealed surfaces let mold sit on top. These can be cleaned with detergent and water or a suitable cleaner, then scrubbed and wiped, and they are typically saved rather than discarded. The EPA notes that hard surfaces can be cleaned and kept if they are dried promptly.
Porous and Semi-Porous Materials
Drywall, ceiling tile, carpet, insulation, and bare wood absorb both water and mold below the surface. Cleaning the face does not reach the growth inside, so the EPA generally recommends discarding and replacing porous materials that have absorbed mold and moisture. Cutting out a section of moldy drywall and replacing it is genuine removal; spraying its surface is not. Our complete mold remover guide walks through the material-by-material decisions in more detail.
Step Four: Dry and Clean Thoroughly
Once the growth and damaged materials are out, the area has to dry completely before anything is rebuilt or covered. Trapping residual moisture inside a wall guarantees a repeat. Fans, dehumidifiers, and time bring the materials back to a normal moisture content, and a HEPA vacuum captures settled spores and fine debris that ordinary vacuums recirculate.
Cleaning at this stage targets residue. Even after mold is dead, the EPA notes that dead mold and its fragments can still trigger allergic reactions, so the surfaces and surrounding dust need a real wipe-down, not just a chemical pass. The CDC recommends keeping indoor humidity between 30 and 50 percent afterward to keep the conditions inhospitable to regrowth.
Step Five: Verify the Result
Removal is not finished until the area is visibly clean, completely dry, and free of musty odor, and until the moisture source is confirmed fixed. For larger or health-sensitive situations, post-remediation verification may include independent inspection or air and surface sampling to confirm conditions have returned to normal. The EPA describes successful remediation as the absence of visible mold and mold odor, with moisture controlled.
Verification is also the moment to set up monitoring. Re-checking the spot over the following weeks catches a recurrence early, while it is still small enough to handle with a wipe rather than another full removal.
When Mold Removal Is a Professional Job
Several situations push removal beyond a do-it-yourself project. Growth larger than about ten square feet, mold following a flood or sewage backup, mold inside HVAC systems, hidden growth requiring demolition to reach, and any case where occupants have mold-related health concerns all argue for professional remediation. Professionals bring containment, negative-air equipment, moisture mapping, and the experience to find sources a homeowner might miss. For a sense of what hiring entails, our overview of the broader topic lives in the mold inspection and testing hub.
Whatever the spelling that brought you here, the lesson holds: removal is a sequence that starts and ends with moisture. Handle the water, take out the growth properly, dry everything, and verify, and the mold stays gone. Treat removal as a single spray step and it comes back.
How Much Mold Removal Costs and What Drives the Price
Cost is the question most homeowners ask once they realize removal is more than a spray. There is no single figure, because the price tracks the scale and the source of the moisture far more than the visible mold itself. A small DIY cleanup of a hard surface may cost only the price of supplies and protective gear. A professional remediation of a saturated wall, by contrast, includes containment, removal and replacement of porous materials, drying equipment, and sometimes repairs to the underlying leak.
The biggest cost drivers are the extent of porous material that must be removed and rebuilt, the difficulty of reaching the growth, and whether the moisture source involves plumbing, roofing, or foundation work. A patch of moldy drywall in an accessible wall is far cheaper to address than hidden growth behind cabinetry or inside a finished ceiling. Mold following a flood or sewage backup costs more because it requires more aggressive containment and disposal.
The lesson for budgeting is that early action is cheaper action. A small patch caught and dried quickly stays a supplies-and-an-afternoon problem. The same patch ignored until it spreads through a wall cavity becomes a multi-step remediation. Catching mold early, before it spreads through a wall cavity, is the single most cost-effective move a homeowner can make.
Preventing Mold From Returning After Removal
Removal that does not include prevention is removal you will repeat. Once the growth is out and the area is dry, the work shifts to keeping conditions hostile to mold. The CDC recommends holding indoor relative humidity between 30 and 50 percent, which on the Front Range often means running a dehumidifier in basements during humid stretches and ensuring good airflow in closed-off spaces.
Ventilation is the other pillar. Bathroom and kitchen exhaust fans should vent outdoors and run during and after moisture-generating activities. Dryer vents must terminate outside, never into a crawl space or attic. Beyond mechanical fixes, prompt attention to spills, leaks, and condensation prevents the small wet events that seed new growth. A surface wiped dry within a day or two rarely grows mold; one left damp for a week often does.
Monitoring closes the loop. Re-checking the previously affected spot over the following weeks confirms the removal held and catches any recurrence while it is still small. If mold returns, the moisture fix was incomplete, and that is the signal to look deeper rather than simply re-clean. These prevention habits are what separate a one-time removal from an annual ritual.
Safety Throughout the Removal Process
Safety is not a single step in mold removal but a thread that runs through every stage, and treating it that way prevents the exposure and accidents that turn a manageable job into a health concern. The core hazard is that disturbing mold releases spores, so any activity that touches the growth, from assessment to scrubbing to bagging debris, can raise airborne spore levels in the immediate area.
Personal protective equipment is the baseline defense. An N95 respirator that seals to the face, gloves, and eye protection are the minimum for any removal, with a half-face respirator and disposable coveralls warranted on larger jobs. The CDC and EPA both emphasize protecting the respiratory system, since spores and fragments are most harmful when inhaled. People with asthma, mold allergies, or weakened immune systems should not perform removal at all and should stay out of the home while it is underway.
Chemical safety overlaps with mold safety whenever a cleaner or biocide is involved. Products should never be mixed, and bleach must stay far from ammonia, since the combination produces toxic chloramine gas. Adequate ventilation reduces both spore and chemical exposure, so opening windows and running exhaust fans is part of working safely, not just a comfort measure.
Containment protects the rest of the household. Sealing the work area, covering vents, and carrying removed material straight outside in sealed bags keep spores from migrating into clean rooms. After the work, a HEPA vacuum captures settled spores that ordinary vacuums recirculate, and washing clothing worn during the job prevents carrying spores elsewhere. Anyone with symptoms they suspect are linked to mold should consult a physician, separate from the home-side removal work. Treating safety as continuous rather than a checkbox is what keeps mold removal from creating a second problem while solving the first.
References
- Mold Cleanup in Your Home — U.S. Environmental Protection Agency
- About Mold and Your Health — Centers for Disease Control and Prevention
- Mold Remediation in Schools and Commercial Buildings — U.S. Environmental Protection Agency
Front Range homeowners facing more mold than a weekend cleanup can handle can get in touch through our contact page for a connection to a qualified local inspector or remediation pro.