How to Remove House Mold: A Plain-Language Guide
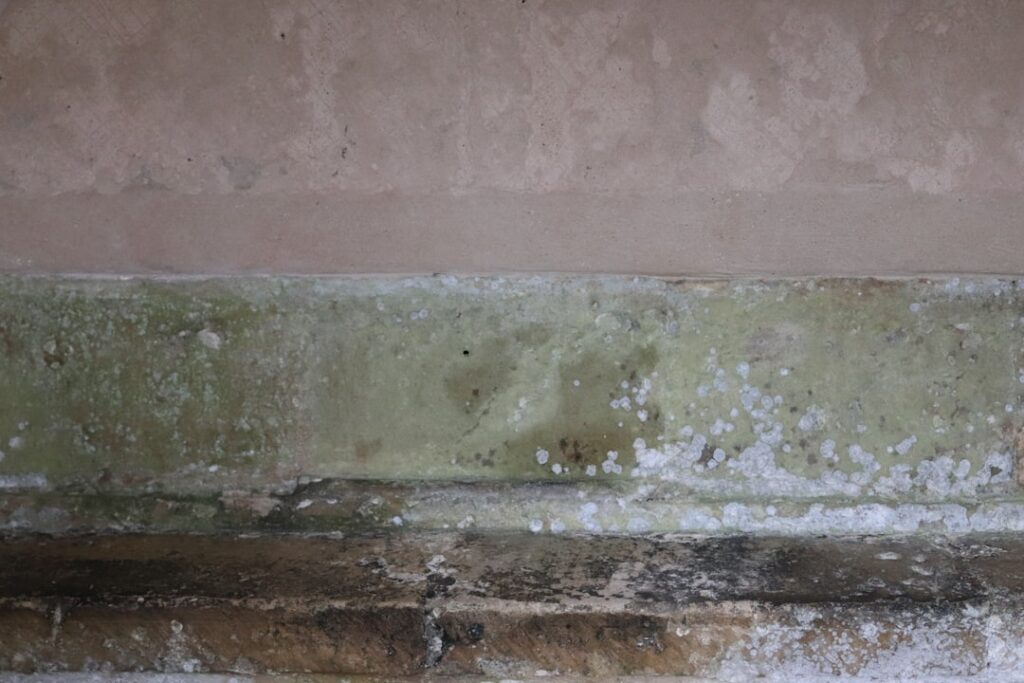
The practical question of how to remove house mold has a different answer depending on the size of the area, the surface involved, the moisture history, and the health of the occupants. Federal guidance from EPA, CDC, and OSHA converges on a removal-first framework that homeowners can follow at small scale and remediators follow at larger scale. This guide summarizes EPA and CDC guidance current as of 2026 — consult your physician for symptoms and a certified mold professional for testing decisions or any cleanup over 10 square feet.
Is this mold, asbestos, or water damage? Get a free instant screen
Upload a clear photo of the suspect area. You'll get an instant AI screening opinion and what to do next. This is screening guidance, not a professional determination.
Screening guidance only. AI can be wrong. Confirm asbestos, mold type, or lead with lab testing or a licensed professional before acting.
How to remove house mold without spreading it
The biggest mistake homeowners make is treating mold as a cleaning problem rather than a containment problem. Vigorously scrubbing a dry colony, vacuuming with a standard household vacuum, or running the HVAC during disturbance can spread spores from a single localized area to the entire house. The first principle is to contain before you clean.
The second principle is sequence. Stop the moisture, measure the affected area, decide DIY versus professional, suit up with PPE, contain the work zone, remove colonized material, clean and HEPA vacuum what remains, dry thoroughly, and monitor for recurrence. Skipping a step compromises the outcome.
Step one: stop the moisture source
Mold grows because the substrate is wet enough to support fungal activity — typically water activity above 0.7, which means visibly damp or measurably elevated moisture content. Removal of the colony without fixing the moisture cause produces recurrence within weeks.
Common sources to check: roof leaks around penetrations and valleys, plumbing supply or drain leaks within walls, foundation seepage in basements, condensation from undersized exhaust fans, ice dam infiltration at eaves, appliance overflows, washing machine hose failures, HVAC condensate line clogs. Use a moisture meter on adjacent surfaces to confirm the wet zone boundary; visible mold rarely matches the full moisture footprint.
For diagnostic depth on the moisture side, the mold inspection and testing hub covers what a methodical assessment looks like.
Step two: scope the affected area
EPA’s residential mold guidance uses approximately 10 square feet as the threshold between DIY-scale cleanup and professional remediation. Measure the visible mold plus any adjacent water-stained or musty-smelling material. Underestimating the scope is one of the most common reasons cleanups fail verification testing.
Above the threshold, hire a remediator. Below the threshold, on non-porous or lightly semi-porous surfaces, with the moisture source fixed and healthy occupants, DIY is reasonable. Anything involving HVAC contamination, sewage exposure, or households with vulnerable occupants — infants, elderly, asthma sufferers, immunocompromised — pushes the decision toward professional remediation regardless of square footage.
Step three: PPE and tools
For DIY-scale removal: N95 respirator (the floor; properly sealed), nitrile gloves, safety glasses without ventilation holes, old clothes you can wash hot or dispose of after the job. Add a half-face P100 respirator for jobs at or near the 10-square-foot threshold. Disposable Tyvek coveralls help on larger work.
Tools: HEPA-rated vacuum (not a standard shop vac — those exhaust spores through inadequate filters), soft scrub brush, microfiber cloths, dish detergent, warm water, 6-mil polyethylene sheeting and bags, painter’s tape, drop cloths, a moisture meter for verification.
Step four: contain the work area
Tape plastic sheeting to floor and ceiling around the affected area to create a barrier. Cover or remove furniture. Lay drop cloths on flooring. Seal HVAC supply and return registers in the room with painter’s tape and plastic. Shut off the HVAC during the work if possible.
For larger DIY jobs near the 10-square-foot threshold, consider renting a HEPA-filtered air mover and venting it outside through a window to create negative pressure in the work zone. This is the same containment principle professionals use, scaled down. The water damage and mold remediation guide shows how full containment is structured.
Step five: remove colonized material
For non-porous surfaces, removal is not needed — surface cleaning handles it. For semi-porous surfaces with surface staining only, surface cleaning plus optional resealing handles it. For porous surfaces with active mold growth — drywall, insulation, carpet pad, ceiling tile — EPA recommends removal of the material rather than cleaning.
Cut drywall two feet beyond visible damage to catch hyphae growth invisible at the surface. Remove insulation behind the drywall. Bag everything in 6-mil polyethylene, sealed with tape, and remove from the house through the shortest path that does not contaminate other rooms.
Step six: clean what remains
HEPA vacuum the work zone first to capture loose debris and surface spores. Mix detergent in warm water. Scrub remaining surfaces — studs, framing, hard floors, exposed concrete — with a soft brush. Wipe with damp microfiber, then dry with a fresh cloth. HEPA vacuum again to capture spores released during the wet cleaning.
The two-pass HEPA approach captures more than a single pass, regardless of how thorough the vacuuming feels. Microfiber and detergent are more effective than bleach for porous-adjacent material because they physically lift biological debris rather than just denaturing surface cells.
Surface-specific notes
Bathroom grout: detergent and stiff brush; regrouting for deeply stained sections. Caulk: cut out and replace with mildew-resistant product. Hardwood floor: surface cleaning if the finish is intact; sand and refinish if the finish was breached and stain penetrated. Concrete: detergent scrub and dry; deep penetration may require an encapsulant. Drywall: replace, not clean, when actively colonized.
Step seven: dry thoroughly
Drying is often the slowest phase. Run fans and dehumidifiers until moisture readings on remaining framing and substrate return to typical dry baselines — roughly below 16 percent in wood, below 1 percent in drywall. A cheap moisture meter pays for itself in this step.
Premature reconstruction traps moisture and creates the next colony. Patience here is more valuable than any chemical treatment elsewhere. Air movers plus a dehumidifier running for several days is typical for any cleanup involving structural framing.
Step eight: monitor and verify
For DIY-scale work, monitor the area for two weeks for any sign of recurrence — visible regrowth, returning musty smell, fresh staining. Recurrence suggests the moisture source was not fully fixed or the cleanup did not reach all the colonized material.
For larger jobs that crossed into professional remediation, post-remediation air sampling provides quantitative verification. Indoor spore counts compared to outdoor reference samples confirm the cleanup met the standard. Independent third-party clearance is the cleanest arrangement.
Preventing the next house mold problem
Mold prevention is moisture prevention. Keep indoor relative humidity between 30 and 50 percent year-round. Run bathroom and kitchen exhaust fans during and after moisture-generating activities. Inspect plumbing fixtures, supply lines, and washing machine hoses twice a year. Walk the basement and crawl space after spring snowmelt and summer storms. Replace HVAC filters on schedule.
Front Range homes face specific patterns — snowmelt infiltration, ice dams, summer crawl-space condensation — and each has known preventive fixes. The hygrometer reading and the moisture meter check are the two most useful household tools for ongoing prevention.
Common mistakes that derail house mold removal
Failed removals tend to repeat the same predictable mistakes. The first is starting the work before confirming the moisture source is fixed. The drywall comes out, the studs get cleaned, the new material goes back up, and the same leak feeds the next colony within weeks. Every successful removal sequence begins with moisture diagnosis, not demolition. Track every visible patch to a water cause before any cleanup begins.
The second is using a standard household vacuum to clean debris. Vacuum filters not rated for fungal particles exhaust spores back into the air through the exhaust port, spreading the colony to rooms that were not previously affected. A HEPA-rated wet/dry vacuum or a rented HEPA canister is the right tool. Renting is often cheaper than buying for one-time projects.
The third is reconstructing too early. New drywall installed against still-damp framing traps moisture in the wall cavity and feeds the next colony. A moisture meter reading on the studs and substrate before any new material goes up is the cheapest insurance against rework. The patience required for full drying often takes longer than the demolition phase itself, especially in basements where ambient humidity slows evaporation.
DIY versus professional: a decision framework
Four variables drive the DIY-versus-pro decision: affected area, surface type, occupant health, and moisture source status. If the affected area is under 10 square feet, on non-porous or lightly semi-porous material, with the moisture source identified and fixed, and with healthy adult occupants, DIY cleanup with proper PPE is a reasonable path. Total cost typically falls under $100 in materials.
If any one of those four variables fails, the decision tips toward professional remediation. A 5-square-foot patch on porous drywall behind a still-active leak is not a DIY job. A 4-square-foot patch in a household with an asthma sufferer is also a hire-a-pro situation because the disturbance phase will spike spore counts for someone who cannot safely tolerate the exposure. The cost gap between an honest professional scope and a failed DIY followed by a remediation is usually larger than the gap between DIY and a properly scoped professional job from the start.
References
- Mold Cleanup in Your Home — U.S. Environmental Protection Agency
- Mold Cleanup Guide — Centers for Disease Control and Prevention
- Mold Cleanup Recommendations — Occupational Safety and Health Administration
- Mold Inspection Overview — International Association of Certified Home Inspectors
If the scope of your mold problem is beyond what DIY can safely address, contact us for a referral to a vetted Front Range inspector who can help size the project.
Mold removal & cleanup picks
For a small, contained patch (under ~10 sq ft) these EPA-friendly removers handle surface mold. Larger or recurring growth warrants a professional assessment first.
| Product | Why | Buy |
|---|---|---|
 RMR-86 Instant Mold Stain Remover RMR-86 Instant Mold Stain Remover | Fast-acting on stains; ventilate and wear PPE. | Amazon — $25.99 |
 Concrobium Mold Control Concrobium Mold Control | No-bleach formula that also helps prevent regrowth. | Amazon — $13.48 |
 Mold Armor Mold & Mildew Remover Mold Armor Mold & Mildew Remover | Widely stocked bathroom/surface remover. | Amazon — $22.98 |