Mold and Mildew Remover for Walls Guide
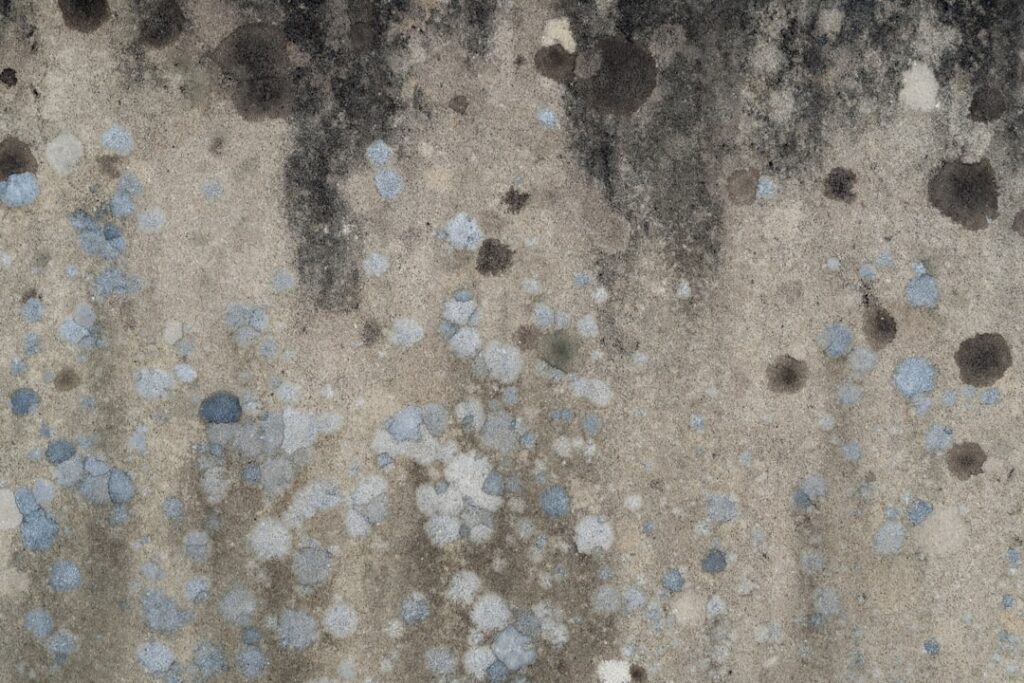
Walls are where most homeowners first notice mold, and they are also where the wrong product can do real damage. A mold and mildew remover for walls has to handle the growth without ruining paint, soaking porous drywall, or leaving the surface wetter than it started. The right choice depends almost entirely on what the wall is made of. This guide summarizes EPA and CDC guidance current as of 2026 and is for general education only; consult your physician about health symptoms and a certified professional for larger contamination.
Is this mold, asbestos, or water damage? Get a free instant screen
Upload a clear photo of the suspect area. You'll get an instant AI screening opinion and what to do next. This is screening guidance, not a professional determination.
Screening guidance only. AI can be wrong. Confirm asbestos, mold type, or lead with lab testing or a licensed professional before acting.
Match the remover to the wall surface
Wall mold is not one problem with one solution. A glossy bathroom tile, a painted bedroom wall, and a patch of bare drywall behind a leak each respond differently. Tile and grout are hard and non-porous, so they tolerate stronger products and scrubbing. Painted drywall is semi-porous and shows water spotting easily. Bare or paper-faced drywall is porous and, once mold gets into the paper, often cannot be saved by any surface product.
The EPA’s core rule applies here: porous materials with embedded mold growth usually need to be removed, not cleaned. A remover sprayed on contaminated paper-faced drywall may lighten the surface stain while the growth continues inside the material. Knowing the surface type before you buy tells you whether a remover is even the right tool.
Painted and semi-porous drywall
For mold on a sound, painted wall, gentle is usually enough. The EPA notes that hard surfaces can be cleaned with water and detergent and then dried completely; the goal is physical removal of the growth, not chemical sterilization. Many homeowners reach for a ready-to-use spray instead, which is fine on intact paint as long as you do not saturate the wall.
Work in sections. Mist the area, let the product dwell for the time on the label, then wipe with a damp cloth and dry immediately with a fan. Avoid soaking, because driving water into drywall creates the exact condition mold needs. If the paint is bubbling or the stain bleeds back within days, the growth is likely behind the surface and a spray will not reach it.
The bleach question
Household bleach is the most common wall remover, but it has limits. Chlorine bleach can lighten stains on hard, non-porous surfaces, yet on porous drywall the water in bleach soaks in while the chlorine stays on top, which can leave the material damp and the embedded growth alive. The EPA does not recommend routine bleach use for mold cleanup and points to detergent and water for most jobs. Never mix bleach with ammonia or other cleaners, since that produces toxic gas. If you use any biocidal product, confirm it carries an EPA registration number and follow the label exactly.
Tile, grout, and other hard surfaces
Bathroom tile is the friendliest surface for a remover. The glaze is non-porous, so growth sits on top and scrubs away. Grout is the weak point: it is porous and holds moisture, which is why mildew keeps coming back along grout lines. A remover with surfactants plus mechanical scrubbing with a stiff brush usually clears it.
For stubborn grout staining, a product designed to cling, such as a gel or thickened spray, gives the active ingredient more dwell time on a vertical surface. After cleaning, dry the area and improve ventilation, because a bathroom that stays humid simply regrows the mildew. Sealing clean grout slows recurrence. The broader picture of which products suit which jobs is covered in this overview of mold removal products and how to choose one.
How to apply a wall remover safely
Ventilation and protection come first. Open a window, run an exhaust fan, and wear an N95 respirator, gloves, and eye protection. The CDC advises that anyone with asthma or a weakened immune system avoid the cleanup entirely. Never combine products; one cleaner at a time.
Spray or apply to the affected area plus a margin around it, since visible growth usually extends past what you can see. Let the product dwell, then wipe rather than smear. Bag the used cloths. Most important, dry the wall thoroughly with airflow, because a damp wall after cleaning is an invitation for the mold to return within days.
Keep the EPA size guideline in mind: a homeowner can reasonably handle hard-surface growth under about ten square feet. Anything larger, anything involving sewage or floodwater, or growth that keeps returning after cleaning points to a professional with containment equipment.
Wallpaper, paneling, and other wall finishes
Not every wall is painted drywall or tile. Wallpaper is a particular problem because the paper and the adhesive behind it both feed mold, and growth often starts on the back where you cannot see it. A surface remover wiped on the front lightens the visible patch while the colony thrives underneath. Bubbling, peeling, or staining that bleeds through wallpaper usually means the affected section needs to come off, not be cleaned in place.
Wood paneling and trim behave according to their finish. Sealed, glossy paneling sheds surface mold like any non-porous material and tolerates a remover and a wipe. Unsealed or raw wood absorbs both moisture and the cleaner, so growth can penetrate the grain. Light surface mold on finished wood can be cleaned and dried; deeper staining in raw wood often means the growth has gone into the material, which a surface product will not fix.
Plaster walls, common in older homes, are denser than drywall but still porous. Surface mold on intact, painted plaster cleans much like painted drywall. Where plaster is cracked, crumbling, or has stayed wet, the same caution applies: the remover treats the face while moisture and growth persist within. Matching the approach to the specific finish, rather than reaching for the same spray everywhere, is what separates a lasting result from a temporary cosmetic fix.
Common mistakes that make wall mold worse
Several habits backfire. The first is soaking the wall. Drenching drywall with a spray drives water into the material, and water is precisely what the mold needs, so an over-applied remover can feed the next outbreak. Mist and wipe; do not saturate.
The second is painting over mold to hide it. A fresh coat of ordinary paint seals growth beneath the surface, where it continues to spread and eventually bleeds through. Mold must be removed and the surface dried before any paint, and only a mold-resistant coating on a clean, dry wall offers real preventive value.
The third is dry-scraping or vacuuming visible growth with a household vacuum, which launches spores into the air and spreads the problem to other rooms. The fourth is skipping protection; even a small wall patch warrants an N95 respirator, gloves, and ventilation. The CDC stresses that people with asthma or weakened immunity should not do this work at all. Avoiding these mistakes matters as much as choosing the right remover.
Why the remover is only half the job
A remover treats the symptom. The cause is always moisture. If you clean a wall and do nothing about the leak, condensation, or humidity that fed the growth, the mold returns, sometimes within a week. Find the water source before you congratulate yourself on a clean wall.
Common wall-moisture sources include plumbing inside the wall cavity, condensation on poorly insulated exterior walls, roof or window leaks tracking down, and chronically high indoor humidity. On the Front Range, finished basements against cool foundation walls are frequent offenders. Fixing the moisture is what makes the cleanup permanent. For the full sequence from finding moisture to verifying cleanup, the mold inspection and testing hub ties these steps together.
Preventing wall mold after you have cleaned it
Cleaning a wall is the start; keeping it clean is the goal. Once the growth is gone and the surface is dry, a few measures sharply reduce the chance of return. The first is humidity control: the EPA recommends keeping indoor relative humidity below roughly 50 percent, which a dehumidifier or improved ventilation can achieve in damp rooms. Mold cannot reestablish on a wall that stays dry.
Air circulation matters as much as humidity. Walls that grow mold are often those starved of airflow: behind furniture pushed against an exterior wall, inside closets on a shared bathroom wall, in corners where air stagnates. Pulling furniture a few inches off cool walls, leaving closet doors ajar, and running a fan in problem rooms keeps surfaces from staying damp long enough to support growth.
On clean, dry walls in chronically humid spaces, a mold-resistant paint adds a measure of resistance, protecting the paint film against surface colonization. It is a finishing step, not a fix for an unaddressed leak. Inspect previously affected walls periodically, especially after any water event, so an early return is caught while it is still a small patch. Prevention costs far less effort than the next round of removal.
When to stop and call a professional
Stop if the affected area is larger than about ten square feet, if the drywall is soft or crumbling, if the stain bleeds back repeatedly, or if you smell mold but cannot find it. Those signs point to growth inside the wall that no surface remover can reach.
A professional can open the wall under containment, remove contaminated material, dry the cavity, and verify the result. That controlled process prevents the spore release that comes from cutting drywall in an occupied room. Spending on a remover is sensible for small, visible, surface growth; spending on a pro is sensible when the wall itself is the problem.
Choosing between a spray, a wipe, and a scrub
The application method affects results on a wall as much as the active ingredient does. A ready-to-use spray suits broad, lightly affected areas on intact paint, letting you mist and wipe without over-handling the surface. A pre-moistened wipe gives more control on a small, precise spot and contains the mess, which helps when working near trim or fixtures. A clinging gel earns its place on grout lines and textured surfaces where a runny spray would slide off before the active ingredient could work.
Match the method to the surface and the severity. Light surface mildew on a painted wall responds to a spray and a wipe; stubborn grout staining wants a gel and a stiff brush. Whatever the method, the constants hold: protect yourself, do not soak porous material, physically remove the growth rather than smear it, and dry the wall completely afterward so the next colony has no moisture to feed on.
References
- Mold Cleanup in Your Home — U.S. Environmental Protection Agency
- About Mold and Your Health — Centers for Disease Control and Prevention
- A Brief Guide to Mold, Moisture and Your Home — U.S. Environmental Protection Agency
If wall mold keeps returning and you want a Front Range inspector to find the moisture source, you can get in touch through our contact page.