Testing for Mold in Basement: Sampling Protocol Guide
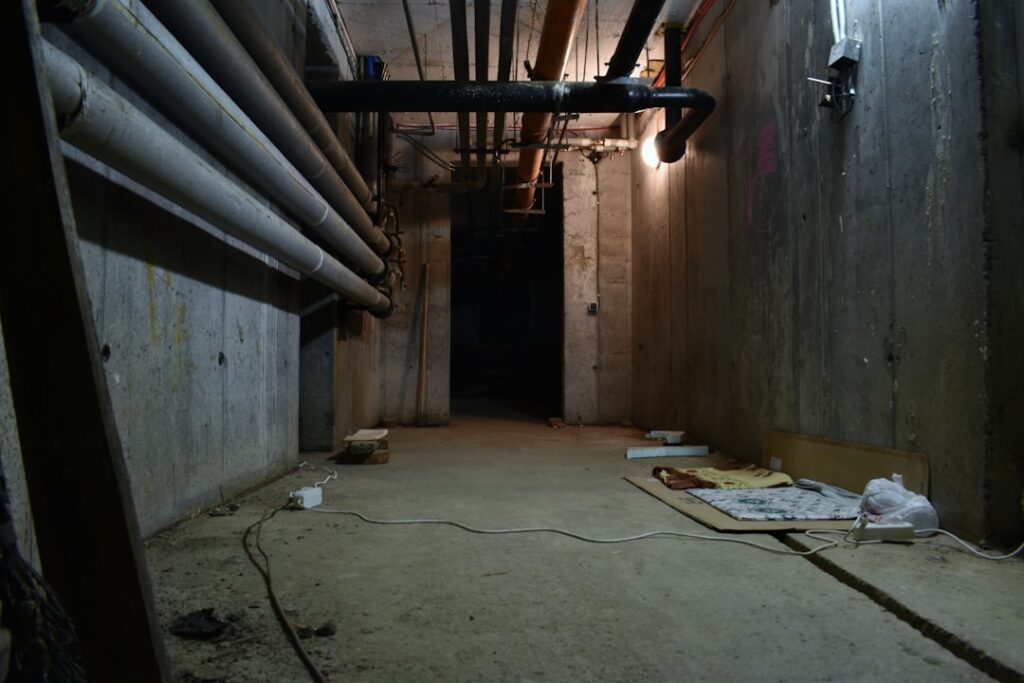
Testing for mold in basement spaces follows a different protocol than testing in above-grade rooms because basements concentrate the moisture conditions that drive growth. Below-grade walls touch cold earth, basement air sits below the dew point on warm summer days, and the limited natural ventilation that buffers upper floors does not reach the basement reliably. This guide summarizes EPA and CDC guidance current as of 2026 and walks through the sampling protocol a certified industrial hygienist follows when the testing target is a basement specifically. Consult your physician for symptoms and a certified mold professional when testing decisions tie to a documented water event. The basement-specific protocol exists because the physics of below-grade air differ from the rest of the house.
Is this mold, asbestos, or water damage? Get a free instant screen
Upload a clear photo of the suspect area. You'll get an instant AI screening opinion and what to do next. This is screening guidance, not a professional determination.
Screening guidance only. AI can be wrong. Confirm asbestos, mold type, or lead with lab testing or a licensed professional before acting.
Testing for mold in basement: the protocol overview
The standard basement sampling scope includes three locations at minimum: one suspect-area sample near a known or potential moisture source, one main-basement sample taken in the open finished area or center of the unfinished space, and one outdoor reference taken upwind of the foundation. Each sample runs a calibrated pump at 15 liters per minute for five to ten minutes, capturing 75 to 150 liters of air through a sticky cassette for lab analysis.
The basement protocol adds two preparation steps that above-grade sampling does not always include. The 48-hour closed-house protocol calls for closed windows, closed doors, and HVAC operating in normal mode for two full days before sampling, which lets indoor air equilibrate and prevents wind-driven outdoor air infiltration from masking indoor amplification. The second step is a humidity reading at each sample location, since elevated relative humidity is itself a finding worth documenting.
Why the paired outdoor reference matters in basement sampling
Outdoor mold spore counts vary by season, weather, and time of day. Without a paired outdoor sample taken on the same visit, the basement count has no comparison baseline that accounts for that variation. A basement reading of 600 spores per cubic meter sounds low until the outdoor count reads 200; a basement reading of 2,000 sounds alarming until the outdoor count reads 5,000.
The indoor:outdoor ratio is the primary interpretive lens. A healthy basement should show counts at or below outdoor counts for the same genera, with no indoor-dominant genera that are rare or absent outside. The diagnostic flag that points to an active indoor source is an elevated indoor count of a genus significantly lower outdoors, or any detectable Stachybotrys or Chaetomium indoors. EPA and the New York City Department of Health both treat this comparison as the interpretive framework, not absolute thresholds.
The 48-hour closed-house protocol
Closed windows and doors for 48 hours before sampling lets the indoor airspace stabilize. Wind-driven outdoor air infiltration changes minute by minute when windows are open, which makes a single point-in-time sample less representative of typical indoor conditions. The closed-house window also reflects the reality that most occupants spend significant time in closed homes, so the closed-state air composition is what they actually breathe.
HVAC operates normally during the closed window. Do not turn off the air handler. Do not change filters or aggressively vacuum during the 24 hours before sampling, since both actions transiently spike airborne particulate counts. Do not run a dehumidifier on max setting in the 12 hours before the visit; that artificially lowers humidity and can mask the moisture conditions the test is supposed to characterize. Our hub on mold inspection for homeowners covers the preparation routine in more detail.
When to test the basement specifically
Testing earns its cost when one of several triggers applies. A documented water-intrusion event (sump pump failure, basement seepage during snowmelt, plumbing leak) raises specific questions about post-event contamination. Persistent musty odor without a visible source justifies sampling to confirm whether the odor reflects actual elevated spore counts. Real-estate contingency testing for a basement-finished or basement-bedroom property may be required by contract.
Testing rarely earns its cost when there is no specific question to answer. Routine no-symptom screening of a dry, well-ventilated basement with no water-event history rarely produces actionable results. Money spent on testing in that scenario is better spent on humidity monitoring and modest preventive measures (basement dehumidifier, sump pump backup, exterior drainage improvements). The method comparison guide sorts the use cases by trigger.
What basement samples look for that above-grade samples do not
Basement testing emphasizes water-damage indicator organisms. Stachybotrys chartarum, Chaetomium globosum, and Ulocladium are species that require sustained wetness on cellulose-rich material and signal chronic water exposure rather than ambient airborne contamination. Their detection in a basement points to a moisture problem somewhere in the basement envelope (walls, floor, framing) even when no visible growth is obvious.
Ambient Cladosporium and Alternaria, which dominate outdoor air, are less informative in a basement context because their presence reflects normal outdoor infiltration. The interpretation flag is the ratio of indicator species to ambient species. A basement air sample dominated by Cladosporium with no Stachybotrys is essentially showing outdoor air that infiltrated the basement; a sample showing meaningful Stachybotrys counts demands source investigation regardless of the absolute number.
Humidity monitoring as preventive surveillance
A $30 hygrometer or a $250 continuous air-quality monitor placed in the basement tracks relative humidity over weeks or months. Sustained relative humidity above 60 percent is the dominant driver of mold growth in residential settings. Front Range basements often sit at 65 to 75 percent humidity in summer without active dehumidification, which is above the threshold for chronic mold support on cellulose materials.
The corrective is modest: a $200 to $400 basement-rated dehumidifier set to maintain 50 to 55 percent humidity, paired with sealed sump pits and adequate exterior drainage. The investment pays back by preventing the conditions that drive mold growth rather than reacting to growth after it appears. Continuous monitoring confirms the dehumidifier is doing its job; spot-check humidity readings on hot summer afternoons reveal whether the equipment is sized correctly for the space.
Sampling locations within a basement
For a typical 1,500-square-foot basement with finished and unfinished sections, three sample locations cover the space adequately. Location one in the unfinished mechanical area near the sump pit, water heater, and HVAC condensate drain. Location two in the finished living area at adult breathing height, away from supply registers. Location three outside the foundation perimeter, upwind of the structure, away from compost piles or landscape mulch.
For larger basements or basements with a clear high-suspect zone (visible water staining, recent water event location, occupant symptom-correlated room), add a fourth sample at the suspect location. Each additional sample adds $100 to $150 to the scope. The math favors targeted sampling over broad scope: three or four well-placed samples produce better interpretive data than eight randomly placed samples for the same total cost.
Reading the basement lab report
A spore-trap basement report lists genera in rows and shows count per sample, volume-corrected concentration, and the indoor:outdoor ratio. Look for three flags specific to basement context: any detection of Stachybotrys or Chaetomium (water-damage indicators), any indoor genus exceeding outdoor by a factor of two or more, and any humidity reading above 60 percent recorded at the sample location.
None of those flags alone proves a health risk for any specific occupant. They prove the presence of basement conditions favoring mold growth, which justifies finding and fixing moisture sources. CDC guidance is consistent that fixing moisture matters more than species-typing the mold, since most household molds produce allergic or irritant responses given enough exposure. The basement report should drive source-repair decisions rather than treatment decisions for any individual.
Cost framework for basement testing
Pricing is predictable. Three-sample professional spore-trap basement scope: $300 to $500. Adding a fourth or fifth sample location: $100 to $150 each. Adding species-specific PCR confirmation for a suspect Stachybotrys flag: $150 to $250 per additional sample. ERMI dust analysis of basement carpet or settled dust: $250 to $300 per location.
For the homeowner whose basement is unfinished, free of visible growth, and showing no occupant symptoms, the right starting investment is often a $40 hygrometer and a $300 dehumidifier rather than a $400 testing scope. The testing scope earns its cost when there is a specific question (post-event verification, contingency contract, persistent symptoms) that the kit and instrument options cannot answer.
Front Range basement-specific moisture pressures
Front Range basements face two distinct seasonal moisture pressures. Summer drives warm humid outdoor air through any infiltration path into the cool below-grade space, where it cools below the dew point and produces condensation on foundation walls, slab perimeters, and cold-side surfaces. Winter brings the opposite pattern: dry outdoor air, indoor humidification turned on, and the basement often serving as a low-humidity zone that pulls moisture from elsewhere in the home. Sump pit sealing, exterior drainage maintenance, and dehumidifier sizing all matter for managing both seasonal patterns.
Soil type also matters. Clay soils common in parts of the Front Range trap water against foundation walls and produce slow seepage during wet periods. Sandy soils elsewhere drain quickly but allow rapid water transmission to the foundation during sudden snowmelt. The basement testing protocol does not change with soil type, but the source-repair recommendations following any positive finding do. A clay-soil seepage problem requires different exterior drainage work than a sandy-soil intrusion event.
HVAC system interaction with basement air
Basement HVAC equipment often pulls air from the basement space and distributes it through the rest of the home. A contaminated basement air column can therefore translate into contaminated air throughout the building, even when only the basement shows visible mold. Testing protocols should consider whether the air handler is in the basement, whether return-air pathways draw from the basement, and whether HVAC supply registers in upper floors carry basement-sourced air.
When the HVAC arrangement creates this connection, additional sampling at upper-floor supply registers and return-air pathways adds diagnostic value. A finding of identical spore profiles in basement air and upper-floor return air confirms the connection and points to source repair in the basement rather than treatment in upper rooms. The full HVAC-aware sampling scope typically adds two to three samples to the basic three-sample scope and matches the additional cost to the diagnostic clarity it produces.
What to do before booking basement testing
Three preparatory steps improve testing value. First, install a continuous humidity monitor in the basement for at least two weeks before testing to establish the typical humidity range, which informs interpretation of the testing-day humidity reading. Second, photograph any visible suspect spots and note their locations on a basement floor plan sketch; the inspector can target sampling locations efficiently. Third, document the water-event history including any sump pit activity, sewer backup history, plumbing leaks, and exterior drainage events from the prior 12 months.
The preparatory work takes a few hours over two weeks and produces context that makes the testing more valuable. A test conducted blind without history takes the lab data at face value; a test conducted with documented context produces interpretations that connect findings to specific causes. The interpretation difference often determines whether the homeowner ends up with an actionable plan or a confusing report. EPA guidance is consistent that testing without context produces less actionable results than testing within an investigation framework.
References
- Mold Remediation in Schools and Commercial Buildings — EPA
- Basic Facts About Mold and Dampness — CDC
- Mold Inspection Standards — InterNACHI
- Indoor Air Quality and Mold — Colorado Department of Public Health and Environment
Front Range homeowners weighing whether basement testing earns its cost or whether moisture control is the better starting investment can connect with a vetted inspector through our contact page.