Radon Gas Test Kit: How Mail-In Kits Work
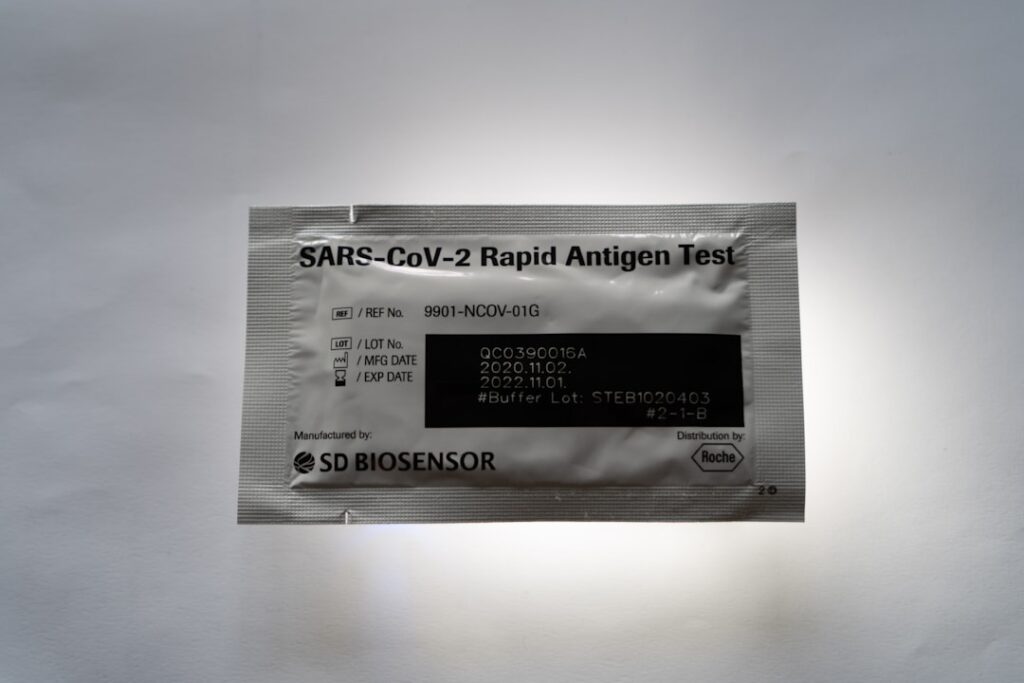
The simplest, most affordable way to find out whether your home has a radon problem is a passive radon gas test kit, the kind you set out for a few days and mail to a lab. These kits do not display a number on the spot. Instead they collect a sample of your home’s air over time, and a laboratory measures the radon and reports a result. For Colorado homeowners, where the EPA places much of the state in the highest radon zone, an inexpensive kit is the right starting point. This guide explains how passive kits work, the two main types, and how to use one correctly. It reflects EPA guidance current as of 2026; consult a certified professional for mitigation decisions.
How a radon gas test kit works
A passive radon test kit contains a material that captures evidence of radon over a set exposure period. You unseal the kit, place it in the lowest livable level of your home, leave it for the specified time, then reseal it and mail it to the laboratory listed in the instructions. The lab analyzes the sample and sends back a result in picocuries per liter (pCi/L).
The key distinction from electronic devices is that a kit gives you a single average reading for the exposure window, not a live display or a running trend. That average is exactly what you need for an initial screening: a clear, lab-verified number you can compare against the EPA’s 4 pCi/L action level. Because the analysis is done by an accredited lab, the result is reliable when the kit is placed and handled correctly. To understand what your number means once it arrives, our radon levels chart breaks down the bands.
One thing to confirm before buying is that the kit’s lab fee is included. Many kits bundle the analysis cost into the purchase price, but some charge separately when you mail the sample in, so the sticker price is not always the full cost. Reputable kits also include a clear chain of instructions: a start and stop time to record, a sealed return mailer, and a form for your contact details so the lab can send your result. Following those steps precisely is what makes a low-cost kit as trustworthy as a more expensive measurement.
Charcoal versus alpha-track kits
Passive kits come in two main technologies, and the right choice depends on how long you want to test.
Activated charcoal kits
Charcoal kits are the most common short-term option. Activated charcoal adsorbs radon from the air over a short window, typically two to seven days. After exposure, you seal the kit and mail it promptly, because the charcoal continues to interact with air and the result is time-sensitive. Charcoal kits are inexpensive and fast, making them ideal for a first screening or a quick check during a real-estate transaction. Their main limitation is that a brief window can be skewed by unusual weather or how the home was operated during those few days, which is why a borderline charcoal result is worth confirming.
Alpha-track kits
Alpha-track detectors use a small plastic film that records tiny etch marks each time an alpha particle from radon decay strikes it. These are long-term detectors, left in place for 90 days to a year. The longer exposure captures seasonal variation and gives a result that better reflects your true year-round average. Alpha-track kits cost a bit more and take longer, but they paint a more representative picture. Because they integrate radon over months, they are far less sensitive to a single odd weather event or a few days of open windows, which makes them the preferred choice when you want a definitive read on a home’s typical exposure rather than a quick screen.
Many homeowners use both in sequence: a quick charcoal test to screen, then a long-term alpha-track test to confirm the annual average before deciding on mitigation.
Other passive technologies
Beyond charcoal and alpha-track, you may encounter electret ion chamber detectors and liquid scintillation kits, which are variations on the same passive principle and are often used by professionals. For the typical homeowner, though, the choice comes down to charcoal for speed and alpha-track for a representative long-term average. Both are sold widely, are inexpensive, and rely on accredited-lab analysis, which keeps them reliable when used correctly. When buying, look for a kit whose lab participates in a recognized radon proficiency program, which is a simple indicator that the analysis meets accepted standards.
Short-term versus long-term testing
The choice between short- and long-term testing comes down to speed versus accuracy. Short-term tests, mostly charcoal kits, deliver a result in days. They are perfect when you need an answer fast, such as during a home sale, but they are more sensitive to weather and how the home is operated during the test.
Long-term tests, mostly alpha-track, run more than 90 days and average out daily and seasonal swings, which can be substantial in Colorado’s climate where radon often rises in winter. The EPA notes that a long-term test gives a better estimate of year-round exposure. A practical approach is to start with a short-term kit; if the result is near or above 4 pCi/L, follow up with a long-term test or a second short-term test to confirm before spending on a mitigation system. The radon testing guide for Front Range homeowners walks through this decision in more depth.
How to place and use a kit correctly
A kit is only as accurate as its placement, so follow the instructions precisely. The fundamentals are consistent across brands:
- Lowest lived-in level. Place the kit in the lowest level you regularly use, such as a finished basement or first floor. Skip closets, kitchens, bathrooms, and laundry rooms.
- Proper height and position. Set it two to six feet above the floor, away from exterior walls, drafts, vents, windows, and high humidity.
- Closed-house conditions. For short-term tests, keep windows and exterior doors shut except for normal entry, beginning 12 hours before and continuing through the test.
- Undisturbed exposure. Do not move the kit during the test, and keep it away from fans and HVAC registers.
- Mail promptly. Reseal the kit when the exposure period ends and mail it the same day, since results are time-sensitive, especially for charcoal.
Note the start and stop times the instructions require, and complete the lab form fully so your result is processed correctly.
A few common mistakes quietly ruin otherwise good tests. Placing the kit near a window or an exterior door lets outdoor air dilute the sample and understate the true level. Setting it in a humid bathroom or laundry room can interfere with charcoal kits especially. Forgetting to maintain closed-house conditions, or running a whole-house fan during the test, skews the result low. And delaying the mailing after a charcoal test lets the sample continue reacting, throwing off the lab’s calculation. None of these errors is hard to avoid, but each can turn a reliable kit into a misleading one, which is why following the instructions closely is just as important as buying a quality kit in the first place.
Kits versus electronic monitors
Passive kits are not the only option. Continuous electronic monitors display readings in real time and track trends, which is convenient for ongoing awareness. The trade-off is cost and, for some consumer devices, the need to interpret long-term averages yourself. Our guides to the radon test options and continuous monitors cover those choices.
For a one-time screening, a passive kit is hard to beat on cost and accuracy, since an accredited lab does the measurement. For homeowners who want to watch their levels over years, an electronic monitor adds convenience. Many households use a kit first to establish whether a problem exists, then add a monitor if they install mitigation and want to verify it stays effective. There is no single correct tool, only the one that fits your need: a kit for the initial answer, a monitor for the ongoing watch.
There is also a transactional dimension worth knowing. Real-estate radon tests often have specific requirements, and a lab-analyzed kit, sometimes administered by a professional following a defined protocol, is commonly what a sale calls for. A continuous electronic monitor can satisfy this too when it is a professional-grade, tamper-resistant device, but a consumer kit run by the seller may not carry the same weight in a negotiation. If your test is tied to buying or selling, confirm what the parties or the jurisdiction require before choosing your method, so the result you produce is the one that counts.
After you get your results
When the lab result arrives, compare it to the EPA action level. A reading at or above 4 pCi/L calls for mitigation, and the EPA suggests considering action between 2 and 4 as well. Confirm a borderline result with a second test before committing. If mitigation is warranted, an active sub-slab system is the standard solution, and a follow-up kit run after installation confirms the fix actually worked.
Retest every two years even after a clean result, and after any major renovation or foundation work, because radon levels change as a home ages and as soil conditions shift. A low reading today is not a permanent guarantee. Keeping a kit on hand for periodic checks is a cheap insurance policy for a serious, invisible risk. For the price of a few dollars and a few days of patience, a passive kit gives every homeowner a reliable, lab-verified answer to a question worth asking, which is why public-health agencies recommend that no home go untested. Whether you choose a fast charcoal kit for an initial screening or a long-term alpha-track detector for a representative annual average, the passive test kit remains the simplest, most accessible entry point into understanding and managing radon in your home.
For Colorado homeowners, the case for testing is especially strong. The EPA places much of the state in the highest radon-potential zone, which means elevated readings are common rather than rare. Winter testing tends to capture the higher end of a home’s range, since sealed-up houses trap radon, so a result taken in the colder months is a useful, sometimes conservative, snapshot. A passive kit is the simplest entry point: low cost, no equipment to learn, and a lab-verified number at the end. For a household that has never tested, it is the obvious first move before considering electronic monitors or mitigation. The few dollars and few days a kit requires are trivial against the long-term risk radon poses, which is why public-health agencies universally recommend that every home be tested.
References
- A Citizen’s Guide to Radon — U.S. EPA
- How to Test Your Home for Radon — U.S. EPA
- Radon Testing in Colorado — Colorado Department of Public Health and Environment
- About Radon and Your Health — Centers for Disease Control and Prevention
Front Range homeowners who get an elevated radon kit result can connect with a vetted local mitigation professional by reaching out through our contact page.
Radon test kits we recommend
Short-term charcoal kits are the cheapest way to get a first reading; mail the canister to the lab and results come back in days.
| Product | Why | Buy |
|---|---|---|
 AirChek Charcoal Radon Test Kit AirChek Charcoal Radon Test Kit | Lab fee usually included; EPA short-term protocol. | Amazon — $21.95 |
 First Alert RD1 Radon Test Kit First Alert RD1 Radon Test Kit | Widely stocked; 48-hour charcoal test. | Amazon — $17.95 |
| Health Metric Radon Test Kit | Two-pack option for closed-house testing. | Amazon — $17.95 |