IR Camera iPhone: Infrared Bands and Attachment Guide
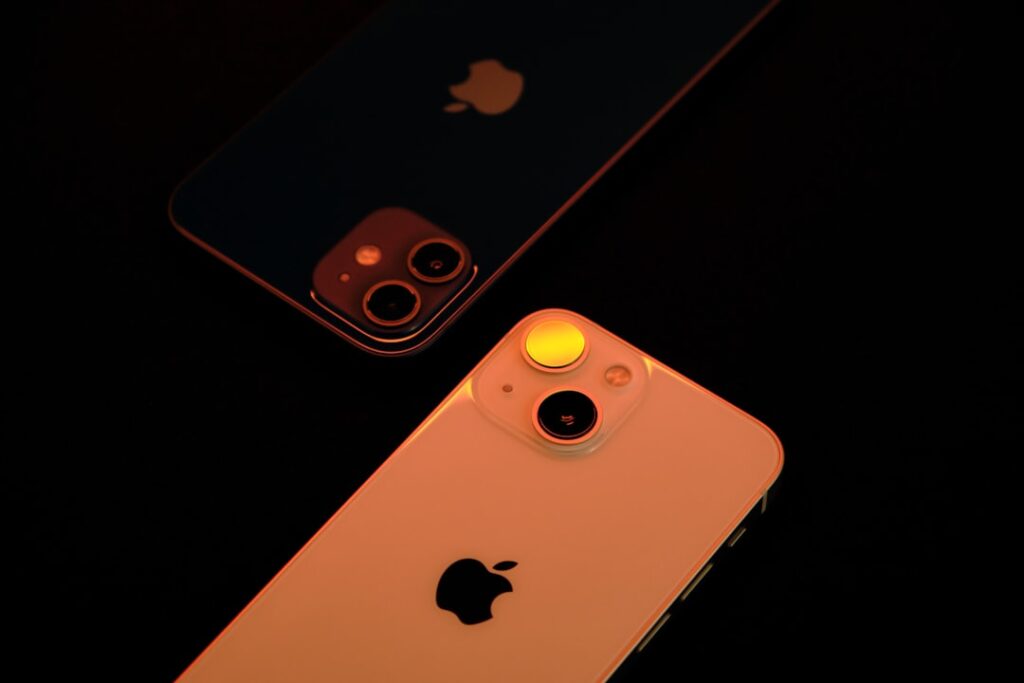
An IR camera iPhone setup is almost always a clip-on thermal attachment that adds long-wave infrared sensing to a phone that, on its own, cannot detect heat. The confusion lives in the term “IR” — infrared is a broad spectrum spanning near-infrared (NIR), short-wave infrared (SWIR), mid-wave infrared (MWIR), and long-wave infrared (LWIR), and the iPhone has limited near-IR capability built in. None of that helps with thermography. This guide clears the wavelength science, names the attachments that work on each iPhone generation, and explains why the iPhone’s existing IR-adjacent hardware does not do what buyers usually want.
What IR camera actually means
Infrared radiation runs from roughly 700 nanometers to 1 millimeter in wavelength. The thermal range that home-inspection thermography uses sits between 8 and 14 microns — the long-wave infrared band. Standard CMOS image sensors in phones are sensitive into the near-IR band up to about 1 micron, but they roll off sharply beyond that. To image heat radiating off room-temperature objects (the source of most home-inspection findings), you need an LWIR microbolometer, which the iPhone does not contain.
What the iPhone already does with infrared
Face ID uses an IR dot projector and an IR camera at around 940 nanometers to map a face in low light. That hardware sits in the front-facing TrueDepth array and is locked to authentication and Animoji functions — it is not exposed for general thermal imaging. The rear LiDAR scanner on iPhone Pro models uses time-of-flight infrared but, again, in a band that cannot resolve room-temperature heat differences. So the iPhone has “IR” capabilities, just not the kind that finds a missing insulation cavity.
Why buyers need an attachment
To do home-inspection thermography on an iPhone, the user adds a microbolometer accessory that plugs into Lightning, USB-C, or Wi-Fi. Three brands dominate the consumer market: FLIR (ONE Gen 3, ONE Pro, ONE Edge Pro), Seek Thermal (CompactPRO and Compact), and Hikmicro (Mini2). The attachment runs the heat sensor while the iPhone runs the display and storage.
Compatibility by iPhone generation
iPhone 14 and earlier use Lightning. iPhone 15 and later use USB-C. This is the single biggest filter when buying.
iPhone 14 / 13 / 12 / 11 / SE — Lightning
FLIR ONE Gen 3 (Lightning), FLIR ONE Pro Lightning, Seek Compact Lightning. Lightning hardware is winding down as Apple deprecates the connector; expect dwindling new-stock options in the next few years.
iPhone 15 / 16 / 17 — USB-C
FLIR ONE Pro USB-C, FLIR ONE Edge Pro (wireless, also works), Seek CompactPRO USB-C, Hikmicro Mini2 (USB-C). USB-C is the safer long-term purchase because the connector matches both modern iPhones and modern Android.
Wireless — any iPhone
FLIR ONE Edge Pro pairs by Wi-Fi and works on any iPhone or iPad without a connector. Higher price, but immune to future connector changes.
Resolution and what to expect at each tier
An 80×60 sensor (FLIR ONE Gen 3, Seek Compact) reads heat blobs — fine for “yes there is a leak somewhere here,” not fine for outline-tracing. A 160×120 sensor (FLIR ONE Pro, Seek CompactPRO) resolves outlets, studs, and rim joists with enough fidelity for screening reports. A 320×240 sensor (FLIR ONE Pro Edge, premium handhelds) approaches dedicated-imager quality but is overkill for one-off home use.
Calibration and the FFC click
Every microbolometer drifts with internal temperature. The Flat-Field Correction shutter inside the housing closes for a fraction of a second every 30 to 90 seconds while the sensor recalibrates. The image briefly freezes — this is expected behavior across the consumer ONE line and is covered as part of InterNACHI’s infrared certification curriculum. New users sometimes return a working camera assuming the freeze is a defect.
App ecosystem and capture workflow
FLIR ONE captures route through the FLIR ONE iOS app to the Photos roll and optionally to FLIR Ignite cloud storage. Seek attachments use the Seek Thermal app. Hikmicro uses HIKMICRO Viewer. Each app handles palette selection (rainbow, ironbow, white-hot, grayscale), spot temperature measurement, and the export step. Buyers who plan inspection reporting should pick an app stack before they pick the hardware that feeds it.
Common iPhone IR camera use cases
The realistic homeowner jobs are screening tier — they flag suspect zones for a follow-up moisture meter or contractor visit, rather than producing the calibrated reports a paid energy audit needs. Typical wins include locating missing insulation around attic hatches and rim joists, finding active plumbing leaks via cool trails on drywall, spotting overheated electrical outlets, and confirming whether a basement window is leaking conditioned air. The U.S. Department of Energy describes thermography as a screening technique within a broader audit toolkit.
What an iPhone IR camera will not do
It will not see through walls. Thermal imaging reads surface temperature only — what shows up is the heat signature of what is touching the back of the drywall, not an X-ray of the cavity. It will not measure absolute moisture; a wet wall and a cold wall can look identical without a moisture meter to corroborate. And it will not work well across a hot summer day when indoor and outdoor temperatures sit within 5°F of each other — thermography needs a temperature delta to produce contrast.
Battery drain on iPhone
A FLIR ONE Gen 3 or base Pro pulls current from the iPhone battery during live view. Expect 30 to 40 percent battery drop per hour of continuous use. The FLIR ONE Edge Pro has its own battery and does not impose this cost. For long inspection sessions, the wireless model or a Pro variant with onboard power is the practical choice.
Field of view and standoff distance
The FLIR ONE has a fixed lens with roughly 55° horizontal field of view. From 6 feet away, it covers about 6 feet of wall — enough for one room corner to the next in a typical residential interior. For tighter standoff (under 3 feet), the image still resolves at usable scale but with reduced thermal accuracy as the sensor sees its own reflected radiation off the surface.
Related iOS thermal guides
For a deeper iOS-specific workflow, the iPhone FLIR camera workflow guide walks through capture-to-report end to end. For comparison shopping across connectors, the thermal camera iPhone selection guide lays out USB-C vs Lightning vs wireless tradeoffs.
When to skip the iPhone attachment
If the user needs calibrated reports for an energy retrofit incentive, certified inspection deliverables, or commercial electrical surveys, a standalone FLIR C-series, E-series, or comparable Seek or Hikmicro handheld will outperform the iPhone-tethered route on battery life, ergonomics, and reporting fidelity. The InterNACHI Infrared Certified curriculum covers when each tool tier is appropriate.
What to test in the first week
After unboxing, the practical shakedown is a three-room walk: front door from outside in winter, bathroom fan from below while running, cold-water line under a sink. Any current consumer iPhone IR attachment should resolve all three with clear contrast. If the image is muddy, either the unit is underpowered for the user’s needs or the temperature delta in the test was too small.
Near-IR vs thermal IR on the iPhone
Near-infrared sits roughly 700 to 1000 nanometers — the wavelength range Face ID uses for facial recognition. Mid-wave infrared sits 3 to 8 microns. Long-wave infrared sits 8 to 14 microns and is the band that home-inspection thermography uses. Each band needs a different sensor technology. Silicon CMOS works for near-IR; mercury cadmium telluride or specialty cooled detectors for MWIR; uncooled microbolometers for LWIR. The iPhone has near-IR hardware for Face ID and LiDAR — it does not have the LWIR microbolometer needed for thermal imaging without an attachment.
Emissivity and accurate temperature readings
Each material emits long-wave infrared at a different efficiency, captured by emissivity values from 0 to 1. Painted drywall sits around 0.92, polished aluminum near 0.05, stained wood around 0.85. Attachment apps let users set emissivity for accurate temperature readings on specific materials. Default 0.95 works for matte household surfaces. Wrong emissivity on a polished or glass surface produces invalid temperature numbers, though the relative contrast that screening relies on still works.
Reflections that mimic real heat signatures
Thermal sensors see both emitted heat and reflected long-wave infrared. A glossy cabinet face or framed mirror often shows the user’s own thermal silhouette reflecting back. New users sometimes mistake their own reflection for a real heat anomaly. The fix is to move to a different angle and see if the signature moves with the camera position — if it does, it is a reflection rather than the actual surface temperature.
The night-vision misconception
Buyers sometimes hope an IR camera iPhone will work as night vision. Thermal imaging does work in complete darkness because it reads emitted heat rather than reflected light, but it shows heat patterns rather than visible-light imagery. A person in pitch dark shows up clearly as a warm silhouette against a cool background, but the user cannot read text, identify objects by color, or recognize faces with detail. Genuine night-vision goggles use near-IR image intensification with active illumination — a different technology entirely.
Cost comparison vs standalone imagers
A FLIR ONE Gen 3 lands around $250, a FLIR ONE Pro USB-C around $450 to $550, and a FLIR ONE Edge Pro around $700. The comparable standalone is the FLIR C5 at around $800 to $900, the FLIR E5-XT at $1,500 and up, and full-feature E-series imagers over $2,000. For one-off home use, the attachment is the obvious cost-effective choice. For paid inspection work, the higher standalone investment pays back in ergonomics and reporting fidelity over hundreds of jobs.
Temperature delta and capture quality
Thermal imaging requires a temperature difference between target and surroundings to produce contrast. Indoor walls at 70°F against a 70°F room read as flat regardless of pixel count. Winter conditions work best — Front Range outdoor air at 20°F vs indoor air at 70°F produces a 50°F delta that highlights every air leak. Summer captures suffer because indoor and outdoor temperatures often sit within 10°F of each other, narrowing contrast.
FFC behavior in detail
The Flat-Field Correction shutter inside every attachment closes briefly every 30 to 90 seconds to recalibrate the sensor against an internal reference. The image freezes for a fraction of a second, then resumes. This is normal and is documented in every consumer thermal camera manual. New users sometimes return working units thinking the freeze is a defect. The FFC interval is shorter during warm-up and lengthens once the unit reaches thermal equilibrium.
References
- Weatherize Your Home — U.S. Department of Energy
- ASHRAE — Thermography in Building Diagnostics — American Society of Heating, Refrigerating and Air-Conditioning Engineers
- InterNACHI Infrared Certified — InterNACHI
- ASHI Home Inspector Resources — American Society of Home Inspectors