How to Fix Radon in Home: A Plain-Language Guide
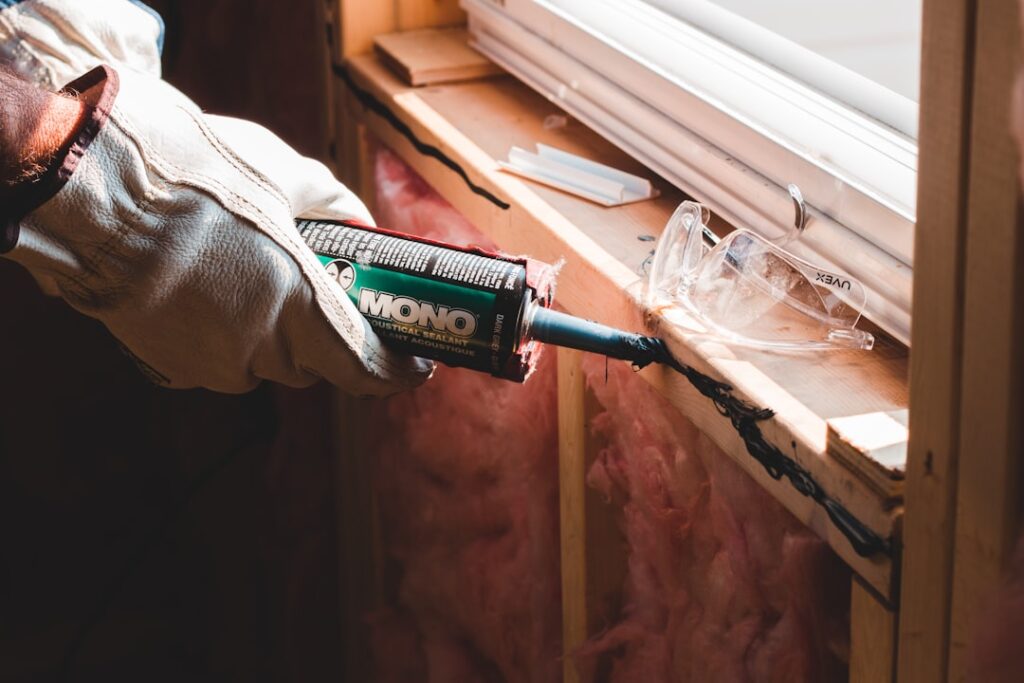
Discovering that a home has elevated radon can feel alarming, but the problem is fixable, and the methods are well established. Radon is a colorless, odorless radioactive gas that seeps in from the soil, and the EPA links long-term exposure to lung cancer. Knowing how to fix radon in home settings starts with understanding that proven mitigation reliably brings levels down, usually below the EPA action level of 4 picocuries per liter. This guide summarizes EPA and CDC guidance current as of 2026 and is educational only; it does not assess any specific home and is not a substitute for testing or advice from a certified radon mitigation professional.
How Do You Fix Radon in a Home?
The most common and effective fix is active sub-slab depressurization, a system that draws radon-laden soil gas from beneath the foundation and vents it safely outdoors above the roofline. A pipe is inserted through the slab, and a continuously running fan creates lower pressure under the home than inside it, so radon is pulled out before it can enter living spaces rather than seeping up through cracks. Properly installed, this approach routinely reduces radon below the 4 picocuries per liter action level and often far lower.
Other measures, ventilation, sealing, and pressurization techniques, play supporting roles, but sub-slab depressurization is the workhorse for most homes with a basement or slab foundation. The right method depends on the home’s construction, the foundation type, and how high the radon reading is. Before any fix, a homeowner should confirm elevated levels with a test, since radon varies widely between homes, a theme our radon testing guide for Front Range homeowners covers in depth.
Active Sub-Slab Depressurization Explained
In a typical installation, a contractor drills through the basement slab into the gravel or soil beneath, inserts a PVC pipe, and runs that pipe upward through the house or along the exterior to a discharge point above the roof. An in-line fan mounted in an attic or outside continuously pulls air from beneath the slab and exhausts it outdoors. A manometer, a simple U-shaped gauge, shows the homeowner at a glance that the system is creating suction and working. The fan runs around the clock, using a modest amount of electricity.
This method succeeds because it intercepts radon at its source, the soil gas under the foundation, before it reaches the indoor air. By keeping the area beneath the slab at lower pressure than the living space, the system reverses the natural draw that pulls radon upward. Variations exist for crawlspaces, where a sub-membrane system places a sealed barrier over the soil and depressurizes beneath it. Our guides on the radon vent pipe and choosing a radon fan cover two core components in more detail.
Sealing and Ventilation as Supporting Measures
Sealing foundation cracks, gaps around pipes, and openings such as sump pits reduces the pathways radon uses and improves the efficiency of an active system. The EPA cautions that sealing alone rarely fixes a radon problem, because soil gas finds countless small routes, but as a complement to depressurization it helps the fan work harder against fewer leaks. Increasing ventilation, through exhaust fans, a heat recovery ventilator, or simply more air exchange, dilutes indoor radon, though in cold Colorado winters open-window ventilation is impractical for much of the year. These measures support, but do not replace, an active system in most elevated homes.
What Radon Mitigation Costs
The cost of fixing radon depends on the home’s size, foundation type, layout, and how much pipe routing the installation requires. A standard active sub-slab depressurization system for a typical single-family home generally falls within a few thousand dollars, with simpler installations costing less and complex ones, multiple foundation types, long pipe runs, or hard-to-reach discharge points, costing more. Ongoing costs are modest: the fan uses a small amount of electricity and may need replacement after years of continuous operation.
While that initial outlay is real, it is a one-time investment that protects occupants from a known lung-cancer risk and can be a selling point at resale. Homeowners should obtain quotes from two or three certified mitigation contractors and compare scope, warranty, and the guaranteed post-mitigation level. Pricing varies with home size, foundation type, pipe routing, and the number of suction points a system requires.
Do-It-Yourself Versus Professional Mitigation
Some handy homeowners consider installing a system themselves, and materials are available, but mitigation is one area where professional work usually pays off. Proper system design requires diagnosing the home’s specific soil-gas behavior, sizing the fan correctly, routing the discharge to a safe location, and verifying the result with a post-installation test. A poorly designed system can fail to reduce radon, vent it where it re-enters the home, or waste energy. Certified mitigators are trained in these details and typically guarantee a result below the action level.
There is also a verification dimension. After any mitigation, the EPA recommends a follow-up test to confirm levels have dropped below 4 picocuries per liter. A professional builds that confirmation into the job and can adjust the system if the first attempt falls short. For homeowners set on doing the work themselves, at minimum the system should follow EPA guidance and be verified with a proper test, but most people find the assurance of certified work worth the cost.
Confirming the Fix Worked
Installing a system is only half the job; confirming it works is the other half. A post-mitigation radon test, conducted after the system has run long enough to stabilize the home, verifies that levels are below the action level. If the reading is still elevated, the contractor troubleshoots, sometimes by adjusting the fan, adding suction points, or sealing additional openings. Reputable mitigators stand behind a guaranteed level and will return to fix a system that underperforms.
Long-term monitoring is also wise. The manometer gauge shows the system is creating suction, but it does not measure radon, so periodic retesting confirms continued performance. Many homeowners add a continuous monitor for ongoing reassurance. Fans run continuously and eventually wear out, so noticing a stalled fan, often shown by a level manometer reading, prompts timely replacement to keep protection intact.
Matching the Fix to the Foundation
The right radon fix depends heavily on how a home is built. For a home with a poured concrete basement slab, a single sub-slab suction point often serves the whole footprint, especially if a permeable gravel layer beneath the slab lets the fan draw from a wide area. Larger or compartmentalized slabs may need multiple suction points connected to one fan to maintain suction across the entire floor. The contractor diagnoses how readily air moves beneath the slab to decide how many points are required.
Crawlspace homes call for a sub-membrane depressurization system, where a sealed polyethylene sheet covers the soil and the fan draws radon-laden air from beneath it. Homes built over multiple foundation types, a slab portion plus a crawlspace, for instance, may need a combined approach addressing each area. Slab-on-grade homes without basements use sub-slab suction tailored to that construction. Because the foundation dictates the design, a one-size-fits-all kit rarely matches a home’s actual needs, which is part of why professional diagnosis matters. Homes built with passive radon infrastructure already in place can sometimes be upgraded to active systems with far less work.
What to Expect During Installation
A typical mitigation installation takes a single day for most homes. The contractor begins by diagnosing the foundation and selecting suction-point locations, then cores a hole through the slab and excavates a small pit beneath it to improve airflow. They install the vent pipe, route it to the chosen discharge point above the roofline, mount the fan, and add a manometer so the homeowner can confirm the system is drawing suction. Sealing of accessible cracks and the sump pit, if present, finishes the job by improving efficiency.
Homeowners should discuss aesthetics and placement in advance, since the pipe and fan are visible. Interior routing hides the pipe inside the home but requires running it through closets or utility spaces, while exterior routing keeps the pipe outside at the cost of a visible run up the wall. Fan noise, though modest, is worth considering when choosing a fan location away from bedrooms. A good contractor walks the homeowner through these choices, explains the system’s operation, and shows how to read the manometer before leaving.
Living With a Radon System
Once installed, a mitigation system asks little of the homeowner. The fan runs continuously and quietly, using a small amount of electricity comparable to a light bulb. The main maintenance task is glancing at the manometer periodically: if the liquid levels in the gauge equalize, the fan has likely stopped and needs attention. Fans last for years but eventually wear out and require replacement, a straightforward job for a mitigation contractor. Periodic retesting confirms the system continues to hold radon below the action level, and many homeowners add a continuous monitor for ongoing reassurance.
Choosing a Qualified Mitigation Contractor
The quality of a radon fix depends heavily on the contractor, so vetting matters. Look for a mitigator who holds recognized radon certification, carries appropriate insurance, and provides references or examples of past work. A reputable contractor diagnoses the home before quoting, explains the proposed system clearly, and guarantees a specific post-mitigation radon level, typically below the action level. Getting two or three quotes lets a homeowner compare not just price but scope, fan type, warranty terms, and the guaranteed result.
Beware of quotes that seem unusually cheap, since they may reflect an undersized system, poor venting, or skipped diagnostics that lead to disappointing results. The cheapest installation that fails to reduce radon costs more in the end than a properly designed one. Homeowners should also confirm the contractor will perform or arrange a post-installation test to verify the system works, and will return to adjust it if the first attempt falls short. A clear contract spelling out the guaranteed level and the remedy if it is not met protects the homeowner.
When to Call a Professional
Reach out to a certified radon mitigation professional whenever a test shows levels at or above 4 picocuries per liter, when buying or selling a home with elevated radon, or when an existing system seems to have stopped working. A qualified contractor diagnoses the home, designs and sizes the system, installs it to EPA standards, and verifies the result with a follow-up test. Certification matters because effective design and proper venting are what separate a system that works from one that merely looks installed.
Fixing radon is a solved problem with a clear playbook: test, mitigate with active sub-slab depressurization, support it with sealing where helpful, and verify with a follow-up test. For Front Range homeowners in a radon-prone region, taking these steps turns an invisible health risk into a managed, documented condition, and the peace of mind that comes with a verified low reading is well worth the effort.
Homeowners sometimes hesitate at the cost of mitigation, but it helps to weigh that one-time expense against the long-term health risk and the value it adds at resale. A documented, verified radon system reassures future buyers and can smooth a sale, while an untreated elevated reading can complicate one. In radon-prone Colorado markets, many buyers now expect homes to test below the action level, so addressing the problem proactively serves both the household’s health and the property’s marketability.
The order of operations matters as much as the methods. Testing comes first, because there is no reason to spend on mitigation without confirming a home actually exceeds the action level. Mitigation follows when a test shows elevated radon, matched to the home’s foundation and installed by a qualified contractor. Verification closes the loop, confirming the fix worked, and periodic retesting keeps the system honest over the years. Following that sequence, rather than reaching for unproven shortcuts, is what reliably reduces radon and protects a household from its long-term lung-cancer risk.
References
- Consumer’s Guide to Radon Reduction — U.S. Environmental Protection Agency
- Health Risk of Radon — U.S. Environmental Protection Agency
- Radon and Your Health — Centers for Disease Control and Prevention
- Colorado Radon Mitigation Information — Colorado Department of Public Health and Environment
If your Front Range home has tested high for radon and you want a connection to a vetted local mitigation professional, reach out through our contact page.