How Much Does a Radon Mitigation System Cost by Part
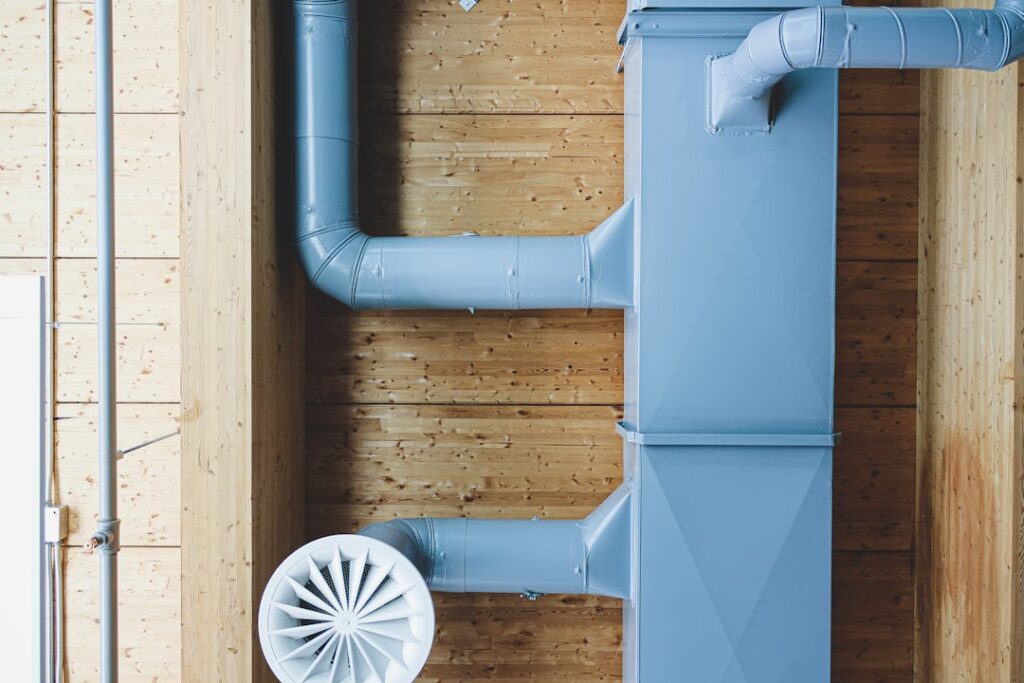
Most pricing guides give a single number for radon mitigation, but homeowners who want to understand where the money goes ask a sharper question: how much does a radon mitigation system cost when you break it down by part? This guide itemizes the system component by component, from the fan and piping to the manometer, electrical work, and sealing, then adds the costs most quotes leave out: the ongoing electricity to run the fan and the eventual fan replacement over the system’s life. It summarizes EPA guidance current as of 2026; consult a certified radon professional for system decisions and your physician for any health questions.
How Much a Radon Mitigation System Costs by Component
A complete installed system usually falls in the $800 to $2,500 range, but that total is built from several distinct parts and the labor to assemble them. Understanding the pieces explains why two homes can receive very different quotes and helps a homeowner read a bid critically rather than reacting to the bottom line alone.
The major components are the radon fan, the PVC piping, the manometer, the electrical connection, and the sealing materials, all tied together by skilled labor. No single part dominates the cost; instead, the total reflects the sum of moderate-cost components plus the considerable labor of cutting into a slab and routing a system through a home. For the service and labor angle on this same total, our guide to how much radon mitigation costs as a service covers the contractor side.
The Major Hardware Components
Each physical part carries its own cost, and knowing the rough proportions helps a homeowner judge a quote.
The Fan
The inline fan is the most important single component and a meaningful line item. Fans vary in price by their airflow and suction rating, with higher-capacity models for tight-soil homes costing more. Because the fan is sized to the specific home, it is not a place to economize; an undersized fan that fails to lower radon wastes the entire investment. The fan’s selection and placement are detailed in our guide to radon fan installation.
Piping
The PVC piping that carries radon from the suction point to the roofline is relatively inexpensive as material, but the cost rises with the length and complexity of the run. A long route through multiple floors or a complicated path to an exterior vent uses more pipe and more labor to install.
Manometer
The manometer, the simple U-tube gauge mounted on the pipe, is the cheapest major component. Despite its low cost, it is essential, because it gives the homeowner a continuous, at-a-glance confirmation that the fan is creating suction.
Electrical and Sealing Costs
Two cost categories sit between hardware and labor, and both matter to the total.
The electrical connection wires the fan to power, often on a dedicated circuit, and where a licensed electrician is required this adds to the bill. A fan mounted in a hard-to-reach attic or a connection that needs a new circuit run costs more than a simple, accessible tie-in. Some homeowners also opt for a fan-failure alarm, a small added cost that signals when the system stops.
Sealing is the other category. Crews seal slab cracks, sump pit openings, expansion joints, and other penetrations so the fan does not waste suction pulling air through gaps. The cost depends on how many openings the home has and their size. A slab with a sump pit and several cracks needs more sealing material and labor than a tight, simple slab. These two categories, like the rest of the system, fold into the overall price covered in our radon mitigation system price overview.
The Ongoing Costs Most Quotes Skip
The installed price is only part of the lifetime cost, and two recurring expenses deserve a homeowner’s attention.
Electricity to Run the Fan
The fan runs continuously, twenty-four hours a day, for the life of the system, which means it draws power every day. Radon fans are designed to be relatively low-wattage, so the annual electricity cost is modest, typically a small addition to a monthly utility bill rather than a major expense. Newer energy-efficient fan models reduce this further. Over years of operation, though, it is a real ongoing cost that a homeowner should factor in alongside the installation.
Fan Replacement Over Time
Because the fan runs around the clock, it eventually wears out. Quality fans carry multi-year warranties and often last well beyond, but replacement is an expected part of owning a system rather than a defect. A replacement fan costs less than the original installation, since the pipe and electrical connection are already in place and only the fan unit and labor to swap it are needed. Budgeting for an eventual fan replacement keeps the system reliable and avoids surprise when the manometer reading signals a failed fan.
Reading a Quote and Getting Value
Knowing the components lets a homeowner read a quote with confidence. A good bid identifies the fan model and its rating, specifies the piping route, includes the manometer, accounts for the electrical work, and details the sealing. A vague lump sum with none of these specifics is harder to compare and easier to pad.
Value does not mean the cheapest bid. An undersized fan, skipped sealing, or omitted post-installation retest can make a low quote a poor deal, because the system may not lower radon enough. The most reliable approach is to gather two or three itemized quotes from certified contractors and compare them component by component. After installation, the home should be retested to confirm the system worked, which is the verification covered in our radon testing guide for Front Range homeowners. A system understood part by part is a system a homeowner can budget for, evaluate fairly, and maintain over the decades it will run.
Optional Components That Add to the Total
Beyond the core parts, several optional components can appear on a quote, and a homeowner should know what each adds and whether it is worth the cost. A fan-failure alarm is the most common upgrade. It monitors the system and signals, audibly or visually, when the fan stops, sparing a homeowner from relying solely on periodic manometer checks. For a modest added cost, it is a sensible addition for households that might not watch the gauge regularly.
Routing and finish choices also shift the total. A homeowner who wants the pipe run through the interior and out the roof, rather than up an exterior wall, pays more for the additional labor and the roof penetration, but gains a cleaner exterior appearance. Decorative pipe covers, insulated piping to manage condensation in cold climates, and a more energy-efficient fan model are further options that trade a higher upfront cost for appearance, durability, or lower running cost over time.
None of these is mandatory, and a basic, code-compliant system without them still protects the home. The value question is individual. A homeowner in a cold Front Range climate may find condensation management and an efficient fan worth the premium, while another may prefer the simplest effective system. Knowing which line items are core and which are optional lets a homeowner shape the quote to their priorities rather than accepting or rejecting the whole package blindly.
Budgeting for the Full Lifecycle
The smartest way to think about a radon system’s cost is across its entire life, not just installation day. The installed price is the largest single outlay, but two recurring costs follow it: the modest continuous electricity to run the fan and the eventual fan replacement. Folding both into the budget from the start prevents surprises and gives a true picture of what the system costs to own.
The electricity cost, while small per month, accumulates over the years and decades the fan runs. Choosing an energy-efficient fan at installation trims this ongoing expense, which can offset a slightly higher purchase price over the long run. The fan replacement, expected once or more over a long ownership period, costs less than the original install because the piping and wiring remain in place; budgeting a modest reserve for it keeps the eventual swap painless.
Set against these lifecycle costs is the system’s purpose: continuous reduction of a recognized lung-cancer risk for as long as the home stands. Few home investments deliver a comparable health benefit for a comparable lifetime cost. A homeowner who understands the system component by component, plans for its running and replacement costs, and verifies its performance with periodic retesting owns not just a collection of parts but a durable, well-managed safeguard. That understanding, more than any single price figure, is what lets a homeowner judge the cost fairly and maintain the system confidently.
How Labor Factors Into the Component Picture
Itemizing the hardware tells only part of the cost story, because labor is woven through every component and often exceeds the parts in total. Understanding how labor attaches to each piece helps a homeowner read a quote that lists components and labor together, as most do, rather than expecting a pure parts list.
The most labor-intensive step is creating the suction point. Coring through a concrete slab and excavating a cavity in the soil beneath takes time, equipment, and skill, and it is the foundation on which the rest of the system rests. Routing the piping is the next major labor item, with cost rising as the run grows longer or more complicated, since each bend and each floor the pipe must traverse adds time. Mounting the fan in a code-compliant location and making the electrical connection add further labor, more so when the location is awkward or a new circuit is required.
Sealing is labor that pays for itself. The time a crew spends sealing slab cracks, sump pits, and penetrations improves the system’s efficiency and can lower the fan capacity needed, which is why a careful crew never rushes it. When a homeowner sees a quote where labor appears as a large share of the total, that is normal and appropriate for radon mitigation, which is fundamentally a skilled-installation service rather than a parts purchase. Judging value means asking not just what the components cost but whether the labor reflects a thorough, properly executed installation. A bid that is cheap because it skimps on the labor of sealing or suction-point preparation is a poor value, no matter how the parts are priced.
Front Range homeowners who want a certified professional to provide an itemized radon system quote can reach out through our contact page.
References
- Consumer’s Guide to Radon Reduction — U.S. Environmental Protection Agency
- Radon System Components Guidance — U.S. Environmental Protection Agency
- Energy Use of Home Equipment — U.S. Department of Energy
- Radon Systems in Colorado — Colorado Department of Public Health and Environment
Radon mitigation fans & parts
If a sub-slab depressurization system is the fix, the inline fan is the heart of it. Match the fan to your soil and pipe diameter — or have a certified installer size it.
| Product | Why | Buy |
|---|---|---|
 RadonAway RP145 Inline Fan RadonAway RP145 Inline Fan | Common 4-in. SSD workhorse fan. | Amazon — $152.00 |
 Fantech Rn2 Radon Fan Fantech Rn2 Radon Fan | Quiet operation; energy-efficient. | Amazon — $165.24 |
 Radon U-Tube Manometer Radon U-Tube Manometer | Confirms the system is pulling suction. | Amazon — $13.95 |