FLIR E6 Pro: What Homeowners Should Know
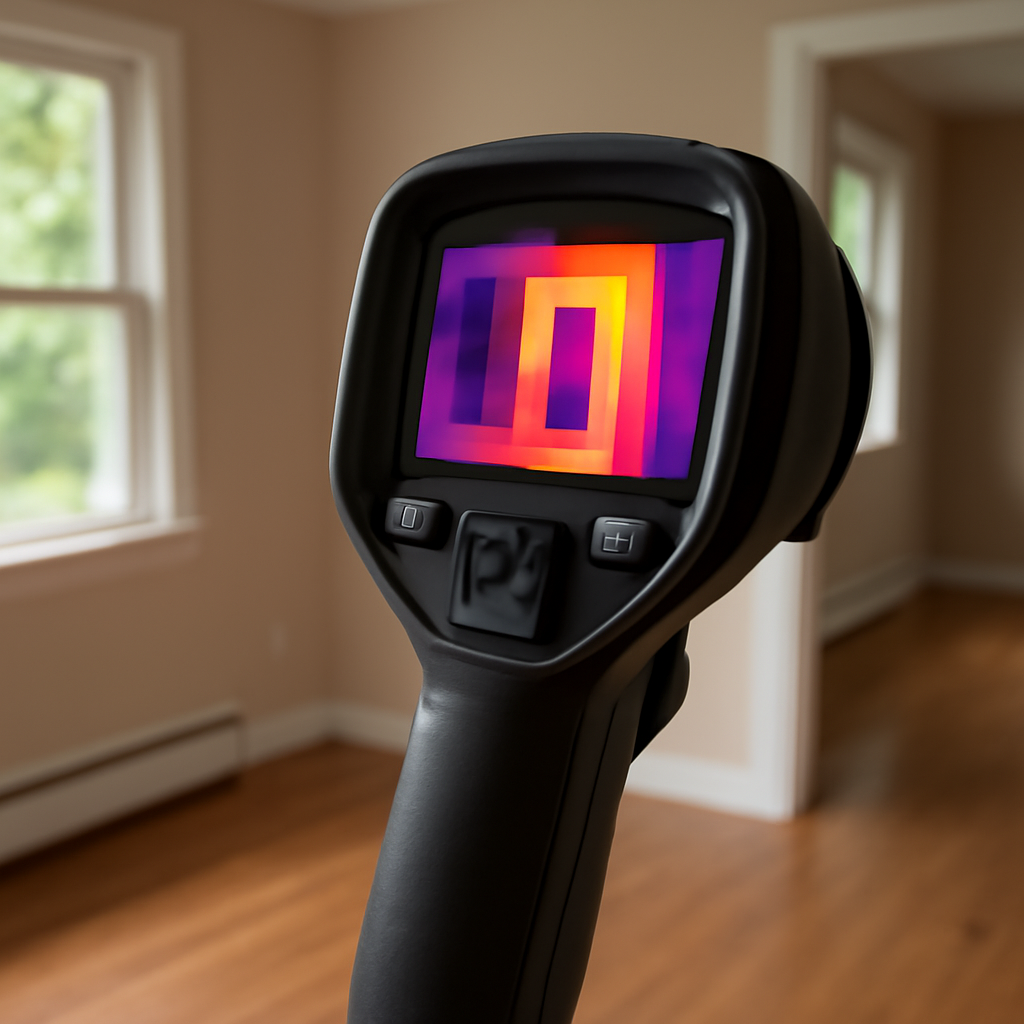
The FLIR E6 Pro sits in the middle of FLIR’s professional Exx-series thermal cameras, a tier popular with home inspectors who want usable image detail without paying for a flagship instrument. Knowing what its specifications actually deliver, and how it differs from the cameras above and below it, keeps a buying decision grounded. This overview summarizes manufacturer specifications and trade-body guidance current as of 2026, and places the camera within the broader gear set covered in our home inspection tools guide.
What the FLIR E6 Pro is
The FLIR E6 Pro is a handheld thermal imaging camera aimed at building diagnostics, electrical inspection, and HVAC work. It belongs to the E-series Pro line that FLIR positions between entry-level consumer cameras and high-end research instruments. The E6 Pro pairs a thermal sensor with a visible-light camera and FLIR’s MSX feature, which overlays the outline of the visible image onto the thermal picture so edges and labels stay readable. A thermal camera detects the infrared radiation every surface emits and renders it as a color image where warmer areas read one color and cooler areas another, which is what lets it reveal conditions the eye cannot see.
For a home inspector, the appeal is a camera that produces images detailed enough to document a finding in a report and defensible enough to support a recommendation, without the cost or complexity of a flagship model.
The Exx Pro line replaced the older Exx series with a refreshed body, a larger touchscreen, and updated processing, while keeping the resolution tiers that define each model. That continuity matters when comparing used and new gear: an inspector reading older reviews of the original E6 should know the Pro variant tightened the ergonomics and reporting workflow without overturning the core sensor story. The result is a camera that feels purpose-built for walking a house, framing a finding, and exporting an annotated image into a report rather than for laboratory measurement.
Key specifications
Thermal cameras live or die on a few numbers, and the E6 Pro’s place in the lineup is defined by them.
- Thermal resolution: 240 x 180 pixels (about 43,200 measured points), a meaningful step above the 160 x 120 found on entry cameras.
- Thermal sensitivity (NETD): better than 60 mK, meaning it resolves temperature differences finer than 0.06 degrees C, which is what makes subtle moisture and insulation gaps visible.
- Temperature range: roughly -20 to 400 degrees C, covering normal building and electrical work.
- Field of view: a wide fixed lens suited to interior walls and ceilings.
- MSX and dual camera: visible-light detail overlaid on thermal for orientation.
- Connectivity: wifi for transferring images to FLIR’s reporting software.
- Display and storage: a fixed touchscreen and onboard image storage.
Resolution and NETD are the two numbers that most affect what an inspector can actually find. The E6 Pro’s 240 x 180 sensor and sub-60 mK sensitivity put it firmly in working-inspector territory.
Home-inspection use cases
A thermal camera does not see moisture or mold directly; it sees temperature differences that often reveal them. The E6 Pro’s resolution makes several inspection tasks practical.
It can reveal moisture behind drywall, which usually reads cooler as it evaporates, helping locate a hidden leak before opening a wall. It shows missing or settled insulation as temperature streaks across a ceiling or exterior wall, a common energy-loss finding. It flags overheating electrical components such as a hot breaker or loose connection, which the camera renders as a bright spot. And it traces radiant-floor heating loops or pinpoints air leakage around windows and doors.
This aligns with how ASHI and InterNACHI describe thermal imaging as a tool that points to areas needing further investigation rather than a stand-alone verdict. The DOE’s guidance on home energy assessments similarly treats infrared scans as a way to locate insulation and air-sealing deficiencies. Inspectors building a kit can compare options in our best inspection camera guide.
Why MSX and the dual camera matter on real jobs
FLIR’s MSX feature deserves a closer look because it changes how usable the images are in a report. A pure thermal image is a smooth field of color with no sharp edges, which makes it hard to tell exactly which stud, outlet, or window a hot or cold spot belongs to. MSX extracts the edge detail from the visible-light camera and embosses it onto the thermal picture, so the outline of a breaker, a label, or a wall corner stays legible. For documentation, that means a client can look at the image and immediately understand what they are seeing, rather than a vague colored blob.
The dual-camera design also lets the inspector capture a matched visible photo alongside the thermal one, which is standard practice for a defensible report: the visible image shows the context, and the thermal image shows the anomaly. Used together, the pair makes a finding far harder to dispute than a single thermal frame would be.
Scanning technique that gets results
A camera at this resolution rewards good technique. Scanning during a meaningful temperature difference between inside and outside, often early morning or after the HVAC system has run, makes anomalies stand out, because moisture and insulation gaps reveal themselves through temperature contrast. An inspector typically pans slowly across a wall, watches for patterns that follow framing or plumbing, and then confirms any suspicious area with a contact moisture meter before writing it up. Rushing a scan or shooting into reflective surfaces produces images that look dramatic but mean little, which is why interpretation training matters as much as the camera’s specifications.
Pricing
The E6 Pro typically lists in the mid-four-figure range, often around the $2,500 to $3,500 zone depending on bundle and lens, placing it above hobbyist cameras and well below flagship instruments. That cost reflects the resolution jump and the professional reporting workflow.
For buyers on a tighter budget, smartphone-attached thermal cameras cost a few hundred dollars but deliver far lower resolution and sensitivity. The decision is whether the work justifies report-grade images. An inspector charging for documented thermal scans recovers the cost quickly; a homeowner doing an occasional check may not.
Electrical inspection in more detail
The electrical use case is one where the E6 Pro’s capabilities translate directly into safety value. Loose connections, overloaded circuits, and failing components generate heat before they fail outright, and that heat shows up clearly on a thermal image as a bright spot against cooler surroundings. Scanning an energized panel reveals a hot breaker or terminal that a visual check would miss entirely, flagging a fire risk while it is still a maintenance item rather than an emergency. OSHA’s electrical-safety guidance supports the value of identifying overheating connections, and thermal imaging allows that assessment from a standoff distance without contacting energized parts. The inspector documents the hot spot, notes the measured temperature relative to similar components, and recommends an electrician evaluate it, which is exactly the pointer-to-further-investigation role the camera fills best.
How it compares to the E5 Pro and E8
The clearest comparisons are within FLIR’s own line. The FLIR E5 Pro sits just below, with a 160 x 120 thermal sensor. It costs less but resolves less detail, which can matter when distinguishing a small moisture spot from background variation. Our overview of the FLIR E5 Pro walks through where that lower resolution is and is not adequate.
Above the E6 Pro, the FLIR E8 (and E8 Pro) jumps to a 320 x 240 sensor, roughly four times the pixel count, which produces noticeably crisper images and a wider effective measurement range. The E8 costs more, and the question is whether the added detail changes the finding. For documenting fine moisture patterns or fine electrical detail, it can; for general building scans, the E6 Pro is often enough. The choice across all three comes down to how small a temperature anomaly the work needs to resolve and how the images will be used in a report. For many working inspectors the E6 Pro lands at the practical sweet spot, offering enough resolution to find and document the problems that matter in a house without the added cost of the E8 or the flagship instruments above it.
Building a kit around the camera
A thermal camera rarely works alone, and the E6 Pro is most effective as part of a small toolkit. The natural companion is a moisture meter, used to confirm whether a cool spot the camera flags is actually wet, since the camera shows temperature and the meter confirms moisture. Together they turn a suspicious thermal pattern into a documented finding. Many inspectors also carry the camera’s reporting software on a laptop or tablet to annotate and export images on site.
For airflow and ventilation questions that thermal imaging hints at but cannot quantify, an anemometer adds the missing numbers. And a flashlight, an outlet tester, and a borescope round out the non-invasive kit that lets an inspector investigate a thermal anomaly without immediately cutting into a wall. The E6 Pro’s role in that kit is the wide-area scanner that finds where to look closely; the other tools confirm what the camera found. Treating it as one instrument in a coordinated set, rather than a standalone answer machine, is how working inspectors get the most from it.
Calibration, maintenance, and limitations
Thermal cameras need sensible care and honest interpretation. FLIR cameras self-calibrate internally, but periodic factory calibration keeps measurements traceable, which matters if readings appear in formal reports. Keep the lens clean and protected, and let the camera acclimate to room temperature before scanning, since a cold camera brought into a warm house reads unevenly until it stabilizes.
The biggest limitation is interpretation. The camera shows surface temperature, not what causes it. A cool wall patch could be moisture, a draft, or a thermal bridge, so the finding must be confirmed, usually with a moisture meter. Reflective surfaces such as glass and polished metal also fool the camera by mirroring other temperatures. Used as a pointer that directs further investigation, the E6 Pro is a strong working tool; treated as a final answer, it misleads.
Emissivity is the technical detail that trips up new users. Different materials radiate heat at different efficiencies, and the camera’s temperature reading is only accurate when the emissivity setting matches the surface. Most building materials such as painted drywall and wood sit at a high, fairly uniform emissivity, which is why building scans are forgiving, but shiny metal reads wildly wrong unless adjusted. For pass-fail anomaly hunting the setting matters less, but for any reported temperature value it matters a great deal.
Is the E6 Pro the right camera for you?
The buying decision comes down to use and frequency. A working home inspector who offers thermal scanning as a service, or who wants report-grade images that hold up with clients and in disputes, is well matched to the E6 Pro: its 240 x 180 resolution and sub-60 mK sensitivity find the problems that matter in a house, and the cost is recoverable across paid inspections. An energy auditor or building-science consultant lands in the same zone, sometimes stepping up to the E8 for finer detail.
A homeowner doing an occasional check is a different case. The same money buys years of professional inspections, and a smartphone thermal attachment, while far less capable, answers casual questions at a fraction of the price. The E6 Pro sits squarely in the working-professional bracket: more than a homeowner needs, less than a flagship demands, and well-calibrated to the daily reality of documenting building and electrical findings.
References
- Standards of Practice — International Association of Certified Home Inspectors
- Standard of Practice — American Society of Home Inspectors
- Home Energy Assessments — U.S. Department of Energy
Thermal imaging cameras
Infrared cameras reveal hidden moisture, missing insulation, and air leaks. Phone-attachment models are the budget entry point; standalone units have higher resolution.
| Product | Why | Buy |
|---|---|---|
 FLIR ONE Pro (phone) FLIR ONE Pro (phone) | Plugs into iPhone/Android; inspector favorite. | Amazon — $349.00 |
 Topdon TC001 Topdon TC001 | High-res phone module at a low price. | Amazon — $199.99 |
 FLIR C5 Compact FLIR C5 Compact | Standalone pocket camera with Wi-Fi. | Amazon — $560.00 |