The Professional Home Inspection Checklist, System by System
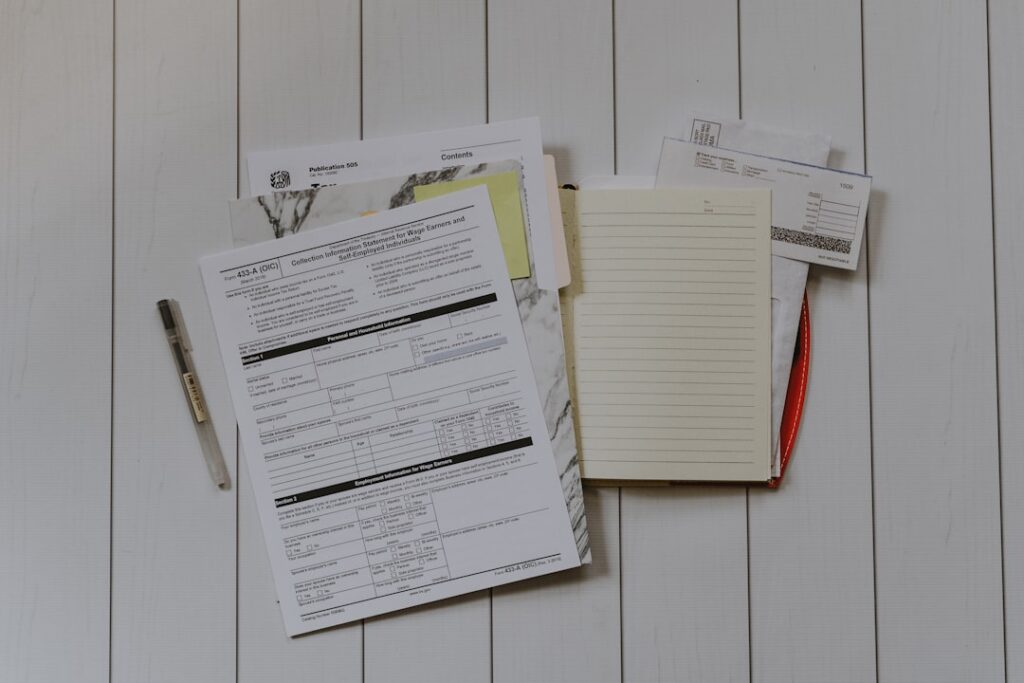
A checklist a homeowner prints to walk their own house says “check the roof.” A professional-grade one says: report covering type, approximate age, visible layers, flashing condition at penetrations, granule loss, and any defect that materially affects performance. The difference is not fussiness. It is that the professional version is built from a published Standard of Practice, and a licensed inspector who skips a listed item can be held liable for it. If you download a serious template before inspection day, you carry the same coverage map the inspector reports against, and you know when something in scope is getting glossed over.
What makes a checklist professional instead of homeowner-grade
Two documents anchor almost every legitimate professional checklist in North America. The first is the ASHI Standard of Practice, published by the American Society of Home Inspectors, which names ten required scope areas: structural components, exterior, roofing, plumbing, electrical, heating, air conditioning, interiors, insulation and ventilation, and fireplaces and fuel-burning appliances. The second is the InterNACHI Residential Standard of Practice, structured similarly but more granular on component-level reporting. A printable checklist that names neither in its header or footer is a marketing handout, not an inspection tool. A serious one cites its source.
Both standards limit the job the same way: a home inspection is a visual, non-invasive examination of readily accessible systems on the day of the inspection. Hidden conditions behind walls, under flooring, inside chimneys, and beneath insulation are explicitly excluded when not visible, and future failure of a currently functional system is excluded from prediction. That scope is why professional rows include the phrase “limited by finished surfaces” or “not accessible” — those notes are protections, not laziness.
What a professional row actually asks for, system by system
Roof and exterior
Roof rows record covering type (three-tab asphalt, architectural laminate, tile, metal, low-slope membrane), estimated age, layer count, flashing at penetrations and walls, gutter and downspout condition, and observed defects with a severity note. Exterior rows cover cladding type, trim and paint condition, weather-barrier visibility at penetrations, grading that slopes away from the foundation, and walkway and driveway condition.
Structure and foundation
Structural rows capture foundation type (poured, block, stone, slab), cracks with width and pattern, settlement indicators, beam and column condition where visible, floor framing where accessible, and moisture staining. Expect “limited by finished surfaces” wherever drywall or flooring blocks the view.
Electrical
Electrical rows record service amperage, panel manufacturer, grounding and bonding, breaker labeling, GFCI presence at required wet locations, AFCI presence, and visible conductor type. A professional checklist flags known-problematic panels — Federal Pacific Stab-Lok and Zinsco — by name, because both are documented failure risks that affect insurability. Aluminum branch wiring and knob-and-tube stay on the list for the same reason: an insurer may decline or surcharge the policy even when the wiring still functions.
Plumbing
Plumbing rows note supply material (copper, PEX, galvanized, polybutylene), drain material (PVC, ABS, cast iron), water-heater type, age, capacity, venting, expansion-tank presence, the temperature-and-pressure relief valve discharge routing, a fixture-function check, and visible leaks. Polybutylene earns its own callout: it remains an insurance flag even when it is not leaking.
Heating, cooling, and ventilation
These rows cover system type (forced air, hydronic, heat pump, mini-split), age, fuel source, filter access, combustion-air supply for fuel-burning equipment, flue and vent condition, condensate handling, and a function check on a representative number of registers. “Representative number” is standard language in both SOPs — the inspector is not required to test every outlet or every register, and a checklist that implies otherwise misstates the standard.
Confused by your home inspection report? Decode it free in plain English
Upload your inspector's PDF and get a plain-English summary, what actually matters, rough repair costs, and negotiation talking points. Educational only — not a professional re-inspection. Your file is analyzed and discarded, never stored.
Educational summary only. AI can be wrong and cost figures are rough estimates. This is not a professional re-inspection, appraisal, or legal/financial advice — confirm major items with your inspector or a licensed contractor.
Why print still wins on inspection day
Most inspectors carry a reporting tablet; the buyer’s reference copy is better on paper. A clipboard takes checkmarks and margin notes without an app sync lag or a notification pulling your eyes off the crawlspace. Print letter size, single-sided so the back of each page is free for sketches, on medium-weight (24 lb) stock — it survives outdoor handling and holds pencil better than glossy paper, which smears. A one-column layout beats two or three columns because it leaves room to write between rows.
Keep your shorthand simple and set it before you arrive: a margin “Q” for anything to raise at the wrap-up, a circled “P” for items worth a photo on your own phone, and a vertical line beside any row the inspector marked inaccessible so you remember to ask why. Casual remarks — “I’d budget for this in the next two or three years” — rarely reach the written report but matter at the negotiating table, so note them beside the row before they slip.
Using it without slowing the inspector down
Follow the inspector’s pace, a half-step behind on exterior, attic, and crawlspace work for safety. The checklist is a quiet companion, not a script the inspector has to perform. Save your questions for the verbal summary at the kitchen table — that is where they are welcome. “Your row says water heater estimated 2014; what put it in that range?” is a fair question. “Did you test every outlet?” is not, because the standard requires a representative sample and the inspector will tell you so.
Understand the limits of the printed form too. It cannot record thermal-imaging results on suspect wall cavities, test combustion appliances for carbon-monoxide spillage, or verify a GFCI trips — those come from the inspector’s instruments. And a checkmark carries no severity: two rows both marked “deficiency observed” might be a $30 caulk repair and a $30,000 structural fix. Severity lives in the written report, never in the box. For a sense of how those findings read in full, a sample home inspection report shows the difference between a checked row and a documented deficiency, and the overview of what a home inspection involves maps the same scope from the inspector’s side.
Front Range items that carry extra weight
A few checklist rows deserve more emphasis on Colorado’s Front Range than they get nationally. Radon leads the list: most Front Range counties sit in EPA Radon Zone 1, meaning a predicted indoor average above the EPA action level of 4 pCi/L, so a well-scoped inspection here usually recommends a radon test during the contingency period. Foundation movement is the second: expansive, clay-rich bentonite soils across the Front Range drive differential settlement and slab heave, so structural rows fill up more often than in flatter regions. Older Denver bungalows, Curtis Park Victorians, and pre-war Boulder homes bring pre-1978 concerns — lead-based paint (banned for residential use in 1978), asbestos in popcorn ceilings and floor tile, and original galvanized supply lines near end of life. A checklist for a 1925 house is genuinely a different document than one for a 2020 build.
After the report arrives
The written report is the legal document; your marked-up checklist is context. Read the report first, then run your annotations against it and confirm everything you flagged made it in. If something you watched the inspector note is missing, email a specific question — most respond quickly because putting the answer in writing limits their own exposure. Keep both in the closing folder; lenders, future buyers, and repair contractors sometimes ask to see them, and the marked checklist supplies detail the cleaner report leaves out. If you are still choosing who fills out the real version, the guidance on hiring a home inspector covers how to vet credentials before you book.
This guide summarizes the ASHI and InterNACHI Standards of Practice and EPA guidance current as of 2026; verify specifics against the linked source documents.