FLIR Thermal Imaging System: Camera, Software, Workflow
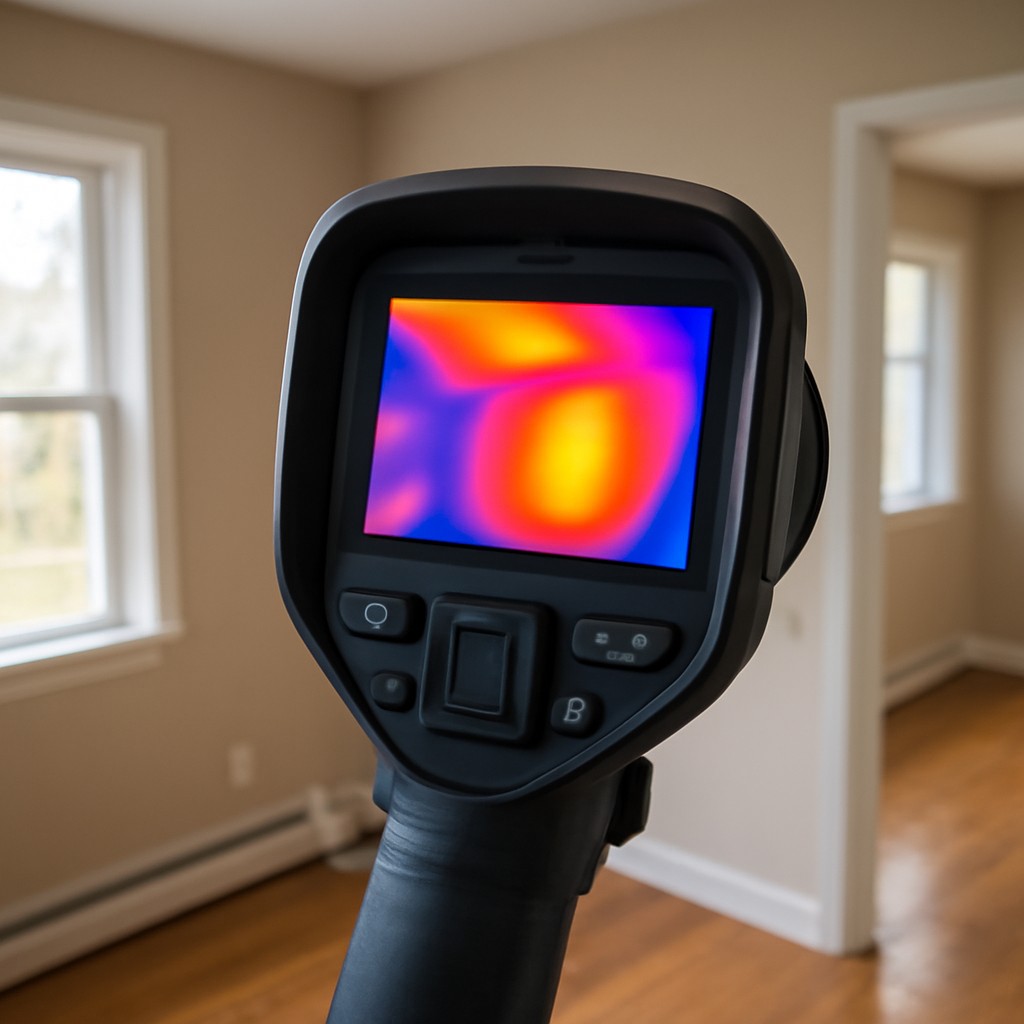
A FLIR thermal imaging system is not a single product. It is a stack of camera, software, accessories, and documentation workflow that together produces a defensible inspection result. Homeowners researching the term often start by comparing camera models and discover, partway through the research, that the camera is only one layer of the decision. This guide walks through the system layers — what each one contributes, how they fit together in professional use, and how consumer-tier systems differ from working-inspector systems. The framing is brand-neutral on the question of which model to buy and grounded in trade-association and energy-agency materials on how thermal imaging is actually used in residential inspection. Manufacturer marketing is not cited here.
What “System” Means in Thermal Imaging
In thermal imaging discussions, “system” can refer to anything from a phone-attachment camera with its app, all the way up to a multi-tool professional kit with calibration sources, tripod-mounted cameras, dedicated reporting software, and a workflow that integrates thermal data with moisture readings, blower-door results, and structured documentation. The Department of Energy’s home-energy-audit materials describe thermal imaging as one input in a broader diagnostic system that includes visual inspection, air-leakage testing, insulation evaluation, and combustion-safety checks. ASHRAE’s building-science literature takes a similar position: a single camera image is rarely a complete answer, and the system around the camera matters more than the camera body in isolation.
For homeowners trying to make sense of the term, the practical layers are camera body, optics, software, accessories, and workflow. Our 2026 home inspection tools buyer’s guide covers the broader category context across multiple tool families.
Layer 1: The Camera Body
The camera body is the most-discussed and least-decisive layer. Native sensor resolution (often 80 by 60 at the entry tier, 320 by 240 in the mid-range, 640 by 480 in pro tiers), thermal sensitivity expressed in NETD (often 60 to 100 mK at lower tiers, below 50 mK at pro tiers), temperature range, refresh rate, and frame stability all matter. So does the display — outdoor readability, color-palette options, and pixel resolution affect how usable the camera is in field conditions. The body is what most marketing focuses on because it has the most differentiating specifications. It is also what most buyers over-weight in their decision relative to the other layers.
InterNACHI’s thermography training materials emphasize that even modest-resolution cameras can produce defensible findings under appropriate conditions, while high-resolution cameras can produce misleading findings under poor conditions. Operator training and condition control beat raw resolution in most field outcomes.
Layer 2: Optics and Imaging Geometry
Lens choice matters more than most buyers realize. A wide-angle lens captures more area per image but at lower spatial resolution per pixel, suited to large-wall scans. A standard or telephoto lens captures less area but at higher per-pixel resolution, suited to focused investigation of specific anomalies. Some professional FLIR units (T-series) accept interchangeable optics; entry-tier units have fixed lenses. The decision affects what kind of inspection work the camera can support. A homeowner scanning a single basement wall has different needs than an inspector surveying a multi-room building envelope.
Imaging geometry also covers working distance — how close the camera must be to the surface to capture meaningful detail. Walls scanned from across a small room produce different images than walls scanned from a hallway 20 feet away. The plain-language guide to high-definition thermal imagers covers resolution and working-distance tradeoffs in detail.
Layer 3: Software
The software layer is often the differentiator between consumer-tier and professional systems. Onboard software in the camera handles measurement modes — spot temperature, area temperature, line profiles, isotherm overlays — and stores images with associated metadata (date, time, environmental conditions, camera settings). Post-processing software on a computer allows the inspector to adjust the thermal range and color palette after capture, annotate images, generate reports, and integrate with broader inspection software. Consumer-tier phone apps offer basic versions of this; professional software supports report templates, batch processing, calibration documentation, and integration with field-data-collection tools.
For homeowner self-directed use, the onboard software in a mid-range handheld is typically enough. For working inspectors producing client-facing reports, the post-processing software becomes part of the regular workflow.
Layer 4: Accessories
The accessory tier includes tripods or monopods for stable imaging during long scans, additional batteries for multi-hour fieldwork, calibration sources for periodic accuracy checks, lens accessories where applicable, carry cases for field transport, and visible-light cameras (built into the body on many FLIR units) that produce paired photos for context. A professional thermal imaging system typically includes most of these. A consumer-tier setup may include none beyond the camera itself.
For homeowners working through a one-time project, the accessory shortfall is rarely limiting. For ongoing or paid work, the accessories make a substantive difference in field efficiency and report quality.
Layer 5: Workflow and Documentation
The least-photographed but most important layer is the workflow that pairs thermal imaging with other diagnostics. ASHI and InterNACHI training materials describe a standard inspection workflow that includes thermal imaging alongside moisture-meter readings, visual inspection, and structured documentation. ASHRAE building-science literature describes thermal imaging in the context of blower-door testing, where artificial pressure differentials make air-leakage patterns visible to the camera that would otherwise be invisible. Energy.gov home-energy-audit materials describe thermal imaging as one of several tools used during a comprehensive audit, not as a standalone diagnostic.
A thermal image without conditions documentation — outdoor temperature, indoor temperature, time of day, recent weather, HVAC state — is worth less than the same image with that context. Reports that pair thermal images with visible-light photos, moisture readings, location descriptions, and condition notes produce defensible findings. Reports that show only the thermal images leave too much room for misinterpretation. The workflow guide for infrared thermal imaging systems covers the documentation sequence in detail.
Where Consumer and Professional Systems Diverge
Consumer-tier FLIR systems — phone attachments and entry handhelds — are designed for visible-problem confirmation. They identify the obvious. A window leak during the heating season produces a clear cold patch around the frame. A wall behind which a pipe has recently burst shows a clear thermal pattern. An overloaded electrical outlet runs visibly hot. These uses do not require the full system stack, and consumers get most of what they need from the camera alone plus its native app.
Professional systems are designed for ambiguous-problem investigation. An interior wall that may or may not have hidden moisture, an attic with possible thermal-bridging defects, an electrical panel with subtle heating differences across breakers — these investigations require the full stack: capable camera, controlled conditions, paired diagnostic tools (moisture meter, blower door), software that supports careful adjustment, and a documentation workflow that pairs the thermal data with context. Skipping any layer weakens the result.
What the Camera Cannot Do
A thermal imaging system shows temperature differences. It does not show moisture content, air movement, structural defects, or any condition where temperature differential is absent. It is most useful in conjunction with other tools. A moisture meter — pin or pinless — confirms whether a cold patch on a wall is a cold spot or a wet spot. A blower door pressurizes or depressurizes the house to make air-leakage patterns visible. Visual inspection identifies cracks, gaps, and material conditions that thermal imaging passes over. Buyers who treat the camera as a complete diagnostic kit are typically disappointed. The plain-language guide to moisture meter readings covers the complementary tool category.
Selection by Use Case, Not by Specifications
Homeowners stepping into the category benefit from choosing the system level that matches their use case rather than buying the most-specced option they can afford. Occasional visible-problem checks during a heating season — phone-attachment or low-end handheld is enough. Recurring use across a multi-year project or trade work — mid-range handheld with onboard software is the sweet spot. Paid inspection work or building-science consultancy — professional handheld with accessories, post-processing software, and a documented workflow. Each tier has a meaningful place in the category, and selecting above the use case is wasted budget while selecting below is wasted purchase.
Training and Certification
InterNACHI offers thermography training and certification. ASHI accepts thermal imaging as a supplemental inspection tool with appropriate training. Energy.gov audit programs incorporate thermal imaging into their standard methodology. None of these accept the camera alone as a substitute for the training that makes the camera useful. Homeowners doing self-directed work benefit from free training resources to understand what thermal images do and do not show. Paid practitioners benefit from formal certification that supports the credibility of their reports.
Where to Buy and Verify
FLIR thermal imaging systems are sold through authorized distributors, electronics and instrumentation retailers, and online channels. For new units, authorized-seller verification protects warranty coverage. For used or refurbished, condition, calibration status, battery health, and accessory completeness matter. ICC and trade-association materials on tool procurement generally recommend established channels with documented return policies over uncertain low-price options.
References
- Professional Home Energy Assessments — U.S. Department of Energy
- Infrared Thermography Inspection Resources — International Association of Certified Home Inspectors (InterNACHI)
- ASHRAE Standards and Guidelines — American Society of Heating, Refrigerating and Air-Conditioning Engineers
- Standards of Practice — American Society of Home Inspectors (ASHI)
- Building Codes and Standards — International Code Council
Thermal imaging cameras
Infrared cameras reveal hidden moisture, missing insulation, and air leaks. Phone-attachment models are the budget entry point; standalone units have higher resolution.
| Product | Why | Buy |
|---|---|---|
 FLIR ONE Pro (phone) FLIR ONE Pro (phone) | Plugs into iPhone/Android; inspector favorite. | Amazon — $329.00 |
 Topdon TC001 Topdon TC001 | High-res phone module at a low price. | Amazon — $199.99 |
 FLIR C5 Compact FLIR C5 Compact | Standalone pocket camera with Wi-Fi. | Amazon — $610.06 |