Crawlspace Mold Inspection: An Inspector Methodology Guide
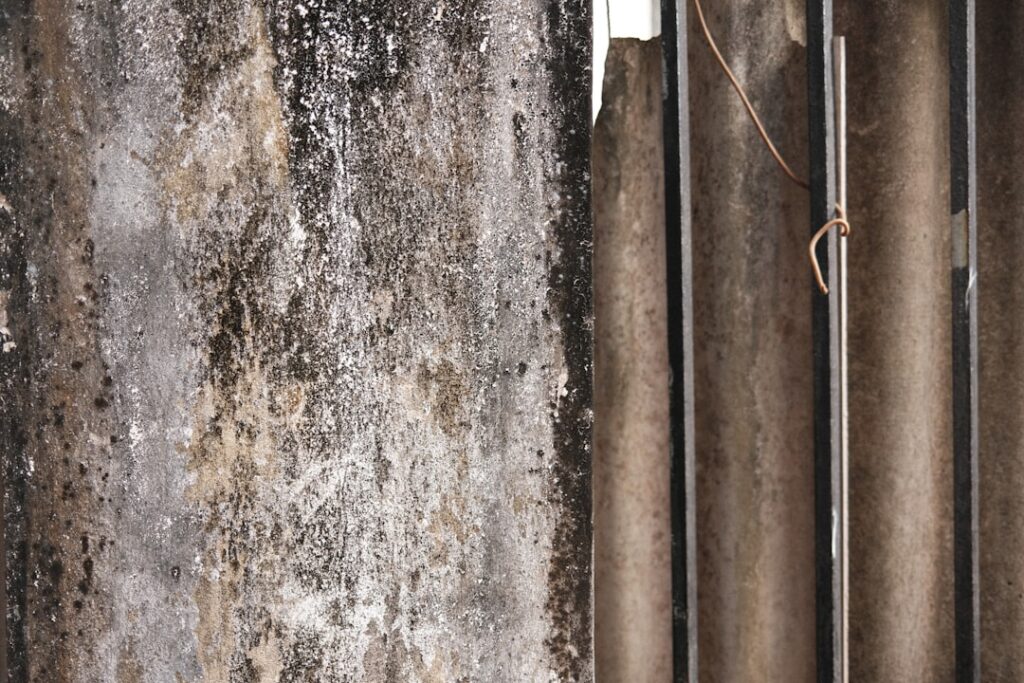
A crawlspace mold inspection is the systematic methodology an inspector follows under the home. The mechanical reality of crawlspace work — limited headroom, variable access, ground moisture, plumbing and electrical hazards, and often debris — shapes the workflow more than any other inspection scope. This guide walks through how a competent inspector actually evaluates a crawlspace step by step, what tools come along, what gets photographed, and what the report should look like at the end. The crawlspace mold inspection methodology described here is consistent with ASHI and InterNACHI standards of practice and EPA mold cleanup guidance current as of 2026. Consult a physician for symptoms and a certified professional for testing decisions.
Is this mold, asbestos, or water damage? Get a free instant screen
Upload a clear photo of the suspect area. You'll get an instant AI screening opinion and what to do next. This is screening guidance, not a professional determination.
Screening guidance only. AI can be wrong. Confirm asbestos, mold type, or lead with lab testing or a licensed professional before acting.
Crawlspace Mold Inspection: The Methodology Overview
A complete crawlspace mold inspection follows six steps in order: entry access and safety evaluation, vapor barrier assessment, joist and subfloor visual scan, moisture mapping with meter and thermal imaging, smell-test and contextual markers, and exit documentation including photo set and written summary. Each step generates a specific data point in the final report. Sample collection (spore traps or surface tape lifts) is added when visible findings or moisture readings warrant lab confirmation; it is not part of every inspection.
The inspector typically allots 30 to 60 minutes for the crawlspace portion of a larger inspection, plus another 15 to 30 minutes to document findings before leaving the property. Standalone crawlspace mold inspections may take 60 to 90 minutes total.
Step One: Entry Access and Safety
Before entering, the inspector evaluates the access point: doorway or hatch dimensions, clear path to entry, condition of any ladder or step, and visible standing water at the entry. Tools brought along typically include flashlight, headlamp, moisture meter (pin and pinless), thermal-imaging camera, camera or phone for photos, knee pads, gloves, dust mask or respirator, and sometimes a tarp or crawl suit for muddy conditions.
Safety markers that limit or stop the inspection: visible standing water deeper than ankle level, exposed live electrical, structural pest damage that compromises floor stability, or evidence of recent animal activity (skunk, snake, raccoon). Inspectors document the limitation with a photo and proceed only as far as safety allows. ASHI and InterNACHI standards both permit access limitations when conditions warrant.
Step Two: Vapor Barrier Assessment
Once inside, the inspector evaluates the vapor barrier — typically polyethylene sheeting that covers the ground and sometimes extends up foundation walls. The assessment captures coverage percentage (full, partial, none), continuity (intact, seams open, sections missing), condition (new, aged but functional, deteriorated), and any obvious patches or repairs.
Photo documentation should include at minimum a wide shot of each crawlspace quadrant, close-up shots of any seam failure or missing sections, and a perimeter shot showing whether the barrier meets the foundation walls. The vapor barrier is the single most important moisture control element in the crawlspace; any failure in it cascades into joist and subfloor moisture.
Step Three: Joist and Subfloor Visual Scan
The inspector then walks (or crawls) through the space looking at the underside of the subfloor and the inside faces of all accessible floor joists. Visual cues include discoloration (black, dark gray, brown, white-fuzzy), substrate texture changes (raised fibers, soft spots, paint flaking), and any obvious water staining patterns (drip rings, fan-shaped runs from above).
The orientation of growth matters. Mold concentrated near plumbing penetrations typically traces to a plumbing leak above. Growth along the rim joist perimeter typically traces to envelope moisture (cold framing meeting humid air). Growth in random bays without an obvious moisture source warrants moisture meter follow-up to confirm whether the substrate is currently active.
For the broader workflow context that ties crawlspace findings into the overall mold inspection process, the mold inspection and testing hub walks through how visual, moisture, and air sampling each contribute to the final assessment.
Step Four: Moisture Mapping
The inspector takes moisture meter readings at multiple substrate types and locations. Standard locations include rim joist (perimeter framing), mid-bay subfloor (between joists), framing near any visible suspect growth, framing near plumbing penetrations, and any insulation that appears damp. Readings on wood framing above 16 percent indicate active moisture; readings below 12 percent typically indicate dry substrate.
Thermal imaging adds a second data layer. Cool spots that correlate with elevated moisture readings confirm active wet areas. Cool spots without elevated moisture may indicate air leakage, cold-bridging, or transient conditions. Hot spots typically indicate uninsulated mechanical equipment or supply ducts.
The inspector photographs the moisture meter display at each reading point with the substrate visible in frame. This creates a documentary record that survives any later challenge about whether a reading was actually taken.
Step Five: Smell-Test and Contextual Markers
The human nose can detect microbial volatile organic compounds (MVOCs) at concentrations below visible growth thresholds. A musty, earthy, or “wet basement” smell in a crawlspace where no visible growth is present often points to hidden growth in insulation, under stored materials, or behind plastic sheeting. The inspector notes the smell intensity and location.
Other contextual markers include water-staining on the foundation wall (efflorescence, dark waterlines), insect or rodent debris that indicates standing organic material, plumbing condition (dripping fittings, condensation lines, evidence of recent repair), and any debris piles that hide substrate from inspection. Each adds context to interpret the moisture and visual findings.
Step Six: Exit, Documentation, and Sample Decisions
Before leaving, the inspector takes any final overview photos and notes any areas not accessible due to clearance, debris, or safety. The report compiles photos by quadrant, moisture readings by location, visible findings with substrate identification, smell-test notes, and an executive summary distinguishing active versus historical conditions.
Sample collection (air spore traps, surface tape lifts) is added when the visible findings warrant lab confirmation, when occupants report symptoms without obvious cues, or when the homeowner wants documented data for resale or insurance purposes. For deeper detail on what sampling adds, the air sampling for mold guide explains spore-trap methodology and lab reports in plain language.
Distinguishing Active From Historical Findings
A key methodology question: is the visible mold active (growing now, with current moisture) or historical (dried up after a past leak was corrected)? The distinction matters for both remediation cost and homeowner anxiety. Active mold on a wet substrate continues to grow and release spores; remediation requires removing the moisture source and the affected material. Historical mold on a dry substrate is no longer growing; remediation can sometimes be limited to surface cleaning if the area is in a non-living space.
The diagnostic tool is the moisture meter. Substrate reading at or below 12 percent moisture content typically indicates dry, historical findings; readings above 16 percent indicate active moisture supporting ongoing growth. Readings between 12 and 16 percent are ambiguous and warrant return visits during different weather conditions.
Front Range Crawlspace Patterns
Colorado’s semi-arid climate gives Front Range crawlspaces a dry baseline broken by episodic moisture from snowmelt, spring runoff, sprinkler systems, and plumbing leaks. Common findings include perimeter moisture against north-facing foundations during spring melt, rim-joist moisture in homes with poor exterior grading, plumbing leaks under kitchens and baths, and visible mold concentrated near specific moisture sources rather than across the whole crawlspace.
The episodic pattern means that timing of inspection matters. A summer inspection may show dry substrate from a leak that was wet in March. The inspector should ask about year-round patterns and prior repair history rather than rely solely on conditions at the visit date.
Cost and Independence
Standalone crawlspace mold inspections in 2026 typically run $200 to $600 depending on home size and access difficulty. Bundled with a general home inspection, the crawlspace scope adds $100 to $300 above the base fee. Air sampling adds $200 to $500. Independence between the inspector and any remediation contractor is the basic professionalism standard the EPA and CDC both reinforce.
What an Inspector Does Not Do in the Crawlspace
Boundary-setting matters as much as scope inclusion. A crawlspace mold inspector does not perform remediation, does not provide cost estimates for cleanup work (that role belongs to a separate remediation contractor), and does not perform invasive testing such as cutting open joist bays to expose hidden conditions without explicit written authorization. The inspector observes and reports; the remediator removes and repairs.
Inspectors also do not diagnose health conditions. Reports describe material conditions and recommend follow-up; medical interpretation belongs to physicians. A crawlspace report that says “elevated moisture” or “visible mold” describes building condition; the homeowner’s health response to that condition is a separate clinical question.
Equipment Calibration and Quality Control
Moisture meters and thermal-imaging cameras require periodic calibration to remain accurate. Pin meters use a reference scale that drifts over time; pinless meters use radio-frequency sensing that depends on the meter’s known density curve for each substrate. Thermal cameras require calibration against a known temperature reference. A competent inspector follows manufacturer calibration recommendations and documents the equipment used in the report.
Lab work has its own quality controls. Reputable sample-analysis labs hold AIHA-LAP accreditation and follow chain-of-custody protocols. Sample reports should include the lab name, accreditation, chain-of-custody documentation, and the analyst’s notes. Inspectors should choose labs with current accreditation rather than shopping for the lowest price.
Report Format and Photo Documentation Standards
A professional crawlspace inspection report includes timestamped photos organized by quadrant, moisture meter readings with the meter display visible in frame at each reading point, thermal images of any anomalies with corresponding visible-light photos, vapor barrier documentation, visible findings with substrate identification and close-up photos, smell-test notes, and an executive summary that distinguishes active versus historical conditions.
The photo set serves multiple purposes: documenting current condition for resale, supporting any future insurance claim, providing the remediation contractor with detailed visual context, and satisfying disclosure requirements. Reports without comprehensive photo documentation leave gaps that complicate future decisions and transactions.
Communicating Findings to the Homeowner
A competent inspector walks the homeowner through findings either during a closing meeting at the inspection or in a follow-up call. The conversation typically covers each photo, the moisture readings, the distinction between active versus historical findings, and the recommended next steps prioritized by urgency. Written reports support the conversation but rarely replace it for complex findings.
Homeowners hearing crawlspace findings for the first time often feel concerned and benefit from grounded context: extensive vapor-barrier failures are typically remediable; isolated joist mold near a corrected plumbing leak may need only cleaning; persistent ground-moisture conditions may need encapsulation. The inspector’s role is to communicate findings clearly, not to alarm or to oversell remediation scope.
References
- EPA mold cleanup guidance — U.S. Environmental Protection Agency
- CDC about mold — Centers for Disease Control and Prevention
- ASHI standards of practice — American Society of Home Inspectors
- InterNACHI residential standards of practice — International Association of Certified Home Inspectors
Front Range homeowners scheduling a focused crawlspace mold inspection can reach out through our contact page for a connection to a vetted independent inspector who can scope and price the work before the visit.