How to Choose an Asbestos Testing Kit: A Practical Guide for Homeowners
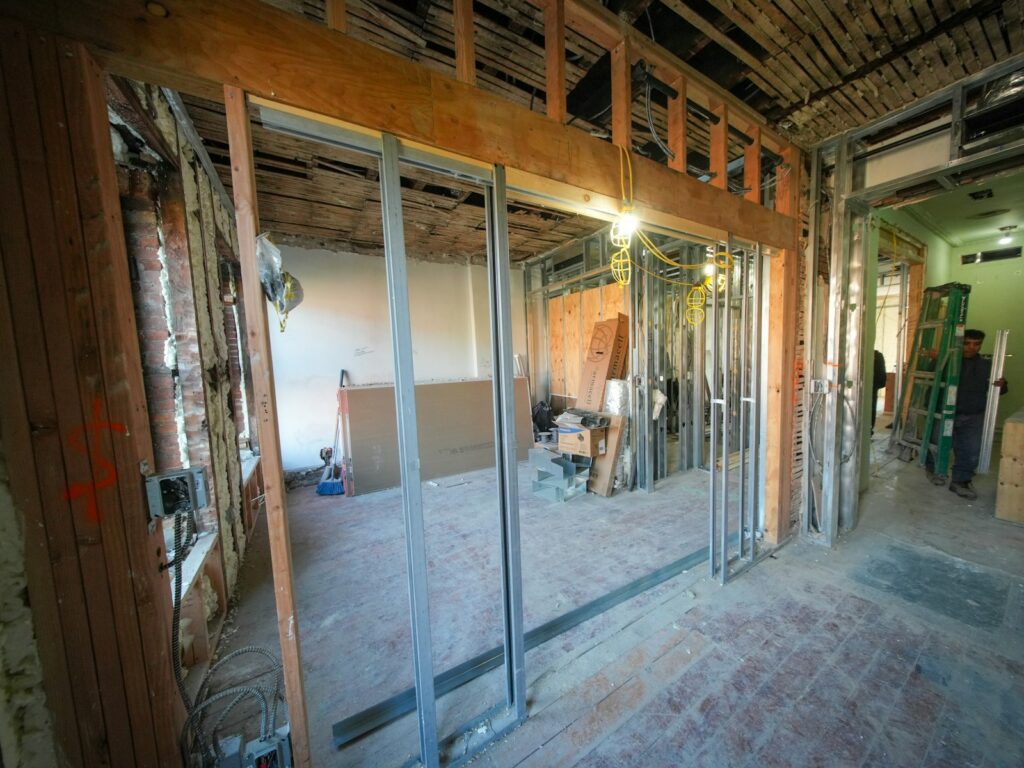
If you are renovating a home built before 1989 — or you have already started a project and uncovered an unfamiliar ceiling texture, a vinyl tile under a layer of carpet, or a pipe wrap in the basement — you have probably landed here looking for a quick way to find out whether what you are about to disturb contains asbestos. A consumer asbestos testing kit can answer that question, but only when the sample is collected, packaged, and analyzed properly. This guide explains what a kit actually does, when do-it-yourself sampling is reasonable, what separates one kit from another, and how to read your results.
InspectandTest is an independent editorial team. None of us is a licensed asbestos inspector, abatement contractor, or industrial hygienist. This article synthesizes guidance from the U.S. Environmental Protection Agency, the Occupational Safety and Health Administration, and the Centers for Disease Control and Prevention. For any decision that involves disturbing a confirmed asbestos-containing material, follow your state’s accreditation and licensure requirements and engage an accredited professional.
Is this mold, asbestos, or water damage? Get a free instant screen
Upload a clear photo of the suspect area. You'll get an instant AI screening opinion and what to do next. This is screening guidance, not a professional determination.
Screening guidance only. AI can be wrong. Confirm asbestos, mold type, or lead with lab testing or a licensed professional before acting.
What an asbestos test kit actually does
A consumer asbestos test kit is not a sensor and it is not a chemistry experiment that runs on your kitchen counter. It is, almost universally, three things in a small box: a pair of disposable gloves and a face mask, a spray bottle of water and a sealable plastic bag for the sample, and a pre-paid shipping label and paperwork form.
You collect a small piece of the suspect material, mist it with water to suppress fibers, seal it in the bag, fill out the paperwork, and ship it to a laboratory. The lab performs the actual analysis — typically polarized light microscopy under EPA Method 600/R-93/116, the standard for bulk-sample identification of asbestos in building materials. A written report comes back a few days to a couple of weeks later, identifying whether the sample contains one of the six regulated asbestos fiber types and, if so, the percentage by volume.
What the kit cannot do:
- It cannot tell you whether airborne fibers are present in your home. That requires air sampling and a different analytical method (transmission electron microscopy, typically), which is rarely included in consumer kits.
- It cannot tell you anything about other suspect materials in your home that you did not sample.
- It cannot replace a licensed inspector when state or local rules require one — and many states do for renovations beyond a small threshold, particularly in multi-family or rental property.
When DIY sampling makes sense — and when it does not
Sampling at home is reasonable in a narrow set of circumstances:
- The material is intact and undamaged. Asbestos is dangerous when fibers are airborne; sampling damaged or friable material releases more fibers than leaving it alone.
- You are gathering information before deciding whether to renovate, not in the middle of a renovation that has already disturbed the material.
- Your state allows homeowner sampling for the property type. Single-family owner-occupied homes generally have more flexibility than rentals, multi-family buildings, or commercial property.
- You can follow the safety protocol later in this guide precisely.
Sampling is the wrong approach when:
- The material is already damaged, crumbling, or has been disturbed by water, fire, or a recent renovation event. Damaged material is friable and a sampling cut releases far more fiber than an intact surface.
- You are testing a commercial property, a school, or a rental. Federal regulations under AHERA (the Asbestos Hazard Emergency Response Act) and ASHARA, state rules, and tenant-disclosure laws all require accredited professionals in most of these contexts.
- Your renovation will exceed your state’s homeowner threshold for self-managed asbestos work. The thresholds vary widely by state — check with your state environmental or health agency before sampling.
- You are not confident you can collect the sample without releasing fibers into your living space.
When in doubt, hire an accredited inspector. The combined cost of an inspection plus lab analysis is typically $250–$500 in most U.S. metros, the inspector handles sample safety and lab chain-of-custody, and the report comes with interpretation you can show a contractor.
What to look for in a kit
The kits available on Amazon and direct-from-lab websites look interchangeable in their listings, but three details actually matter:
Lab accreditation. The lab analyzing your sample should hold accreditation under NIST’s National Voluntary Laboratory Accreditation Program (NVLAP) or equivalent state accreditation. NVLAP-accredited labs follow standardized protocols and proficiency testing. If a kit listing does not name its lab — or if you cannot find that lab in NIST’s NVLAP directory — pick a different kit.
Method and limit of detection. Polarized light microscopy (PLM) is the standard for bulk samples and is appropriate for almost every consumer question. Some labs offer point-counting at a higher cost; that matters only when PLM detects asbestos very near the 1% federal regulatory threshold and you need tighter quantification for renovation planning.
Turnaround time. Standard turnaround is 5–10 business days. Most labs offer 24–48 hour rush analysis for an upcharge of $30–$80 per sample. For a planned renovation, standard is fine. For a stop-work situation where contractors are sitting on the clock, pay for rush.
How widely-available consumer kits compare
The consumer kit market consolidated over the past decade and most boxes you will see on Amazon route to one of a handful of NVLAP-accredited or state-accredited labs. Specific lab partnerships, included sample counts, and pricing change frequently — verify the current listing before purchasing. The lab science behind the analysis is largely standardized, so the consumer-facing differences come down to support quality, the clarity of the included paperwork, the strength of the included PPE, and how the lab packages the report.
Names you will see on the major retailers and direct-lab sites include PRO-LAB Professional Asbestos Test Kits, Schneider Labs mail-in kits, DIY Test Kits, EMSL Analytical Services, and Sanair Technologies. Cross-check the lab listed on the inside paperwork against the NVLAP directory before you ship, and pay attention to whether the kit’s mask is a basic dust mask or an N-95 / P-100 respirator — the difference matters when you are cutting suspect material.
How to collect a sample safely
Follow this protocol once you are ready to sample.
Before you start:
- Children, pets, and other adults out of the room.
- HVAC off — turn off the central system or any fans in the room. Close the windows.
- Wear the disposable gloves and respirator from the kit. If your kit includes only a basic dust mask, buy a P-100 respirator separately. A surgical mask is not adequate for asbestos sampling.
- Lay a sheet of plastic under the sampling area to catch any falling debris.
Collection:
- Mist the sampling area with water from the kit’s spray bottle until visibly damp. This is the single most important step — wet fibers do not become airborne the way dry ones do.
- With a small knife or core tool, cut a piece roughly the size of a quarter or smaller. Take material from a part of the surface that is intact; do not pry up loose pieces.
- Place the sample directly into the kit’s sealable bag without touching it to other surfaces.
- Seal the bag, label it per the lab’s instructions, and place it inside the second outer bag if one is provided.
After:
- Wipe down the sampling area, the plastic sheet, and any tool you used with a damp cloth. Do not vacuum unless you have a HEPA vacuum — a standard household vacuum will redistribute fibers, not capture them.
- Bag the gloves, mask, sheet, and cloth and tie the bag closed. Discard with normal household trash unless your locality requires asbestos disposal procedures (most do not for unconfirmed homeowner samples in small quantities, but check your municipal solid-waste rules).
- Repaint or seal the sampling site once you receive results and decide on next steps. Do not leave the sampled area exposed.
How to read your results
A typical lab report identifies fiber type, percentage by volume, and the analytical method used. Read it as follows:
- “No asbestos detected” or “ND” — the sample was below the laboratory’s limit of detection (typically less than 1% by PLM). The material is treated as non-asbestos for renovation purposes.
- “Trace” or “<1%” — fibers are present but below the 1% federal regulatory threshold. Some states and municipalities apply tighter standards; check your local rules. For a homeowner who is uncertain, treat trace results conservatively and consider professional removal if the renovation will disturb the material.
- “Positive” with a percentage — the material is regulated as an asbestos-containing material (ACM) under federal rules. Do not disturb it yourself. Engage a state-licensed asbestos abatement contractor to remove or encapsulate it.
A negative result from a single sample does not rule out asbestos elsewhere in the house. Older homes commonly have asbestos in multiple materials — vinyl flooring, popcorn ceilings, pipe insulation, siding shingles, joint compound, HVAC ductwork. Sample each suspect material separately if you plan to disturb it.
After you get your results
If your sample is positive: stop any work that would disturb the material, identify whether your project requires permits and a licensed contractor under your state’s rules, get three quotes from licensed abatement contractors, and verify license numbers on your state agency’s website before signing. Air clearance testing after abatement (post-abatement air monitoring) is standard professional practice; confirm it is in your contractor’s scope.
If your sample is negative: renovate as planned, but maintain awareness that other materials in the house may still contain asbestos. The sampled material is clear; the house is not necessarily clear. Keep a copy of the lab report — future buyers, contractors, or inspectors may request it.
If your sample is trace or borderline: consider a second sample from another area of the same material, since small intact materials can be heterogeneous. A licensed inspector can advise on whether to treat the material as ACM for your specific renovation scope.
References
- Learn About Asbestos — U.S. Environmental Protection Agency
- Asbestos Laws and Regulations — U.S. Environmental Protection Agency
- Asbestos — Overview — Occupational Safety and Health Administration
- Asbestos and Your Health — Agency for Toxic Substances and Disease Registry, CDC
- NVLAP Asbestos Fiber Analysis Program — National Institute of Standards and Technology